


DIY Monogram Bracelet for Lily - a year of handmade gift

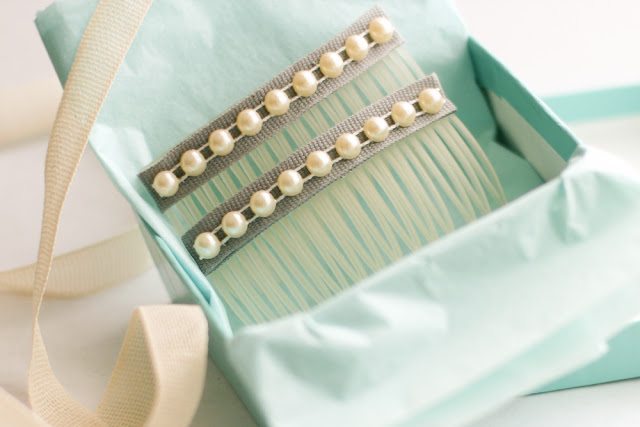
Here is part II of Lily’s present – a monogrammed ribbon bracelet. When I asked my sister-in-law what Lily, my 11 year-old niece, might like for her birthday, she said anything with her monogram. I was going to make a monogram pillow for her bed, but ended up wanting to send her something complimentary to the pearl combs I posted about earlier this week. I used the same gray ribbon here as the base of the combs. At first I wanted to make the monogram with rhinestones, but the strand I had wasn’t flexible enough to make the letter the size I wanted. Instead, I used the crystal bead trim that I used for the sparkle headbands and the crystal wrap bracelet – found at Joann’s.

I am in love with cotton twill tape and cotton ribbon. It provides a natural feel, yet it feels lush at the same time. I found some fun 5/8" twill tape at Joann Fabrics in a number of colors. The robin’s egg blue tape came from there. For 1/4 to 3/8"cotton twill ribbon in colors, try this resource for the 1/4" or this page for the 3/8". I also love this resource for gorgeous cotton ribbon. This gift is part of my year of handmade series, where I committed to making only handmade gifts this year. To see the entire year of handmade gallery, click on the button below or on the sidebar of the blog.

Below are the diy instructions for the bracelet.

Materials:
100% wool felt
3/8" cotton ribbon
5/8" cotton twill tape
bead trim
decorative button
complimentary embroidery floss
thread
needle
button
shoestring elastic
Time: 60 minutes

Start by making the monogram on the felt. Print out a cursive letter from your computer for a guide. Attach the bead trim to the felt with complimentary embroidery thread.

Continue to stitch the bead trim in the form of the letter by twisting the trim and stitching between each bead.

Draw an oval on the back of the felt, around the monogram, and cut out the oval. Cut another oval of identical size.

Stitch the two pieces of felt together with the blanket stitch. In the blanket stitch, start 1/8" away from the edge, securing in the back. Pull the floss to the left and hold down with your thumb.

Go around the outside of the felt and come up 1/8" over from where you started, in front of the floss you’ve pulled aside.

Continue to do this, spacing as consistently as you can, all the way around the oval.

As you come back to where you started, come back up in the same place you started the thread.

Go back through in the same area, taking as small a bite as you can, and secure in the back.

Measure the ribbon and twill tape around the wearer’s wrist, leaving 1/4" extra at each end to hem.

Turn over 1/4" at each end and hem with coordinating thread.

Attach the ribbon to the twill tape with a running stitch, taking itty bitty bites of the ribbon on the front. Leave stitches about 1/2" apart in the back, along both sides of the ribbon.

Let the ribbon and twill tape curve around your hand as you stitch, as this is how they will fall over the wearer’s wrist. This will prevent gapping.

Attach a button to one end of the bracelet.

Attach shoestring elastic in a loop to the other end of the bracelet. Make sure to come up through the elastic to ensure the elastic doesn’t slip. Trim the excess.

Here the bracelet part complete.

Now, attach the monogram to the center of the bracelet by taking little bites of the back of the wool felt and sewing through both layers of the bracelet. I attached the monogram with six stitches, three along each side of the oval. Be careful not to bring needle through to the front.

Finis!

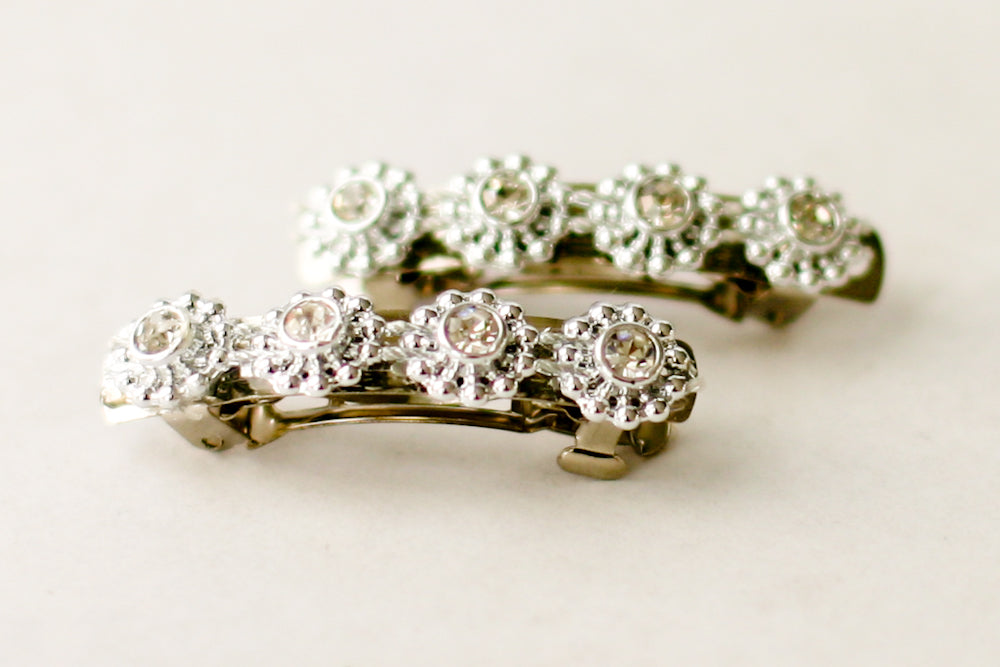
I love this bracelet, especially the colors. Lucky Lily, lucky you, there is still one more part to this present. It is the simplest pair of barrettes you ever will make. Still, I figure its worth showing, just to share the idea with you.

Hope you all are having a fabulous weekend. My hubby is out of town for a guys weekend, so the kiddos and I are running solo! Looking forward to getting cozy on the couch with them.
Leave a comment
This site is protected by hCaptcha and the hCaptcha Privacy Policy and Terms of Service apply.