
A happy handmade life
for people who love to make things

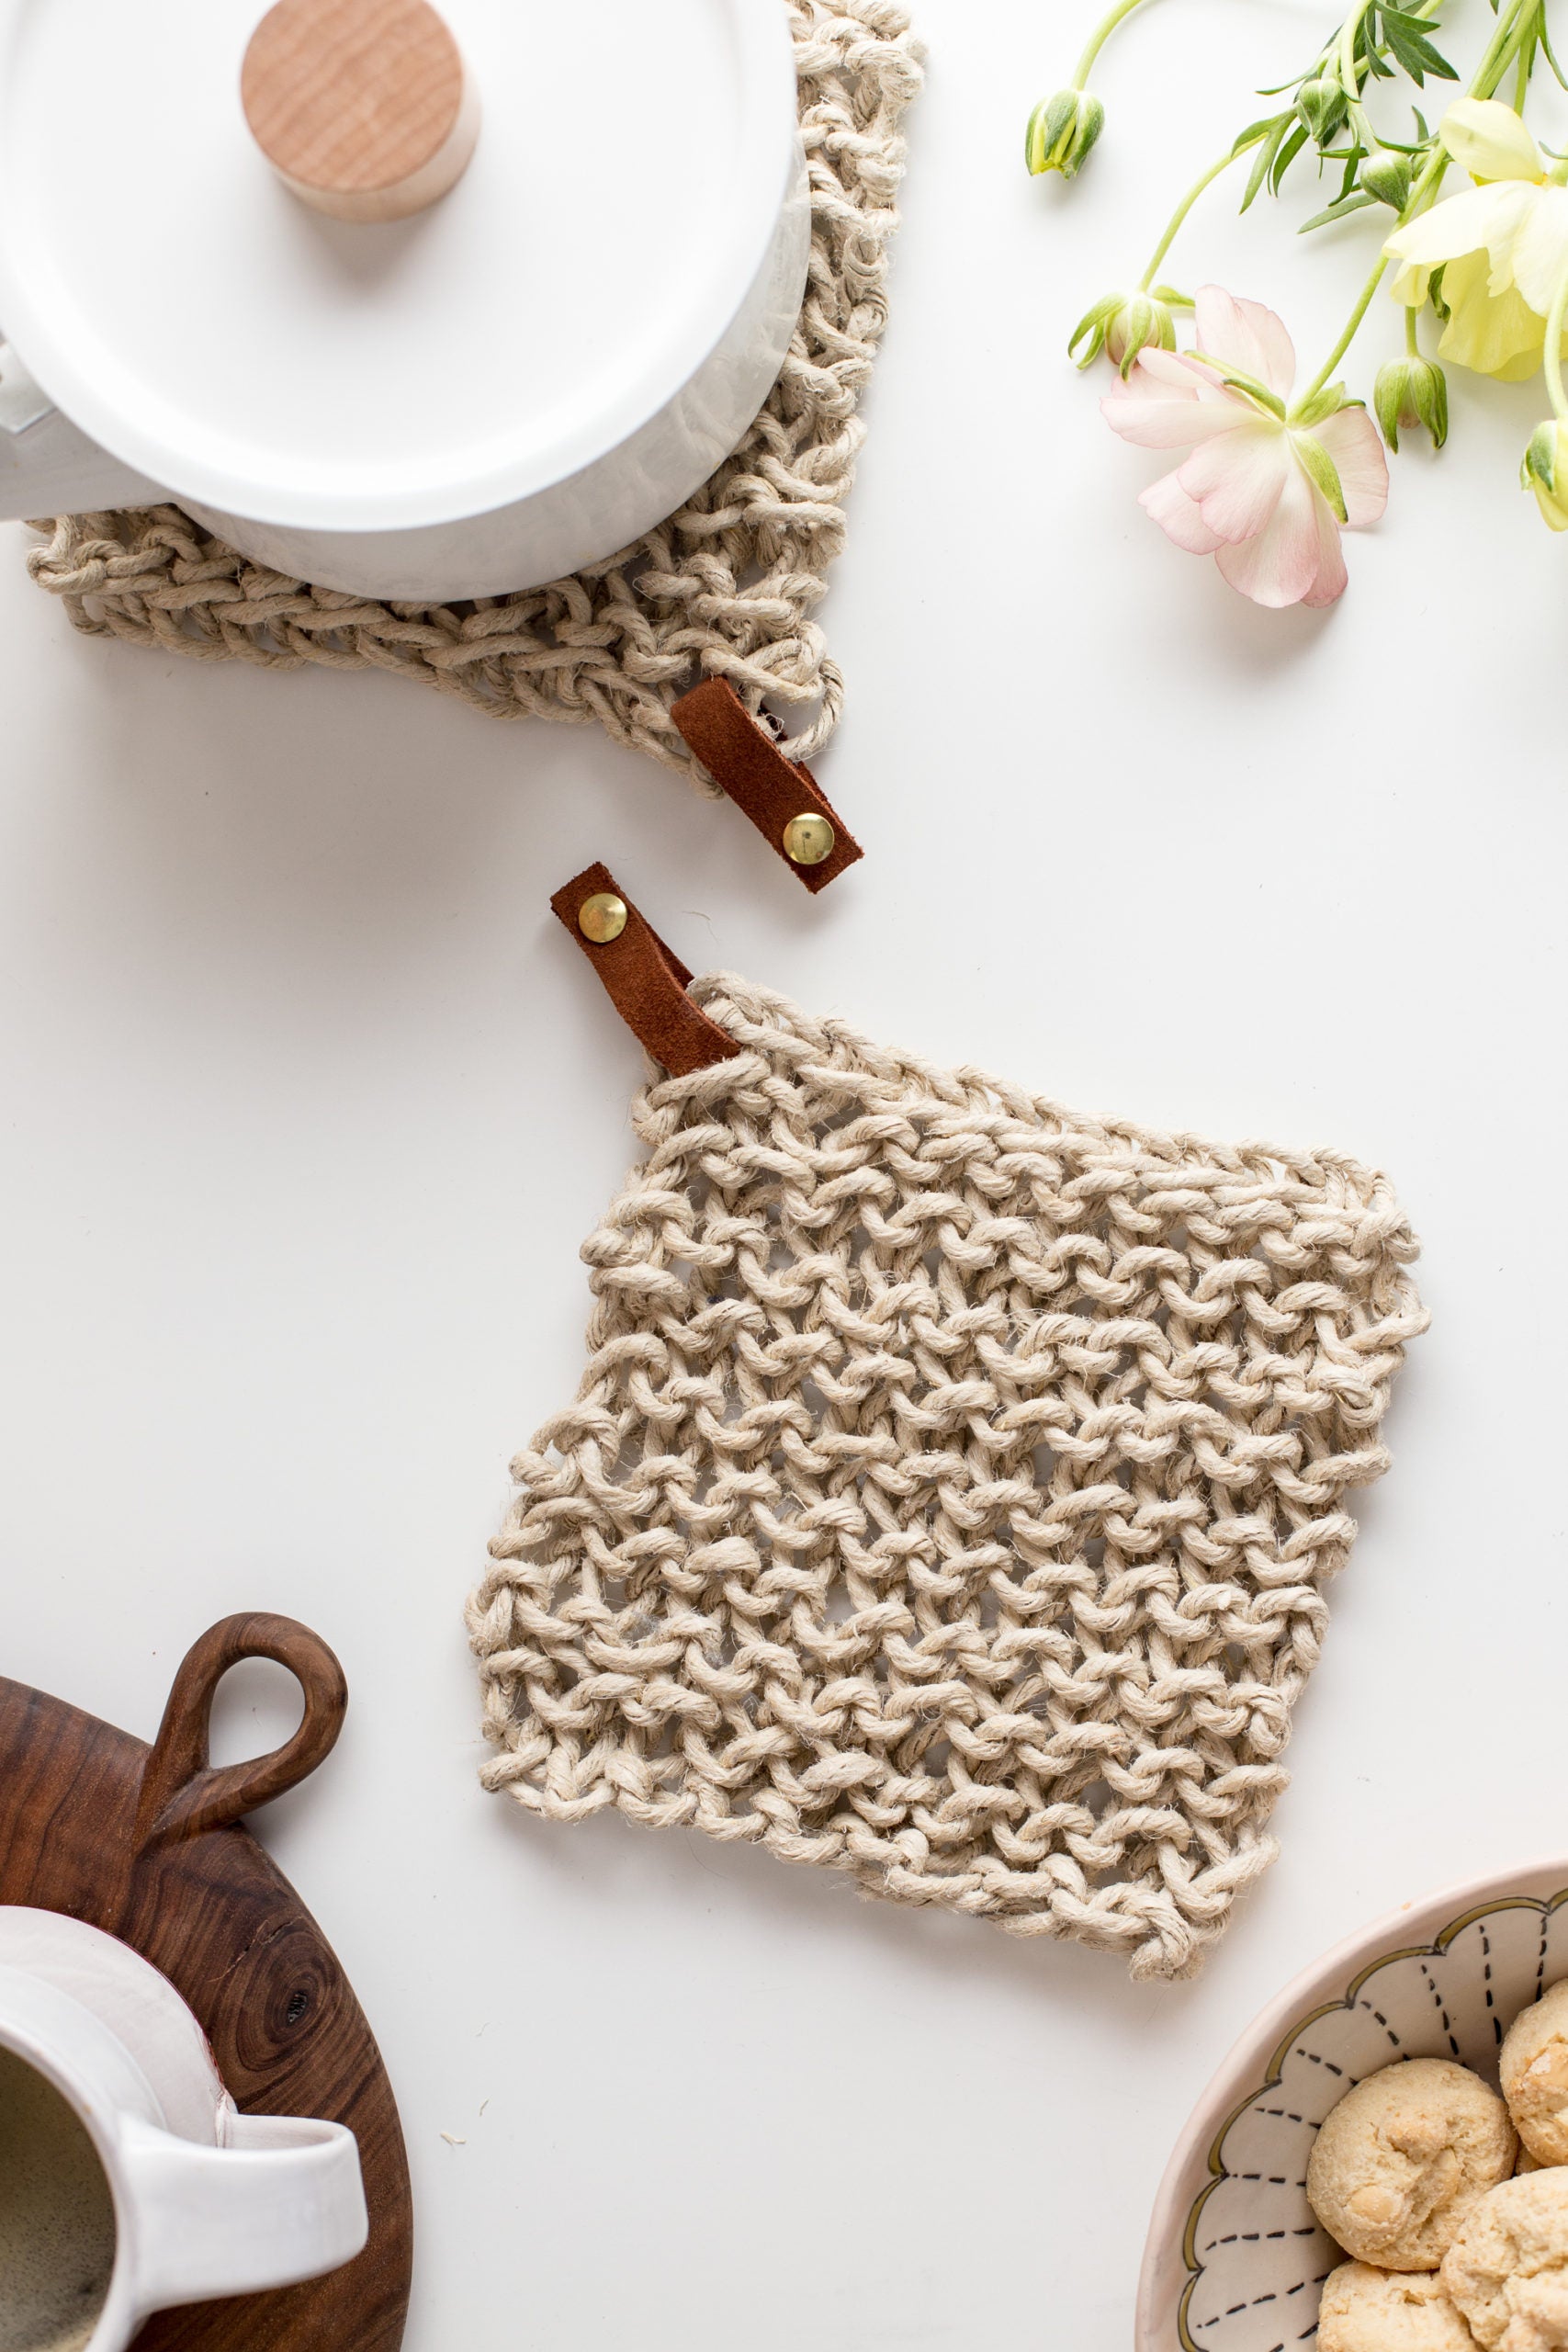
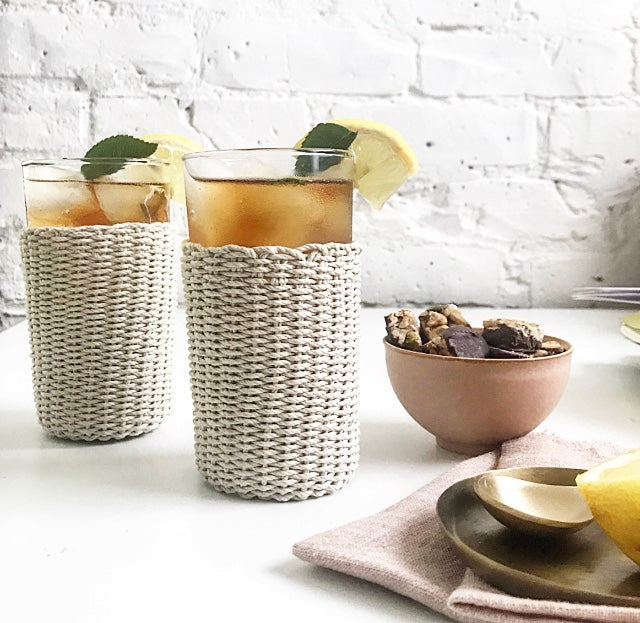
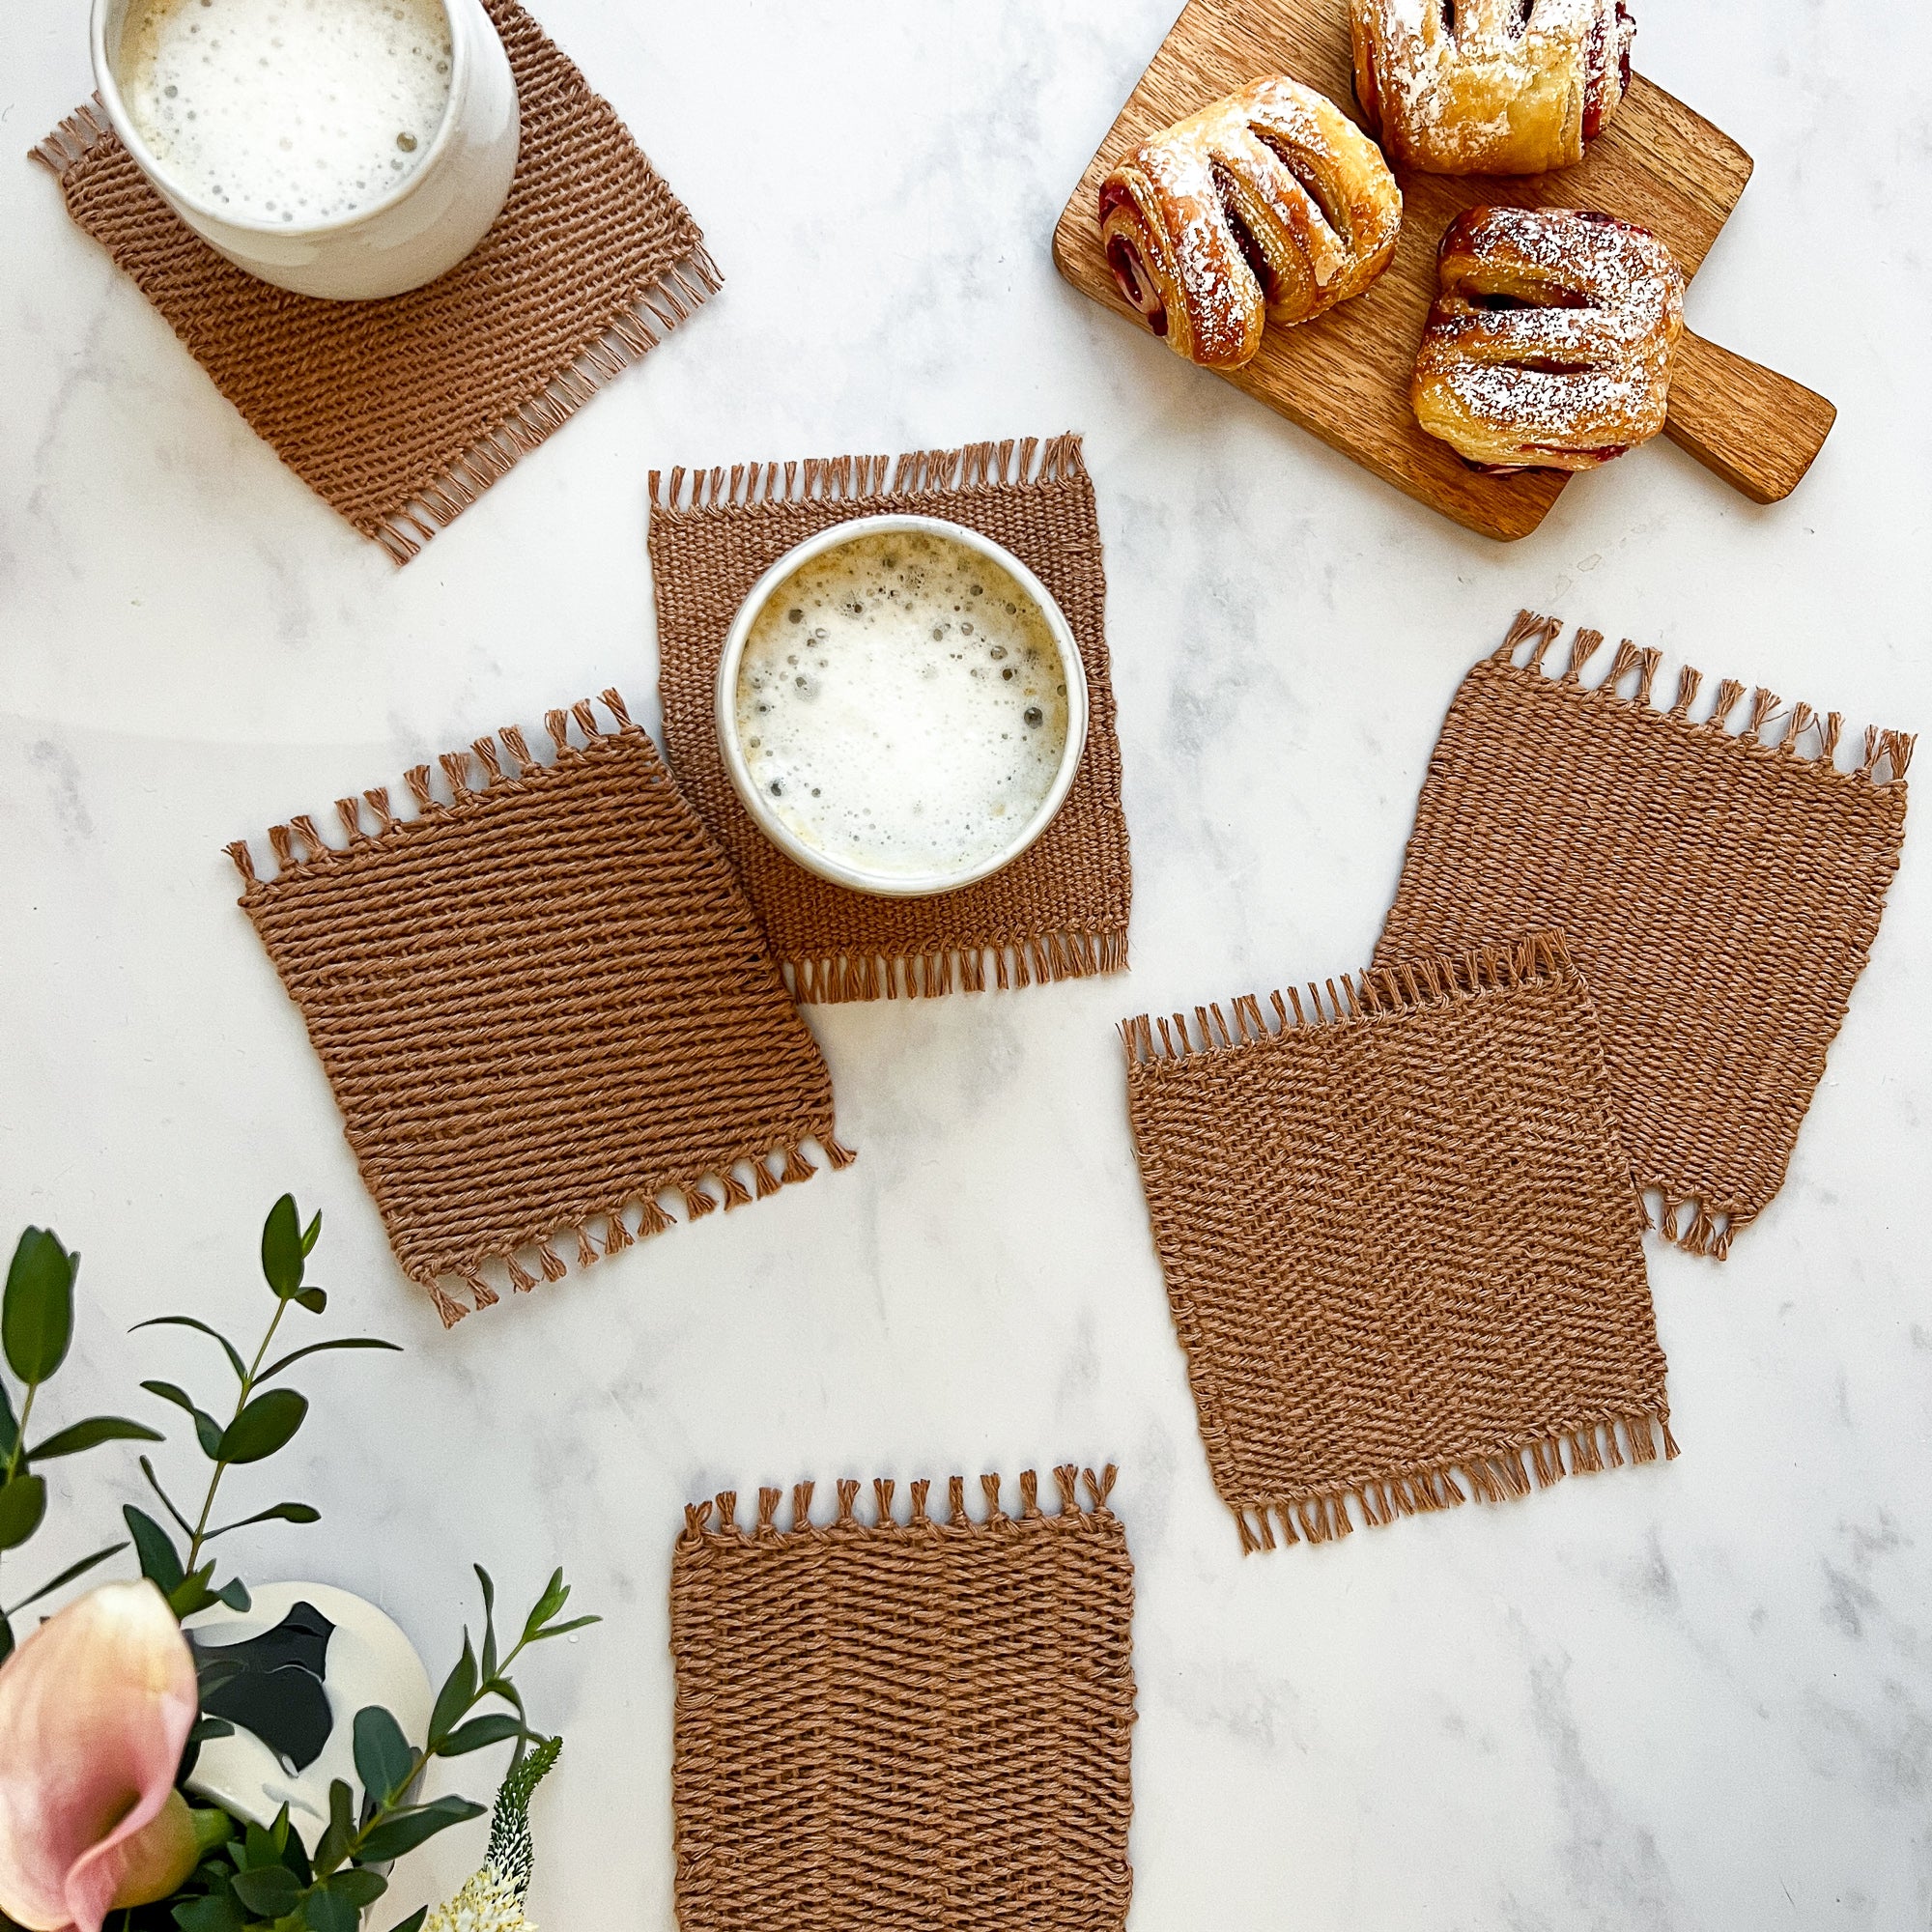
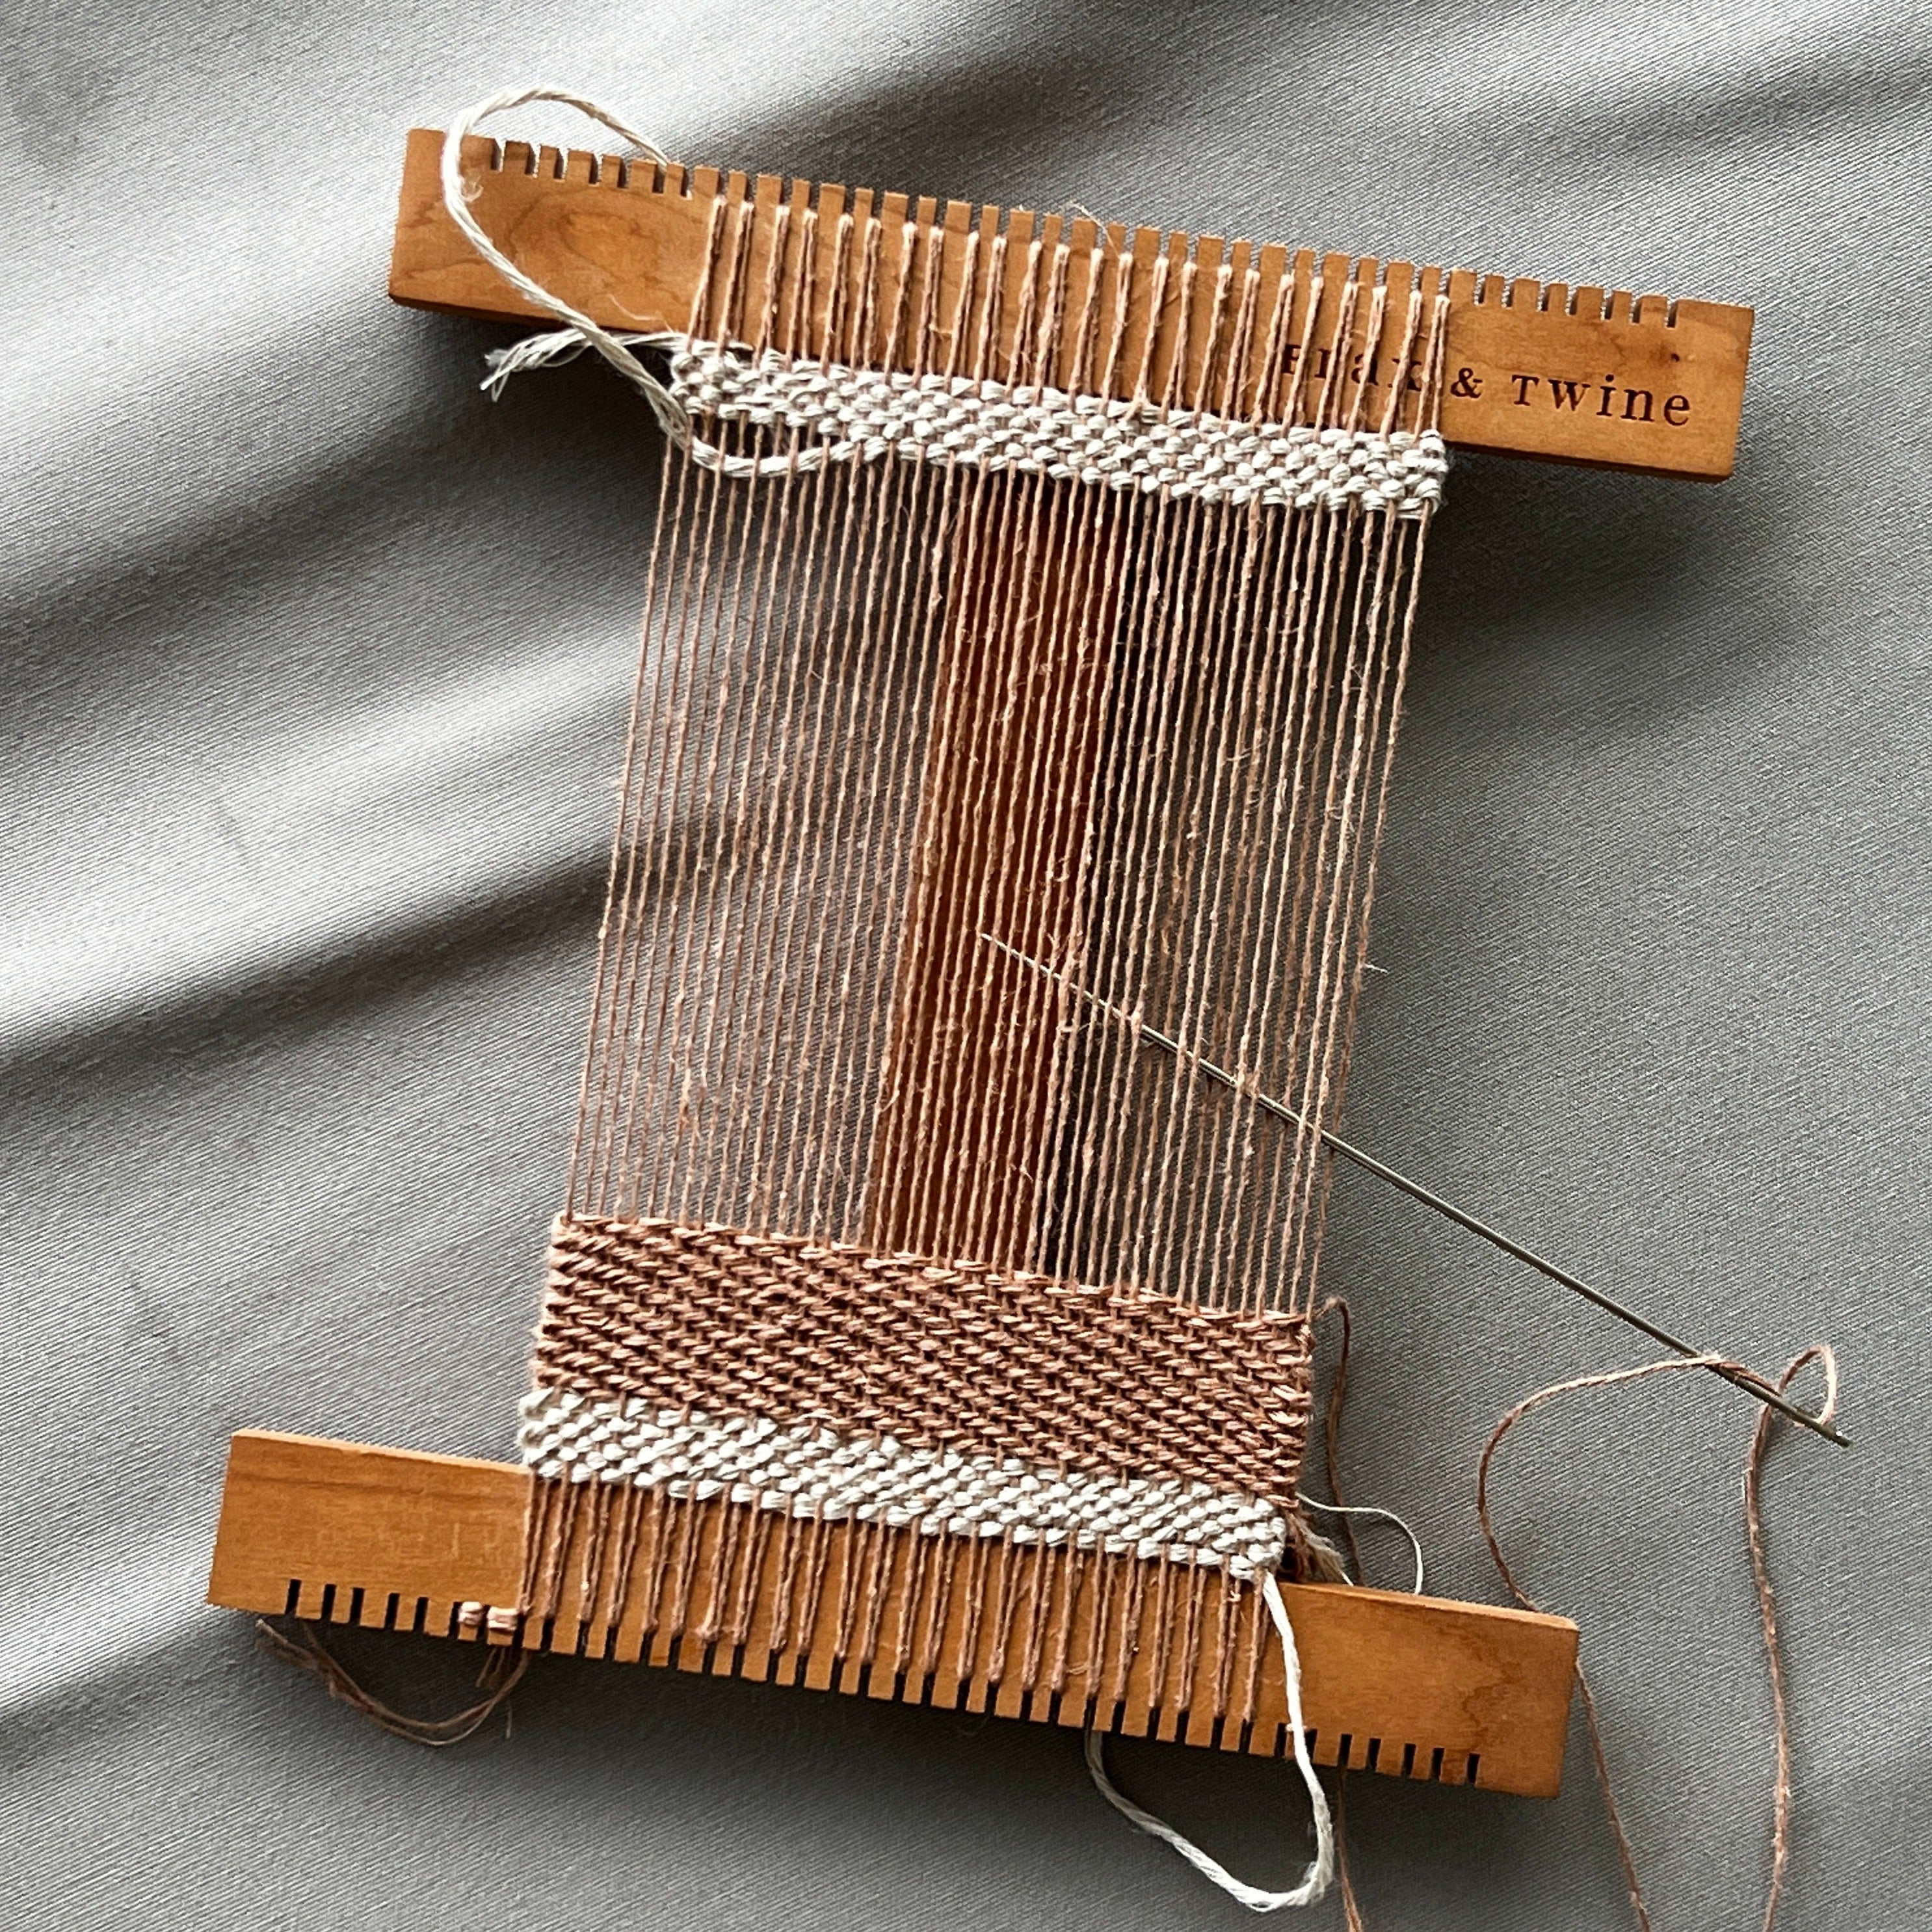
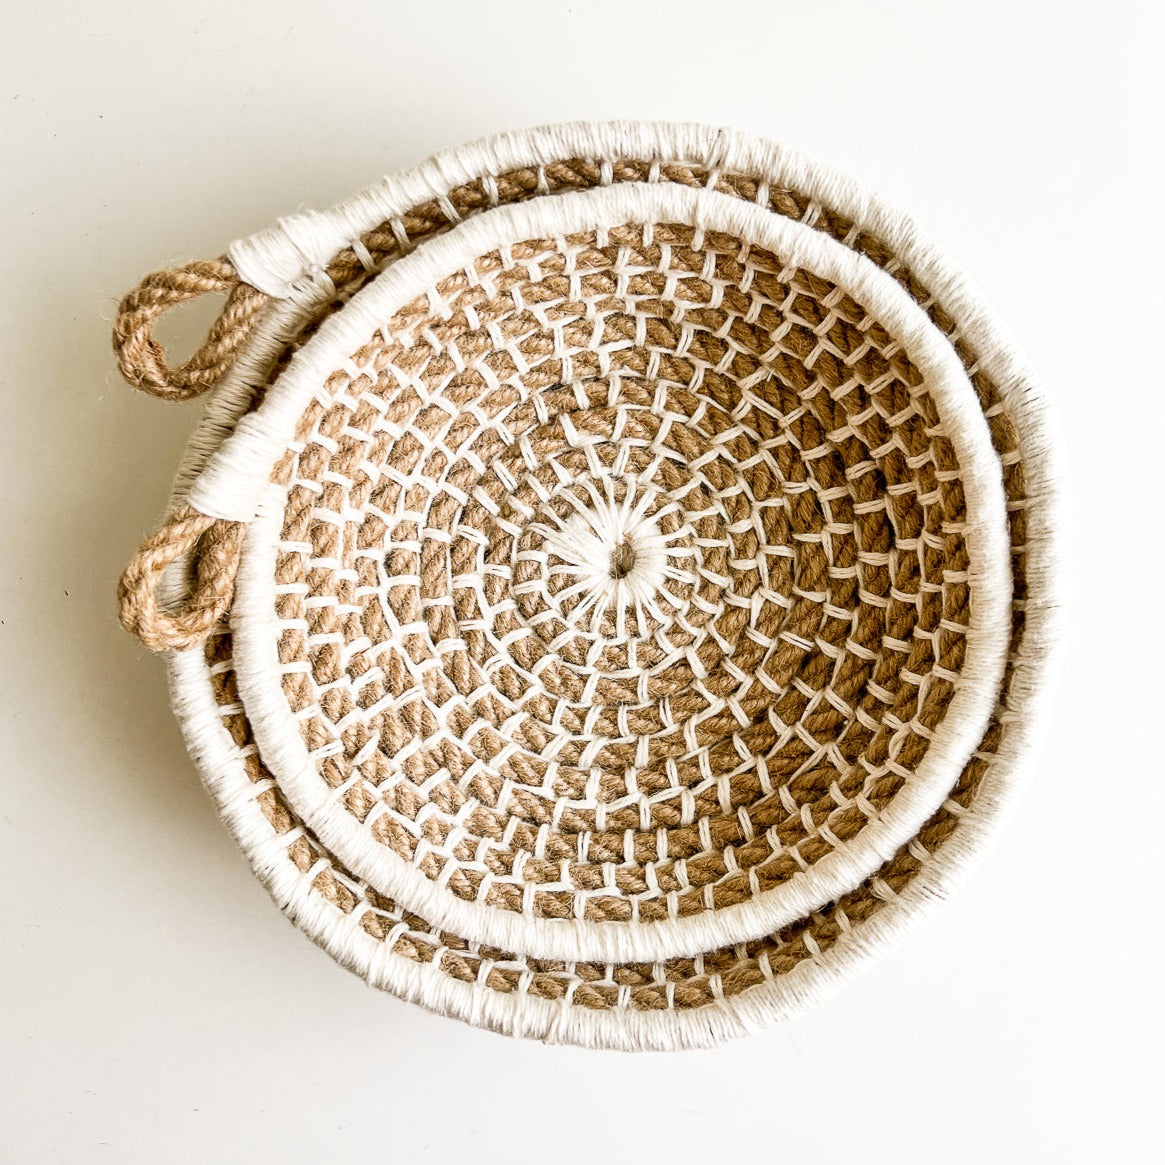
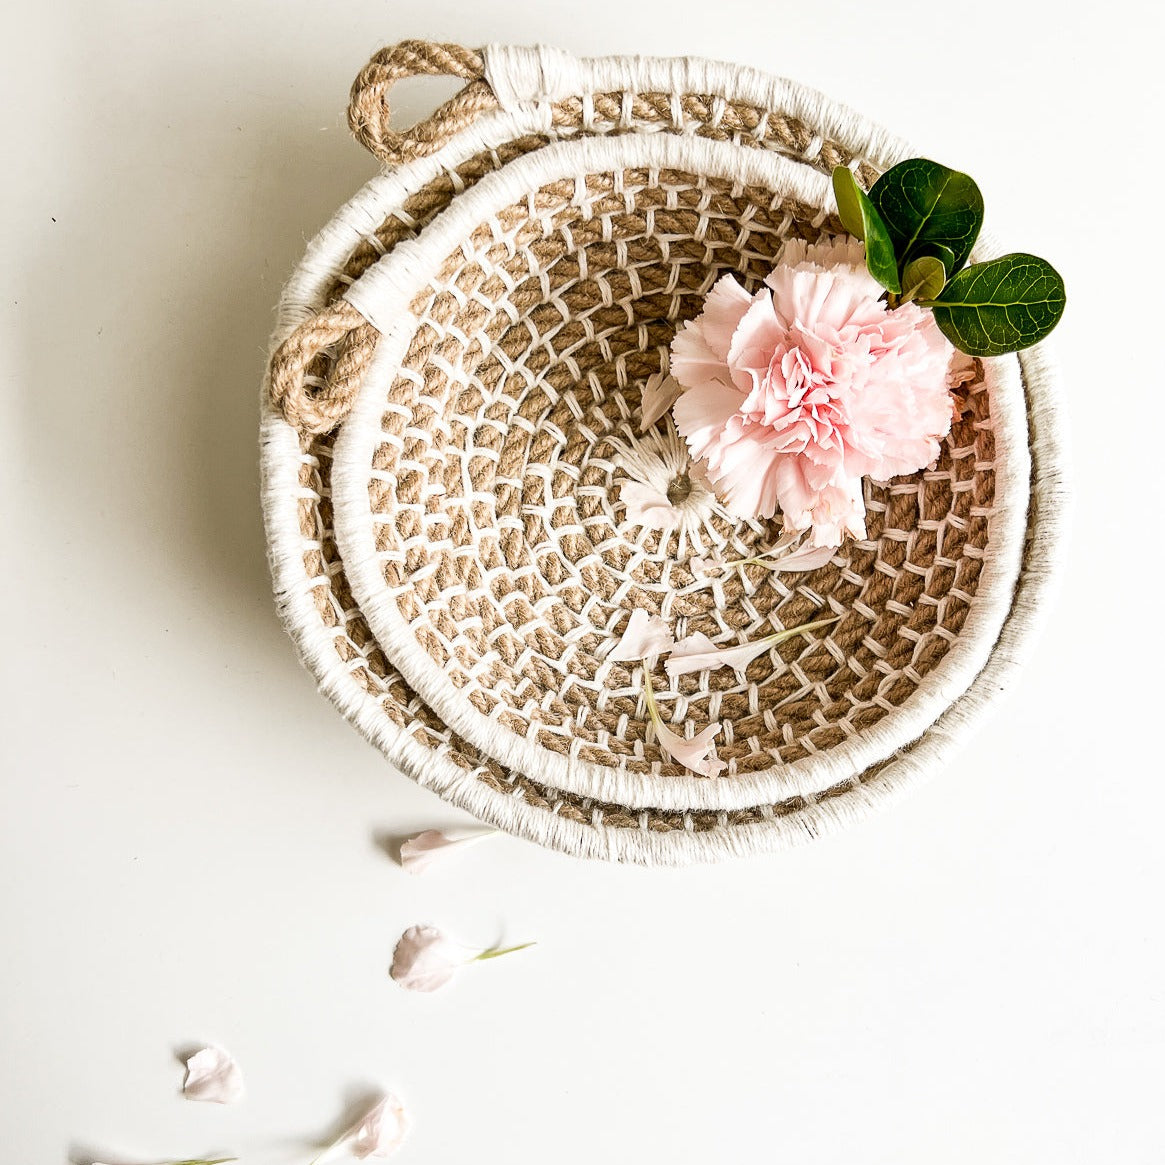
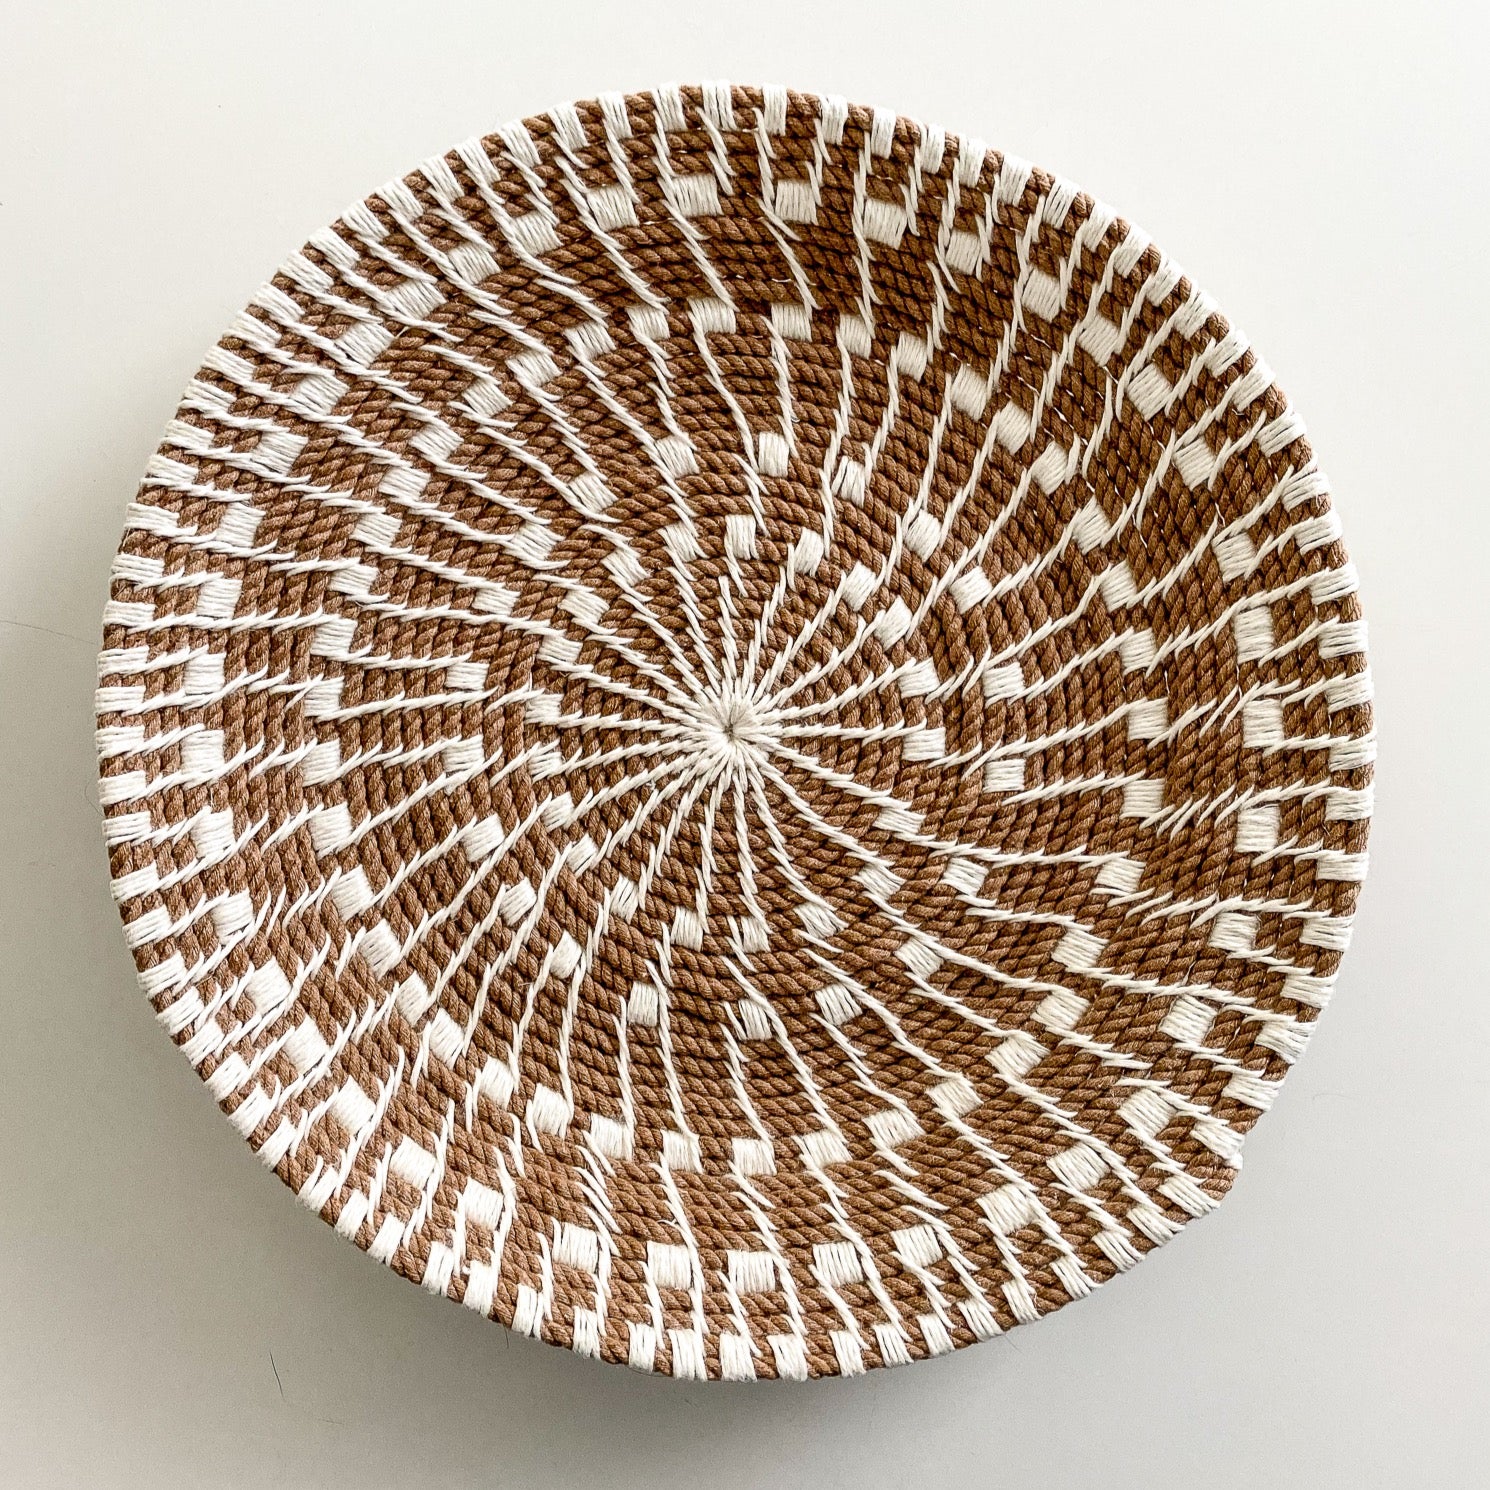
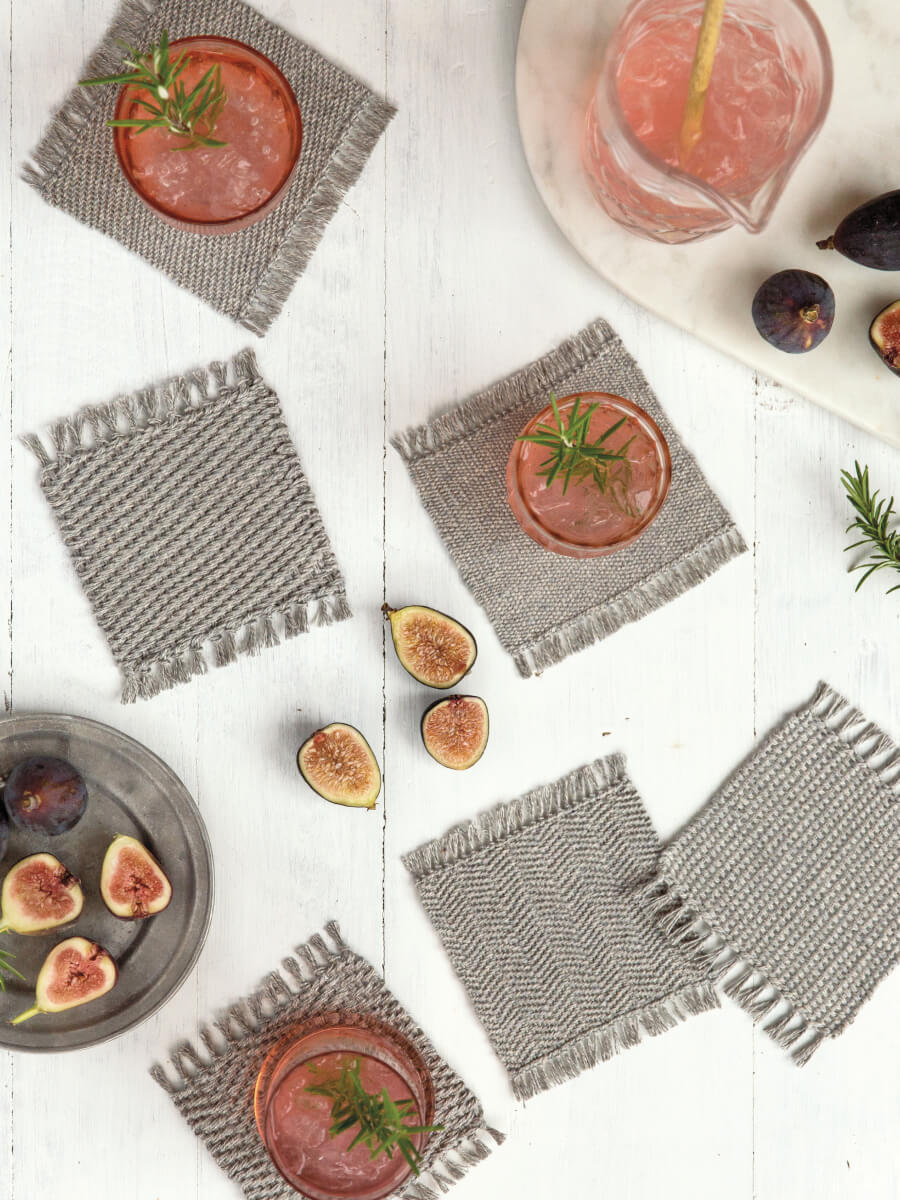
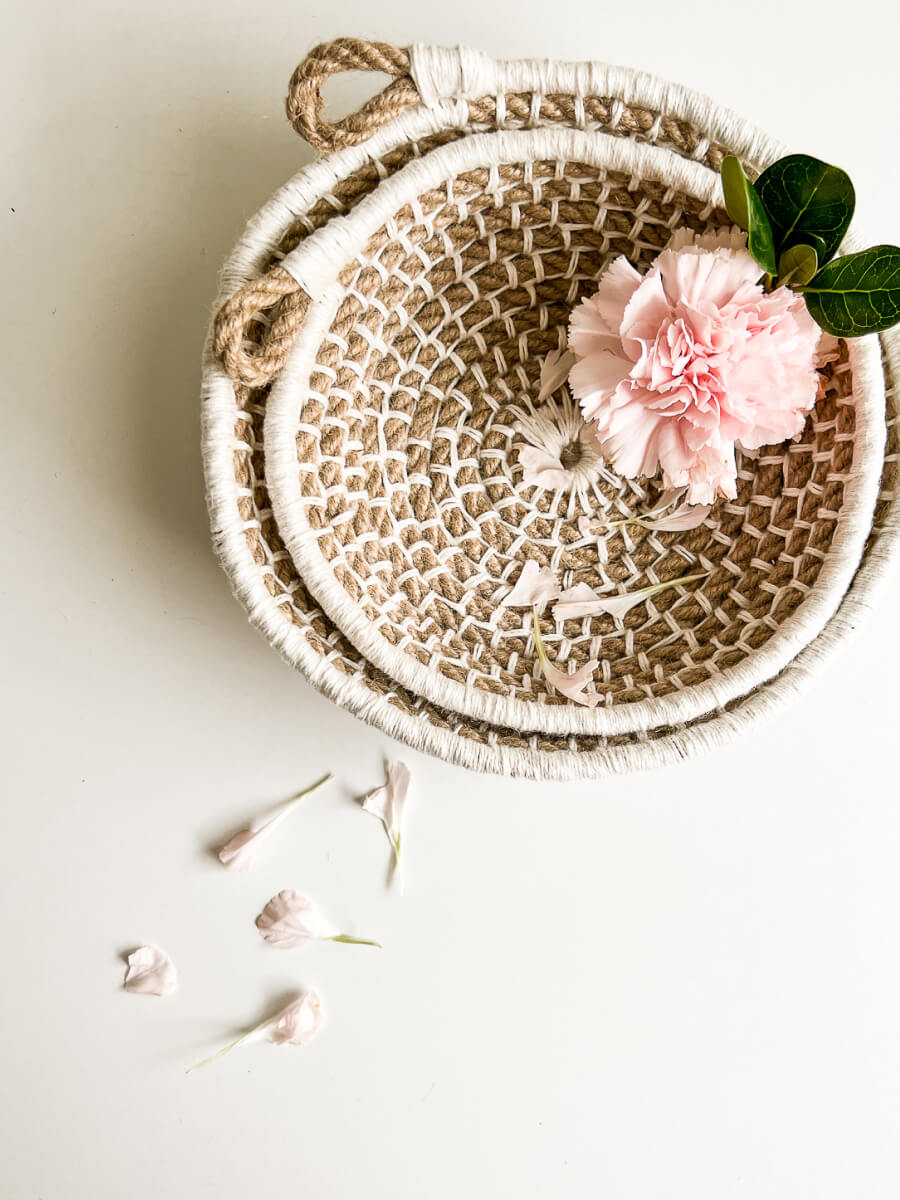
Our Most-Loved Kits
SHOP YOUR FAVORITES
HAPPY MAKERS
"Your kits and supplies are so fab. You have a customer for life in me!"
- Susan
"Beautiful website + such inventive and lovely creations to try."
- Nora
"I'm loving your projects and teaching style - lots of fun!"
- Carmen
"Everything I've seen you have done has felt like it has such a personal touch to it. "
- Pam
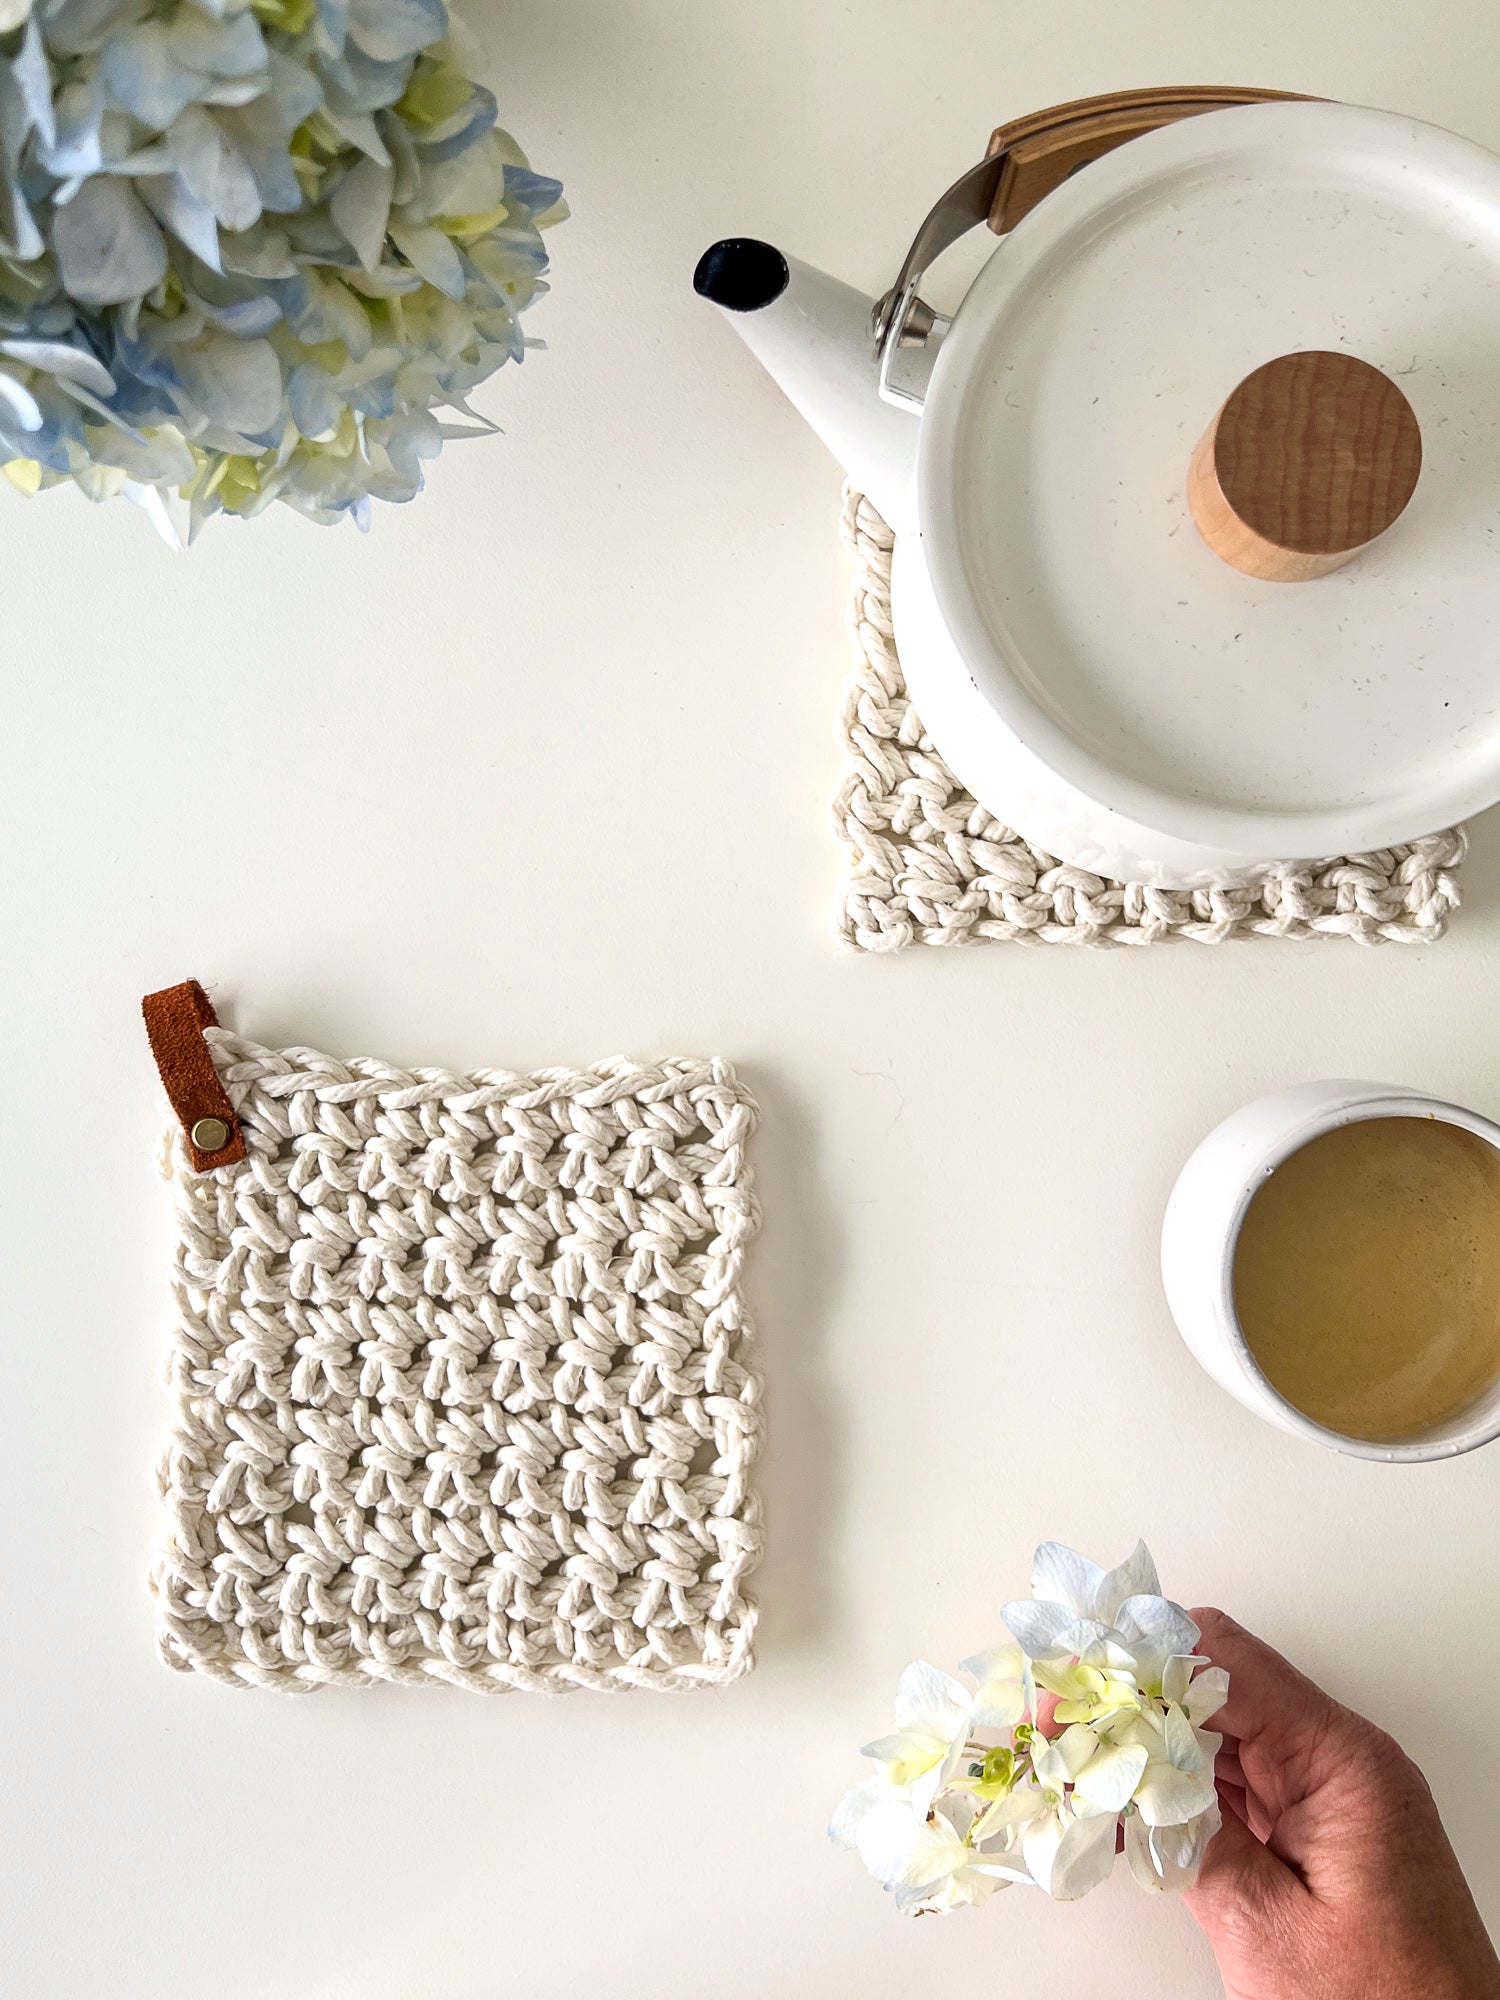
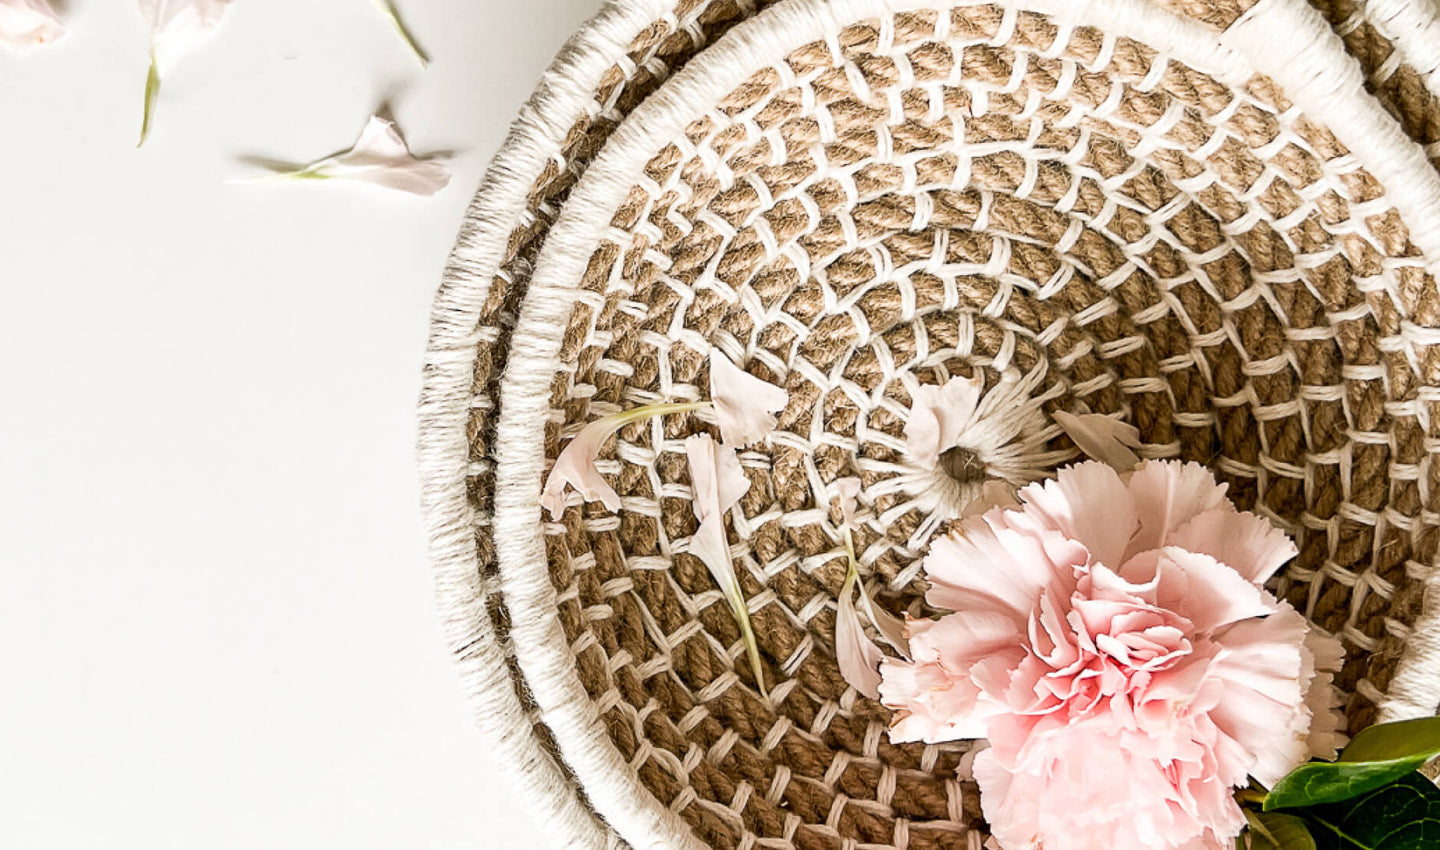
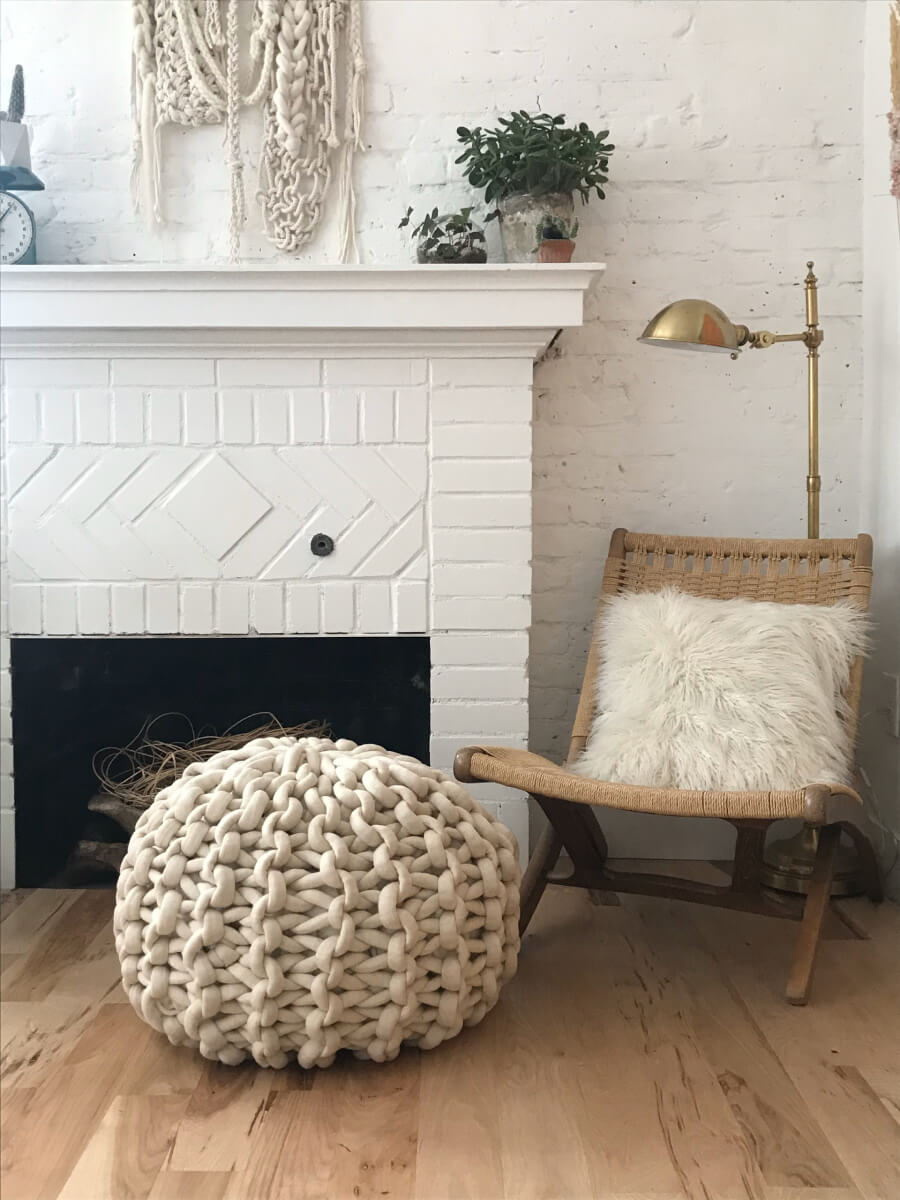
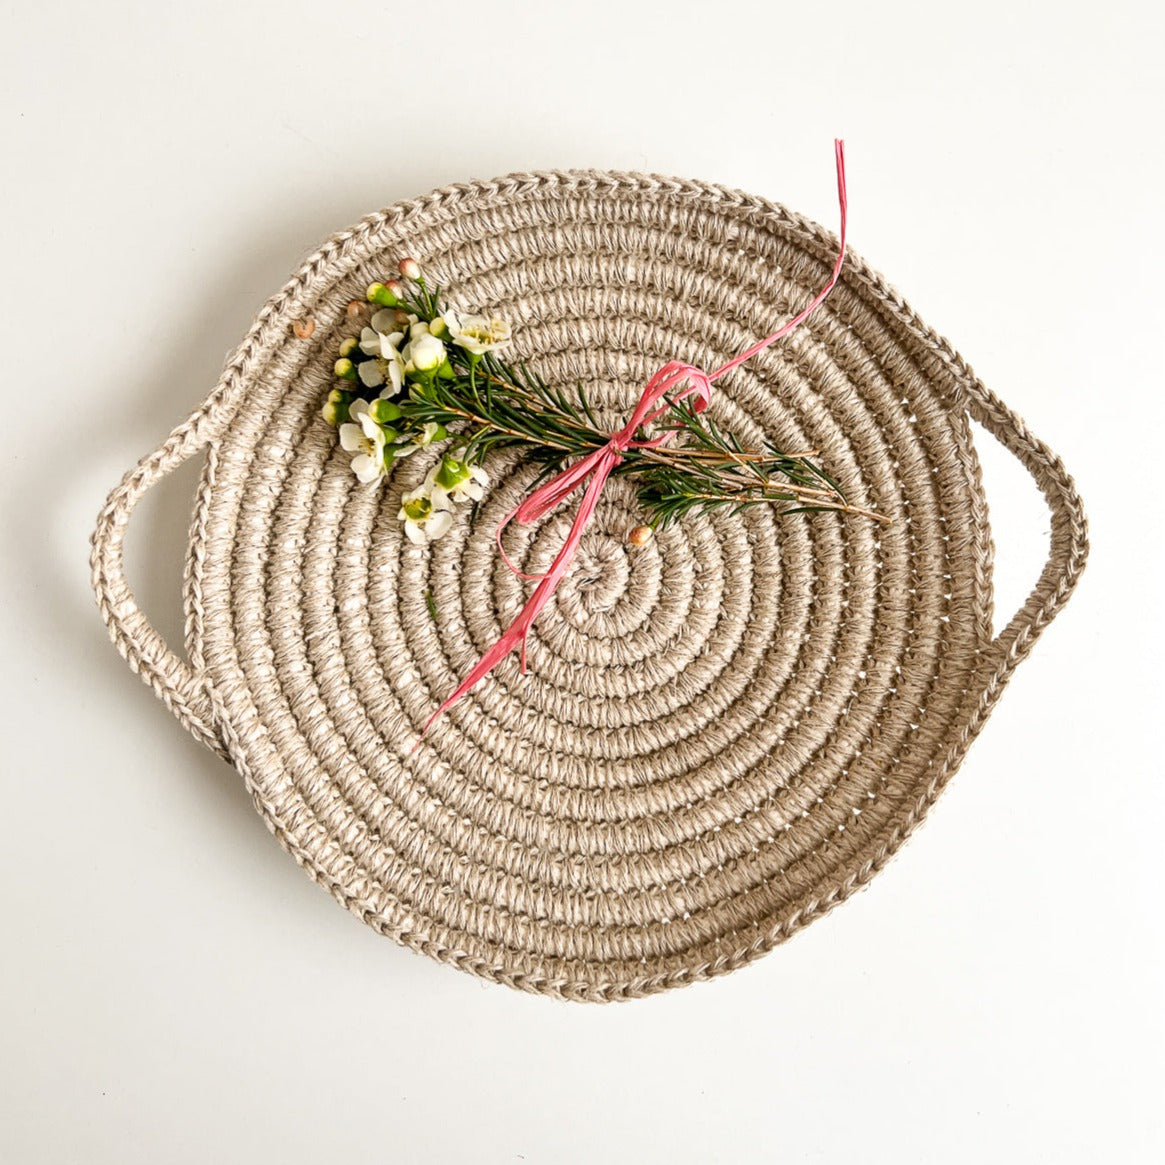
Start Something Beautiful
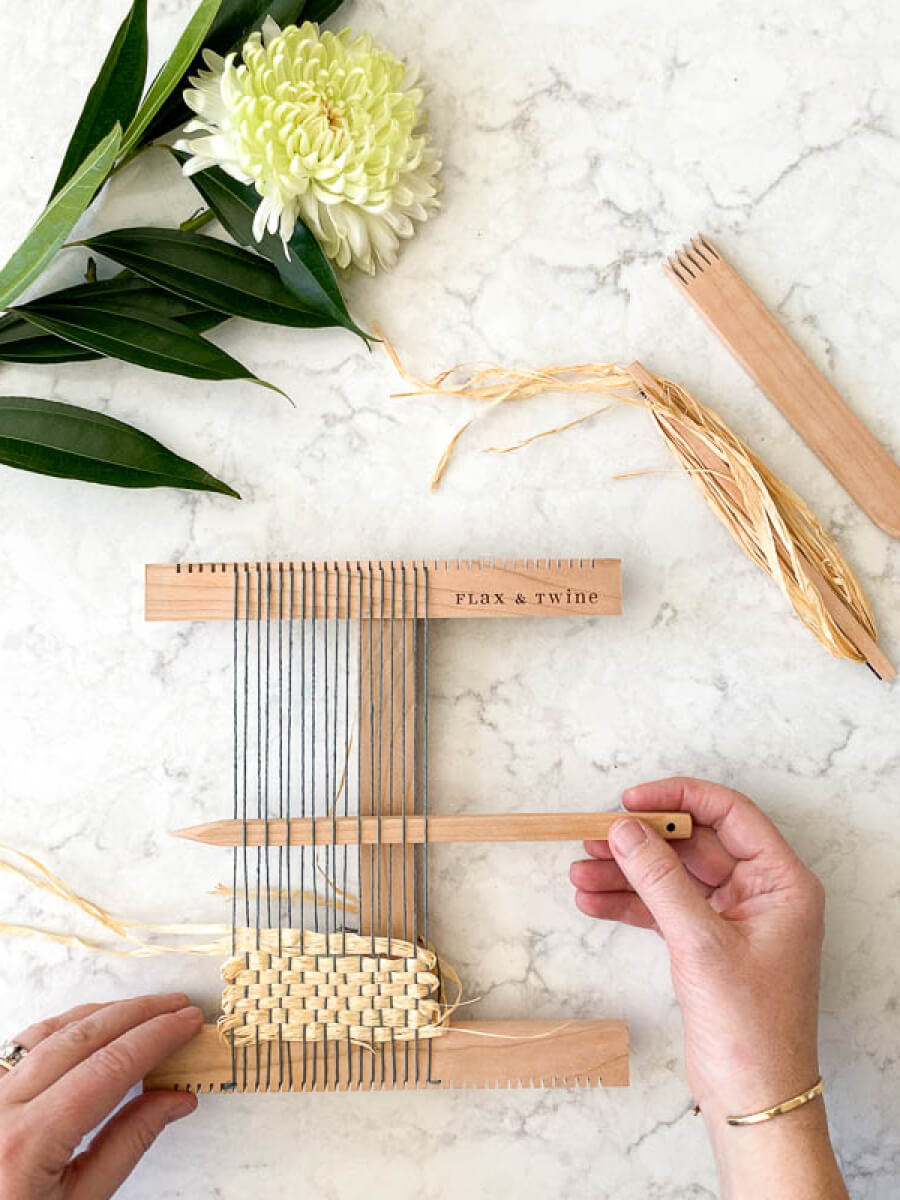
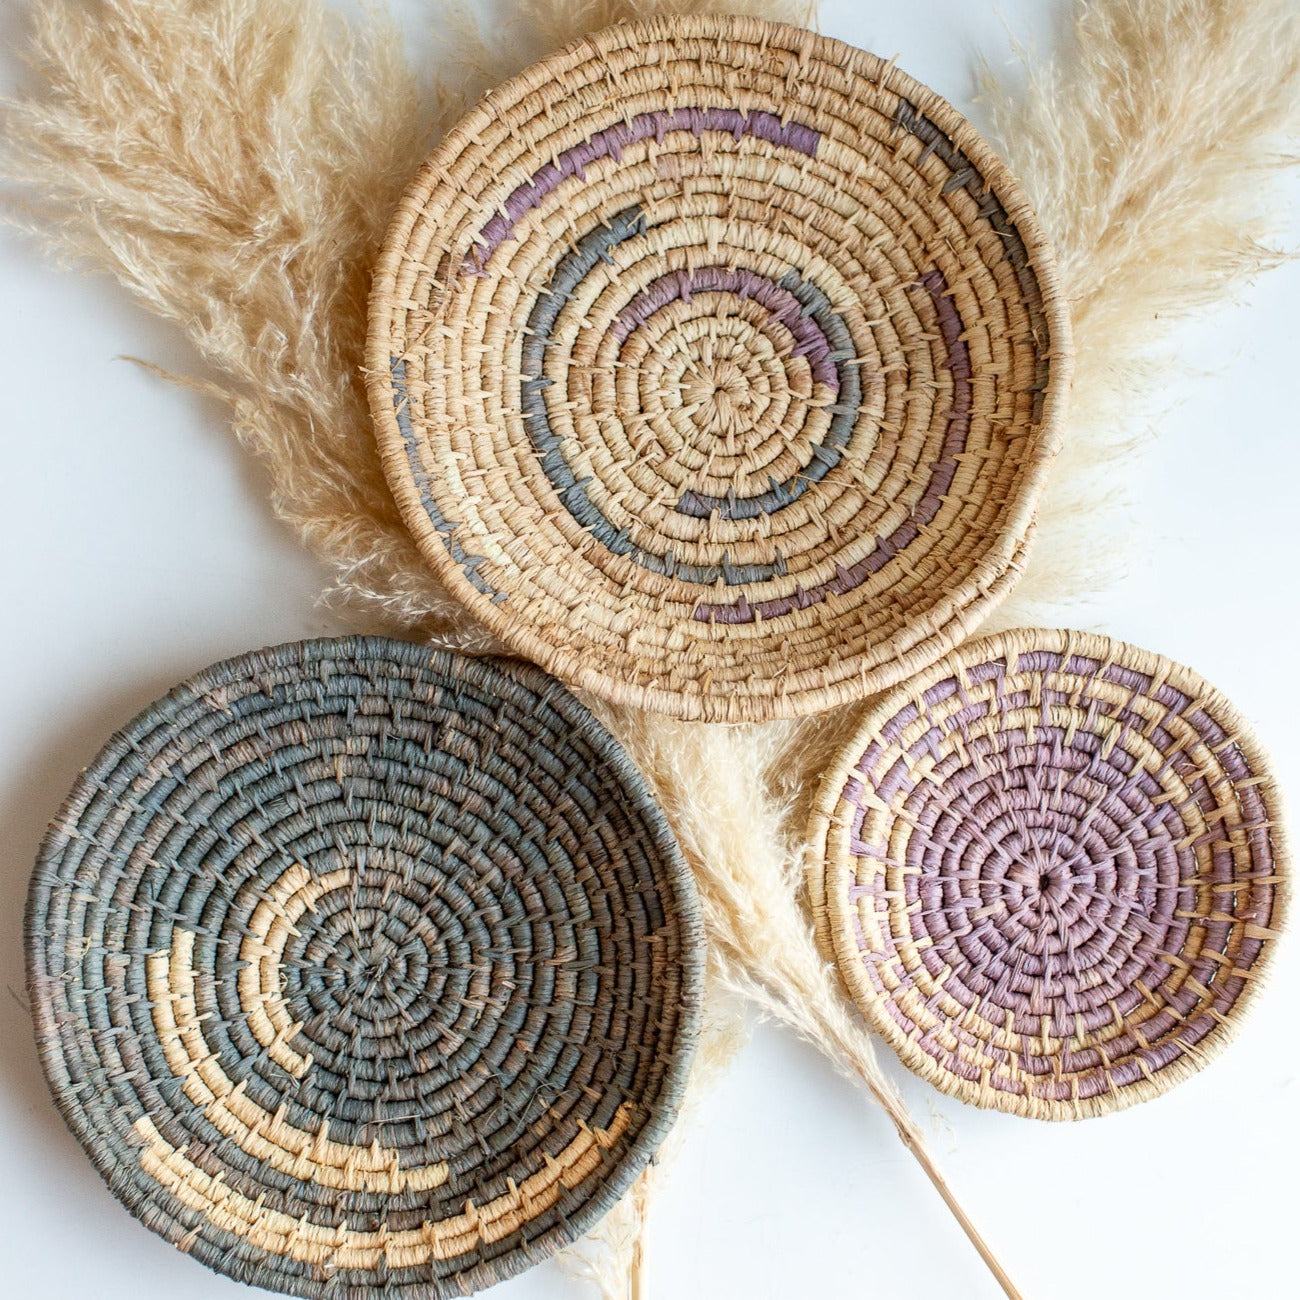
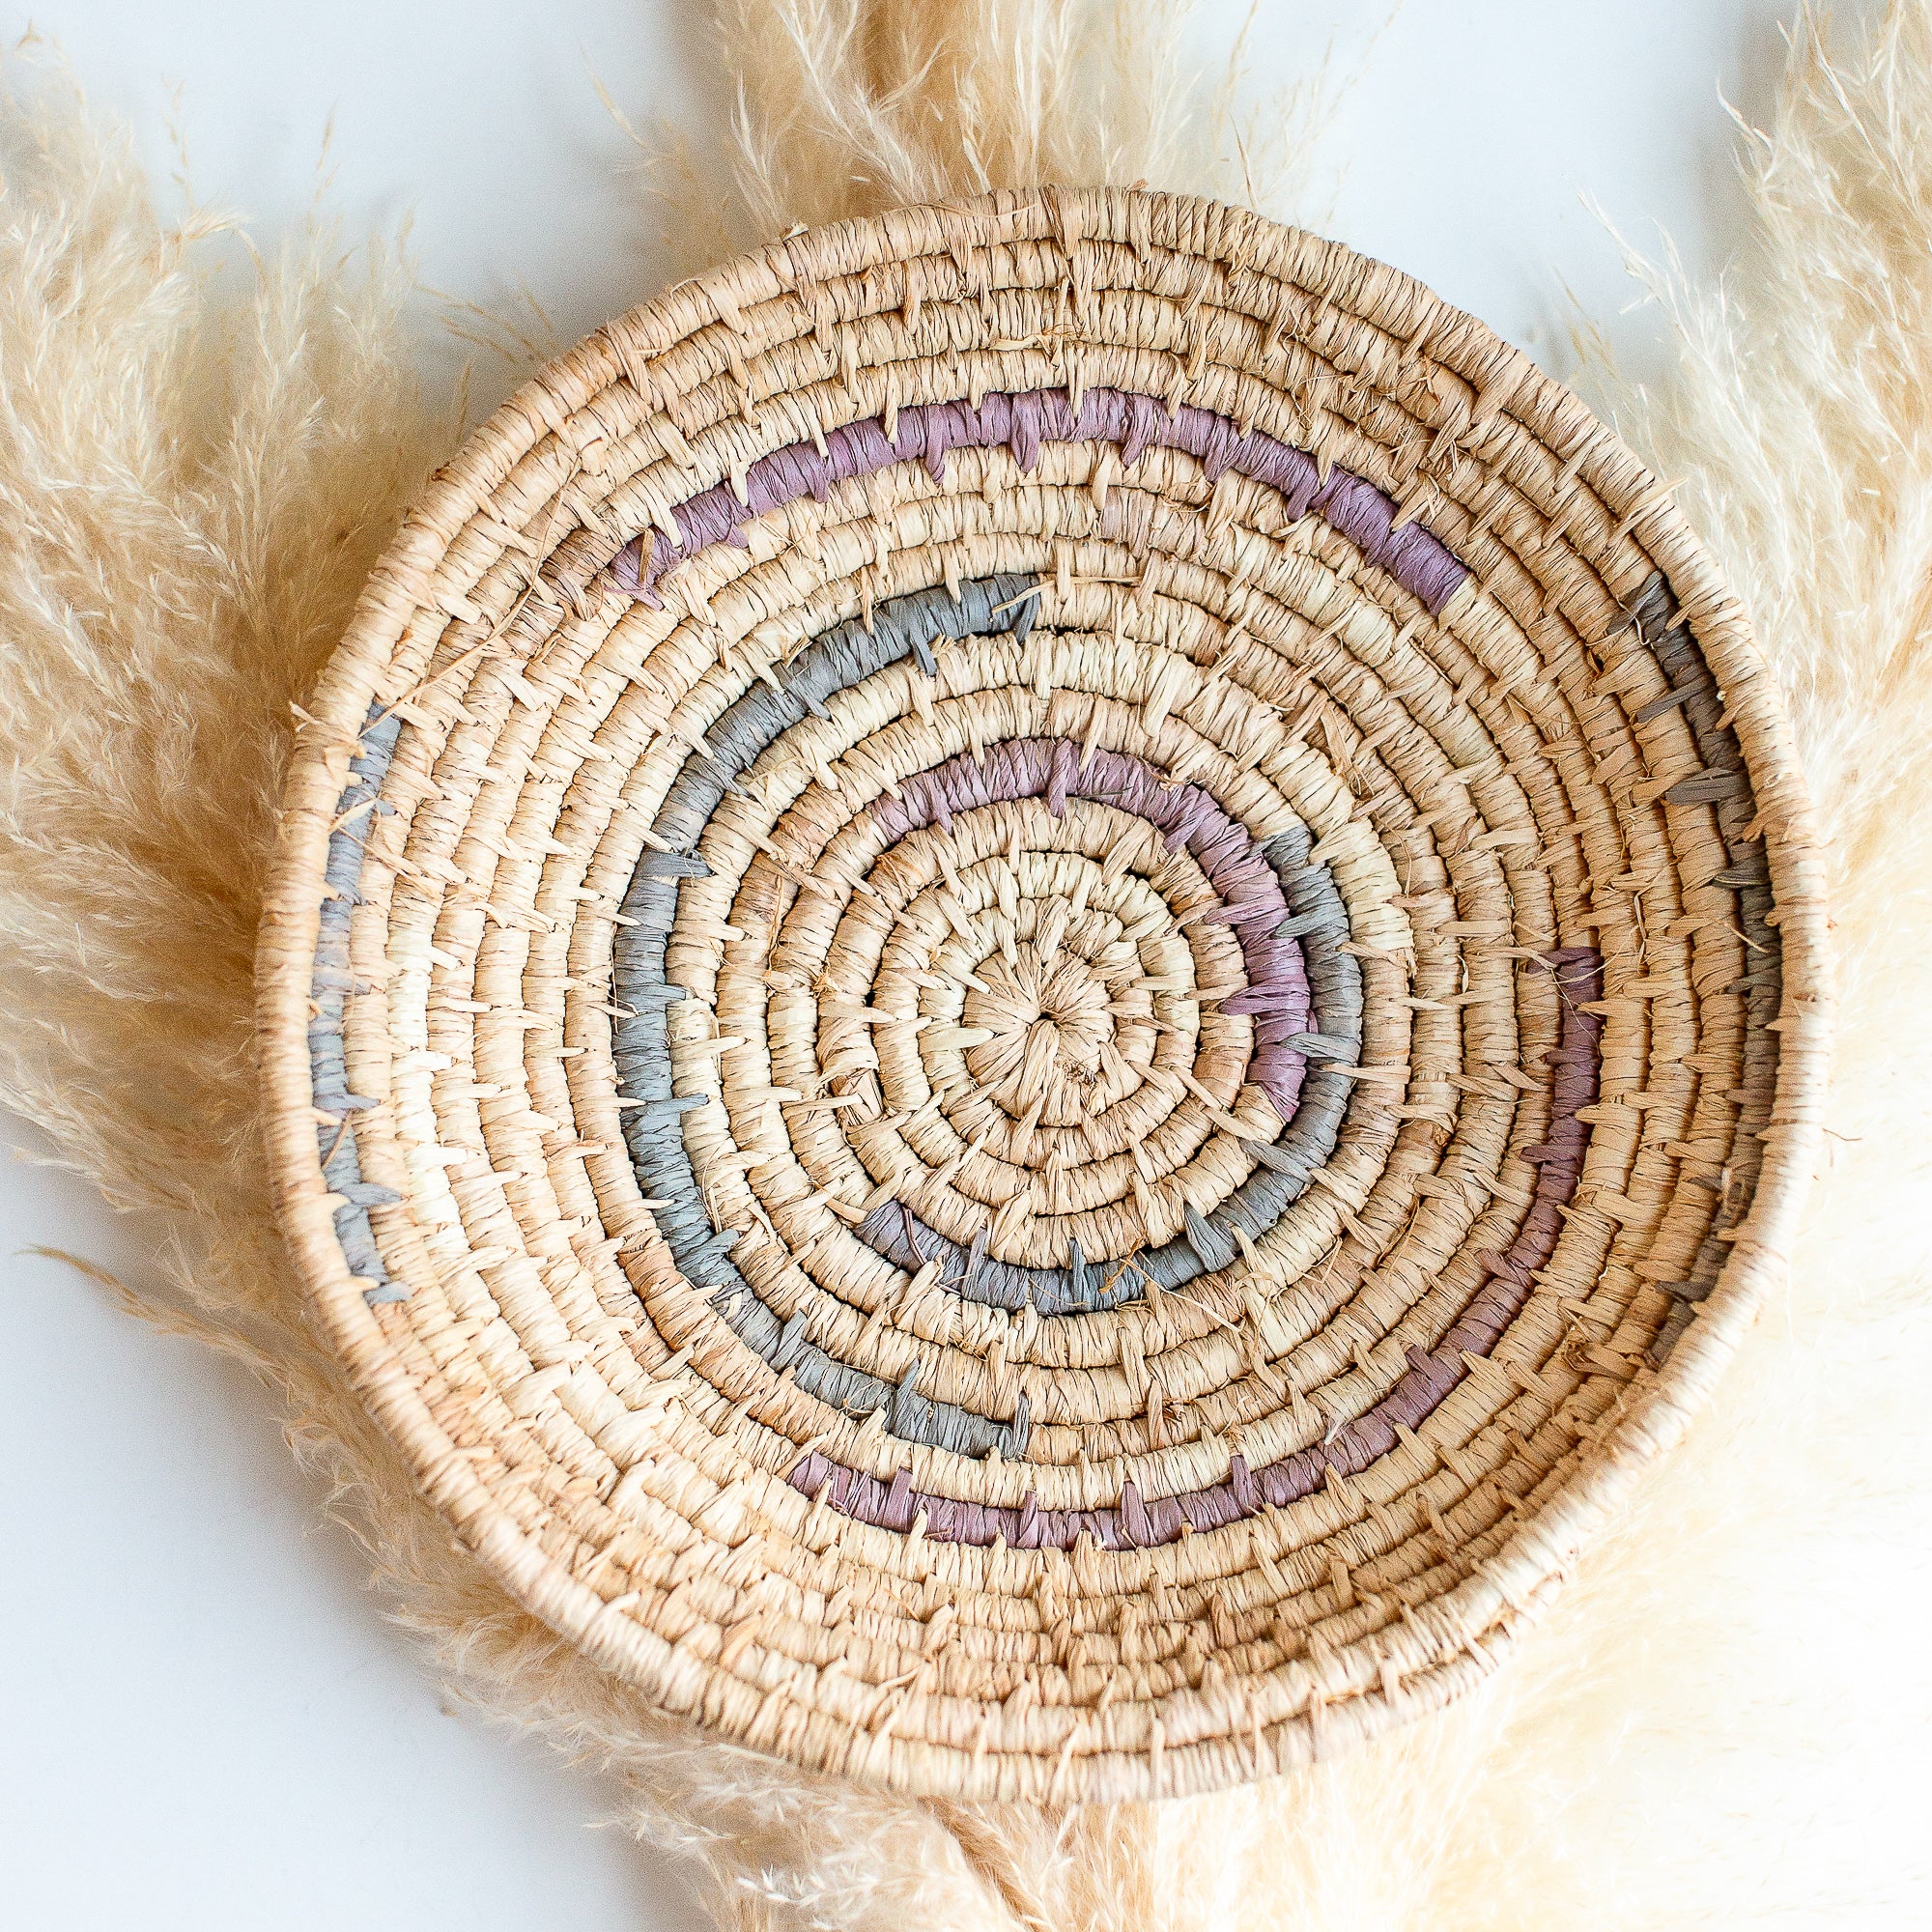
Learn with us
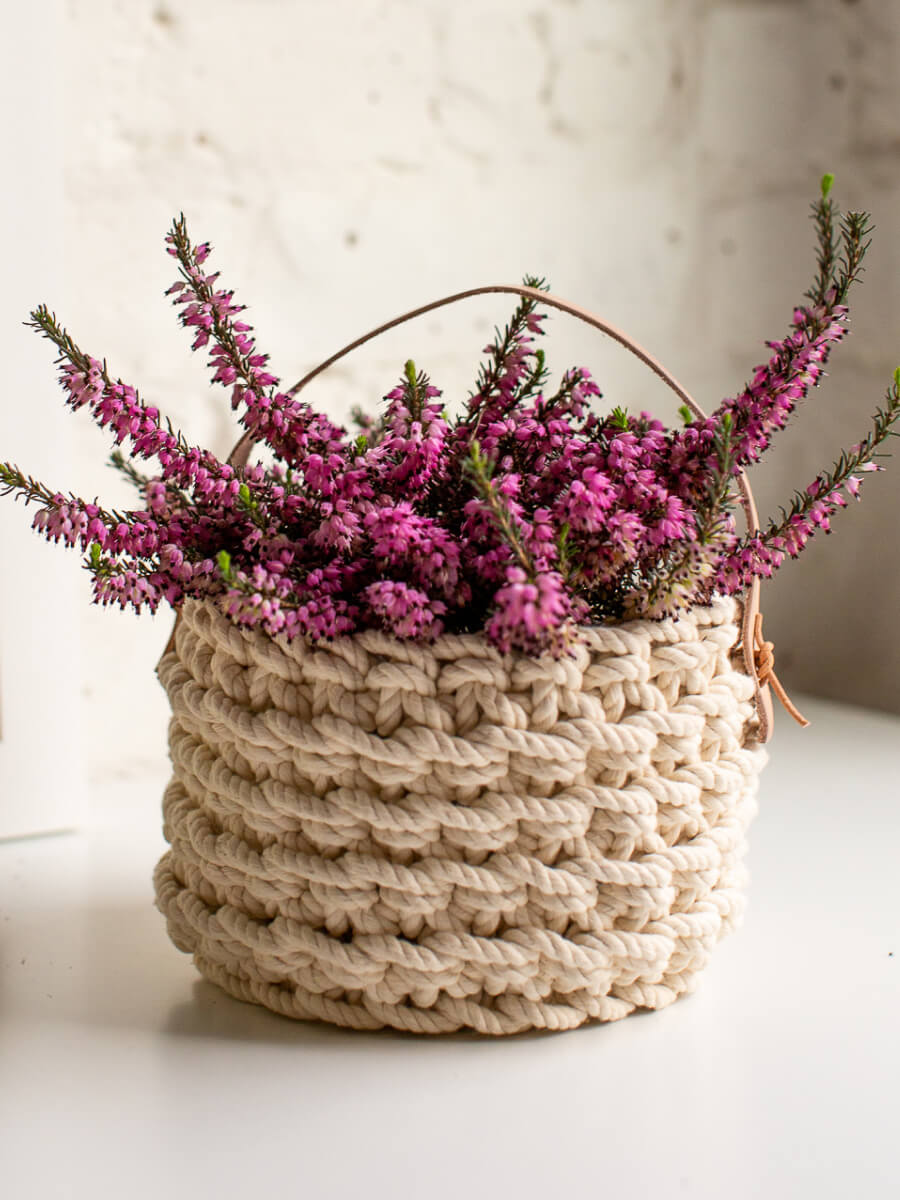
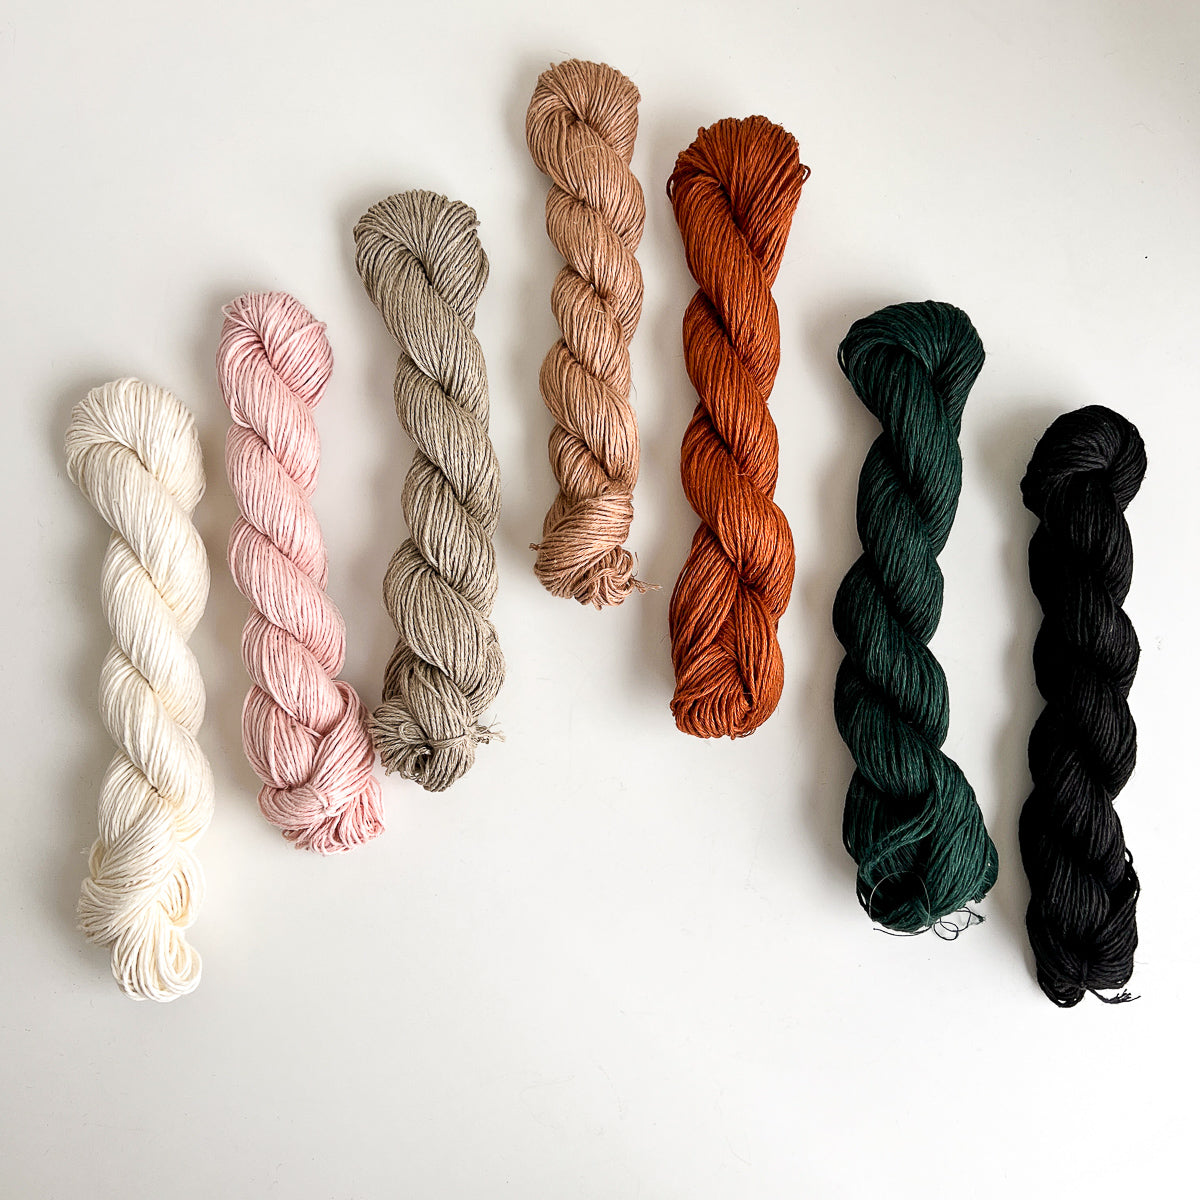
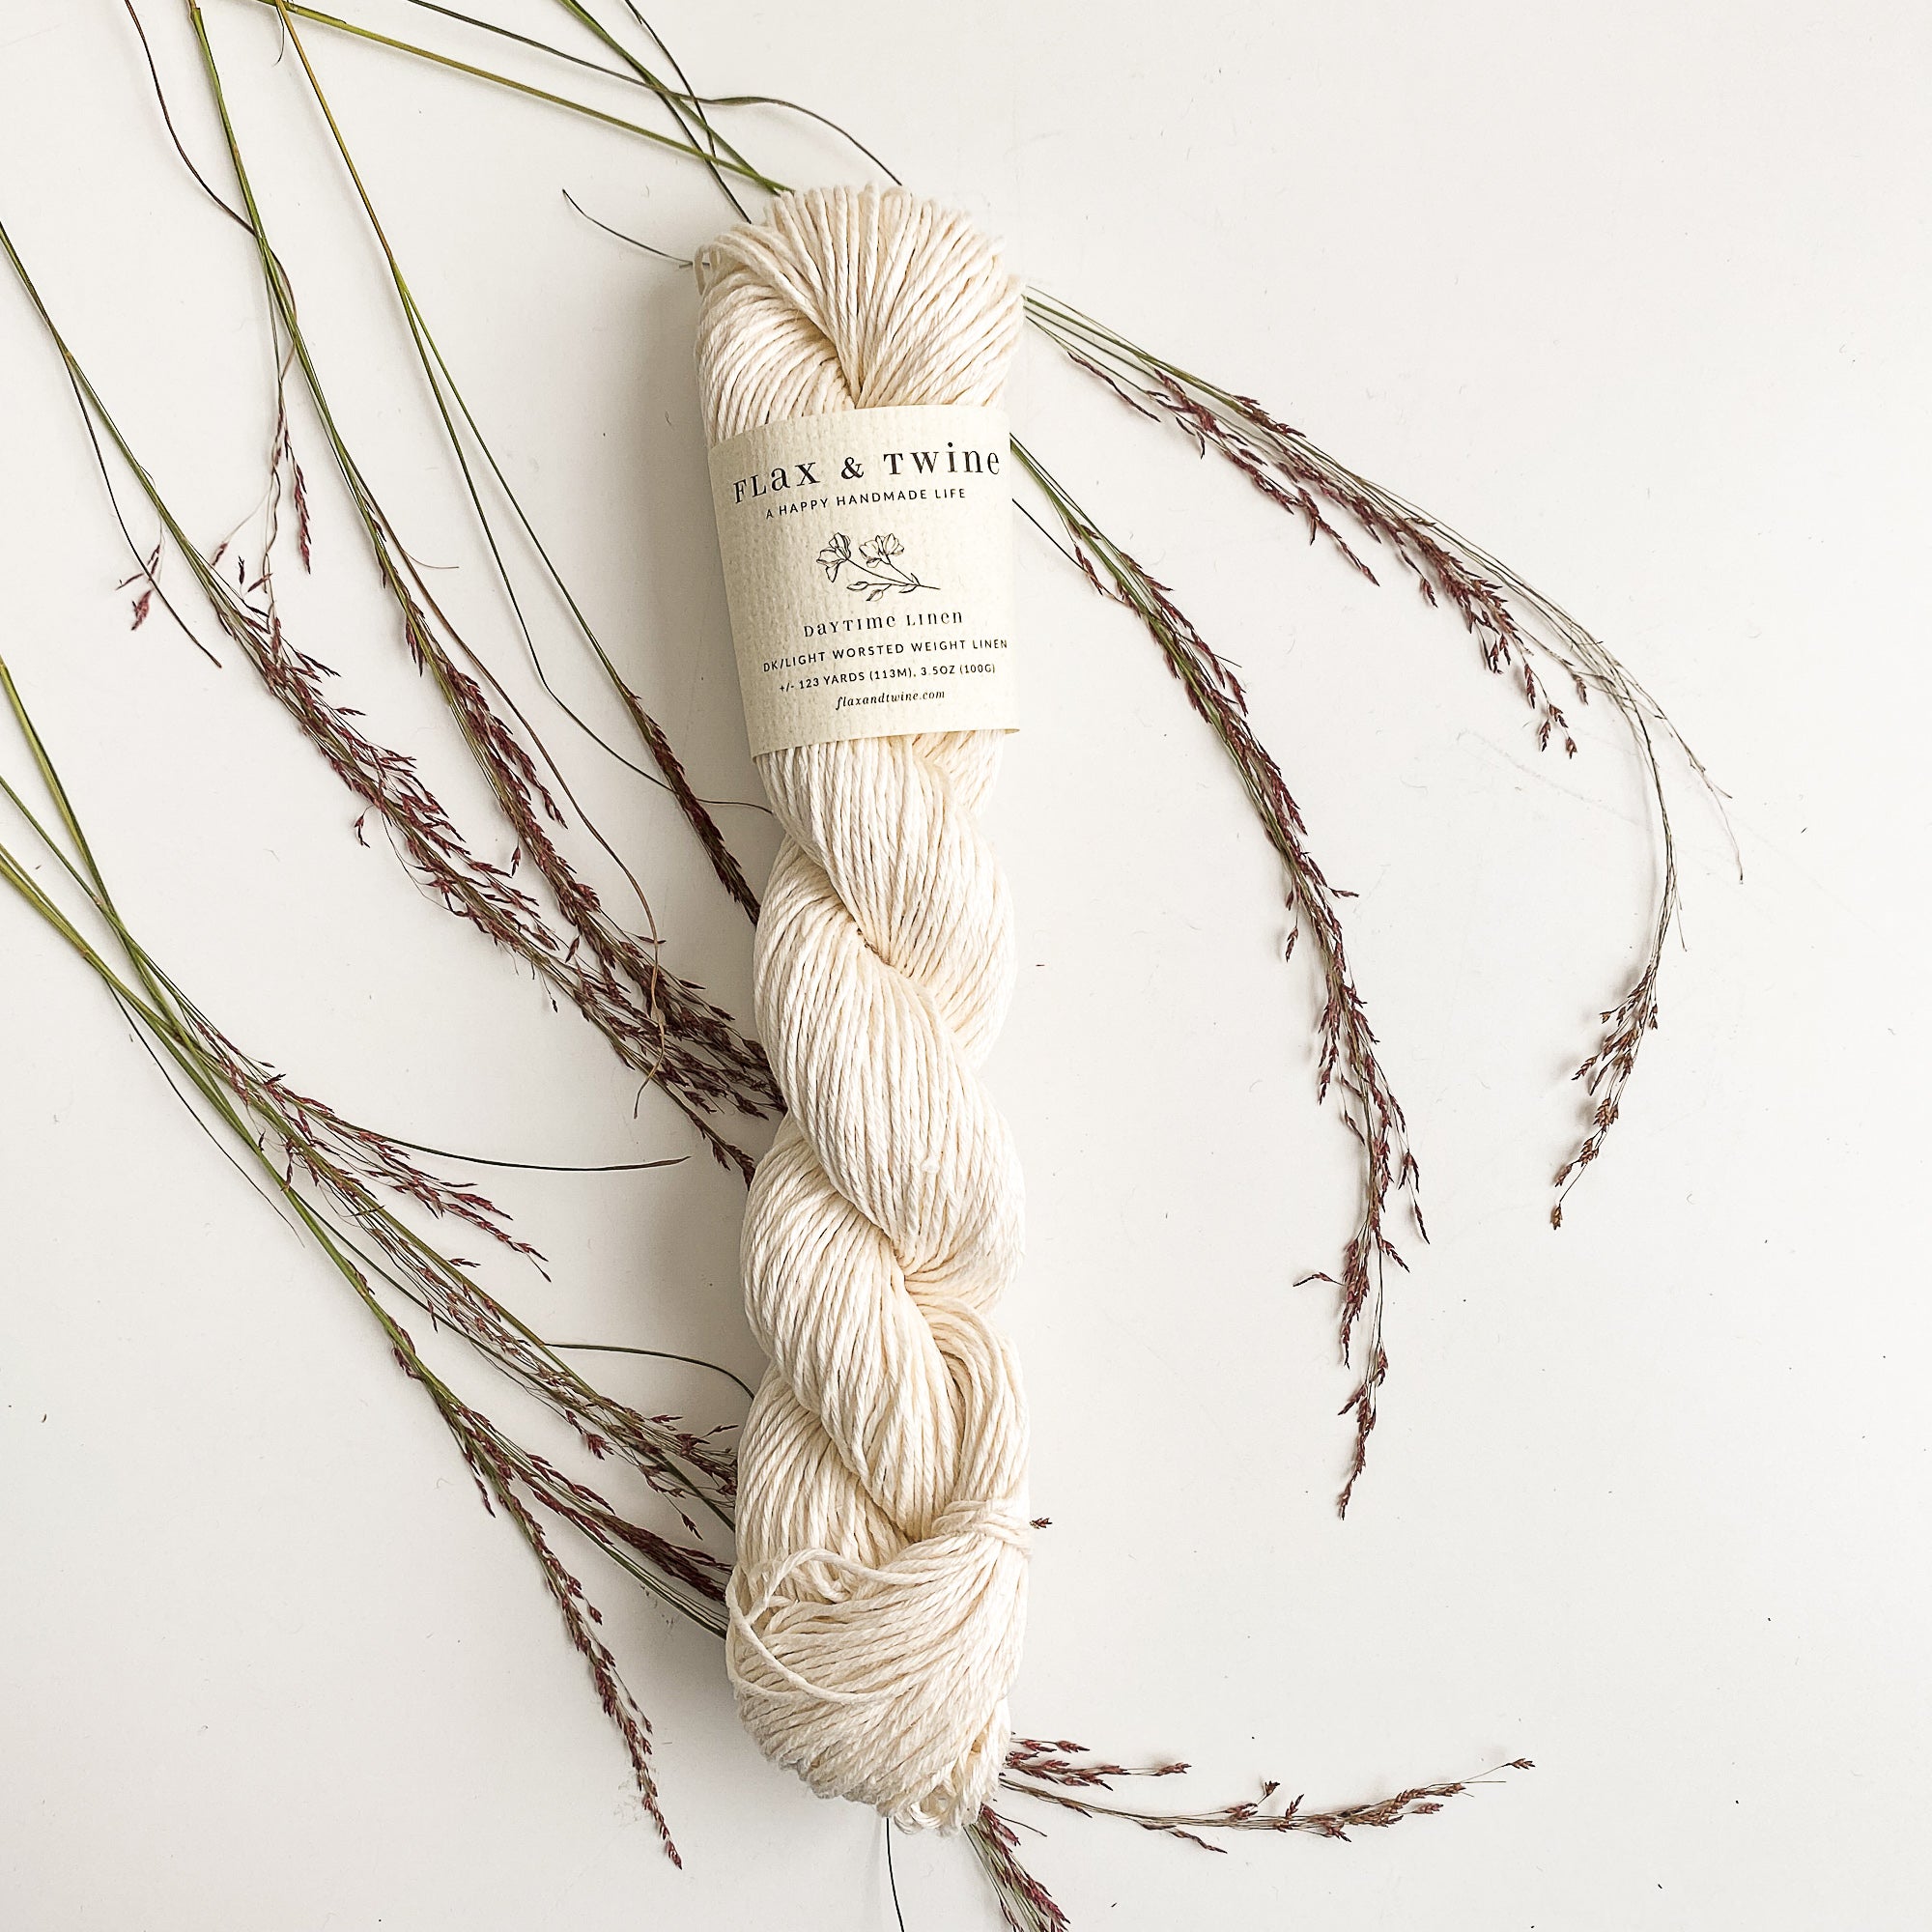
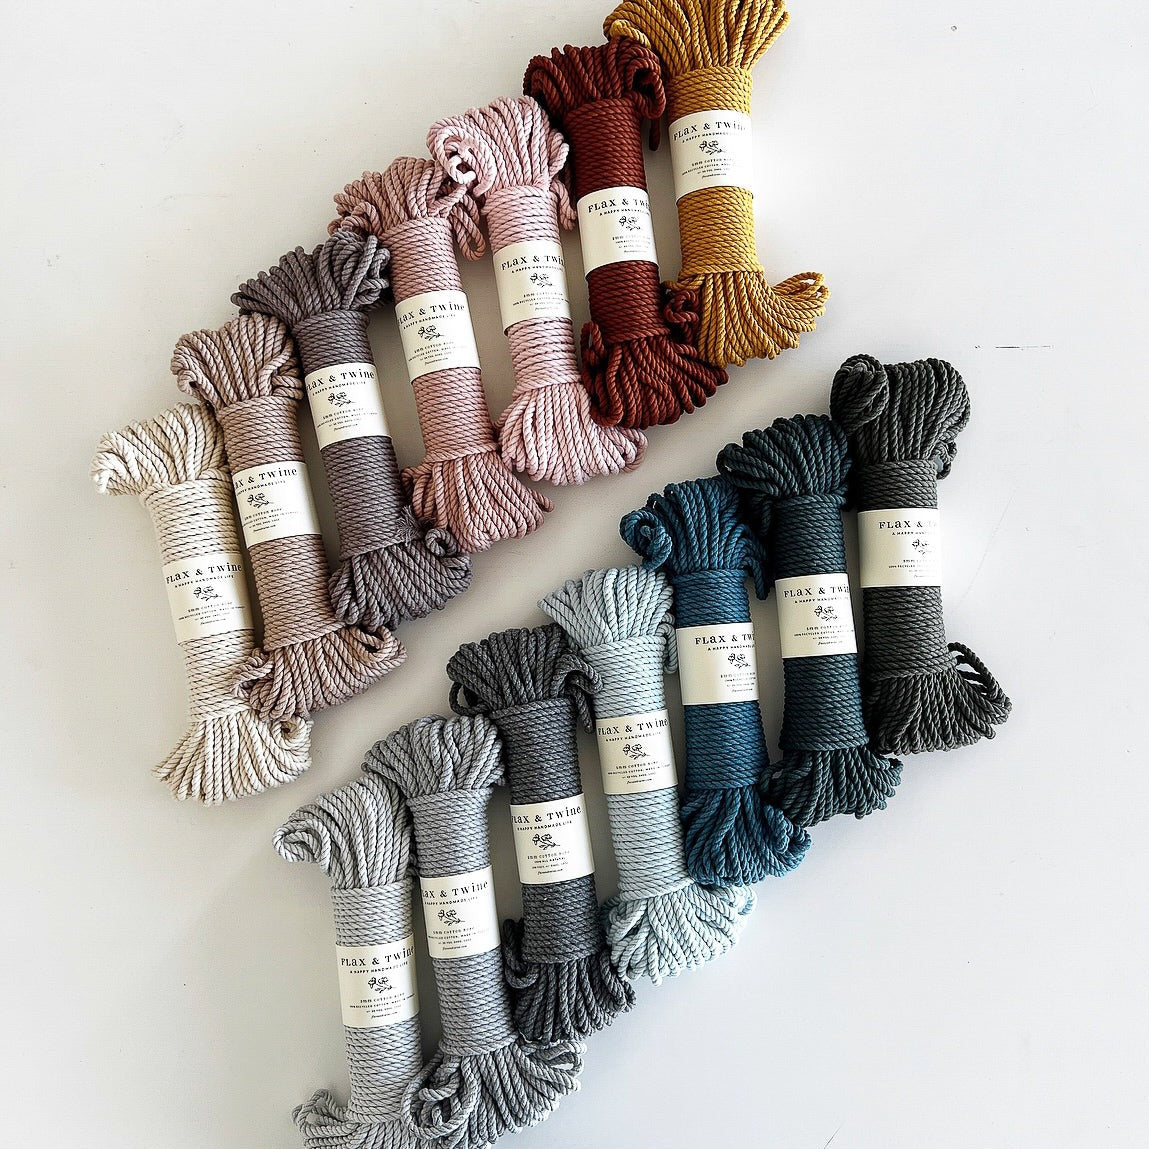
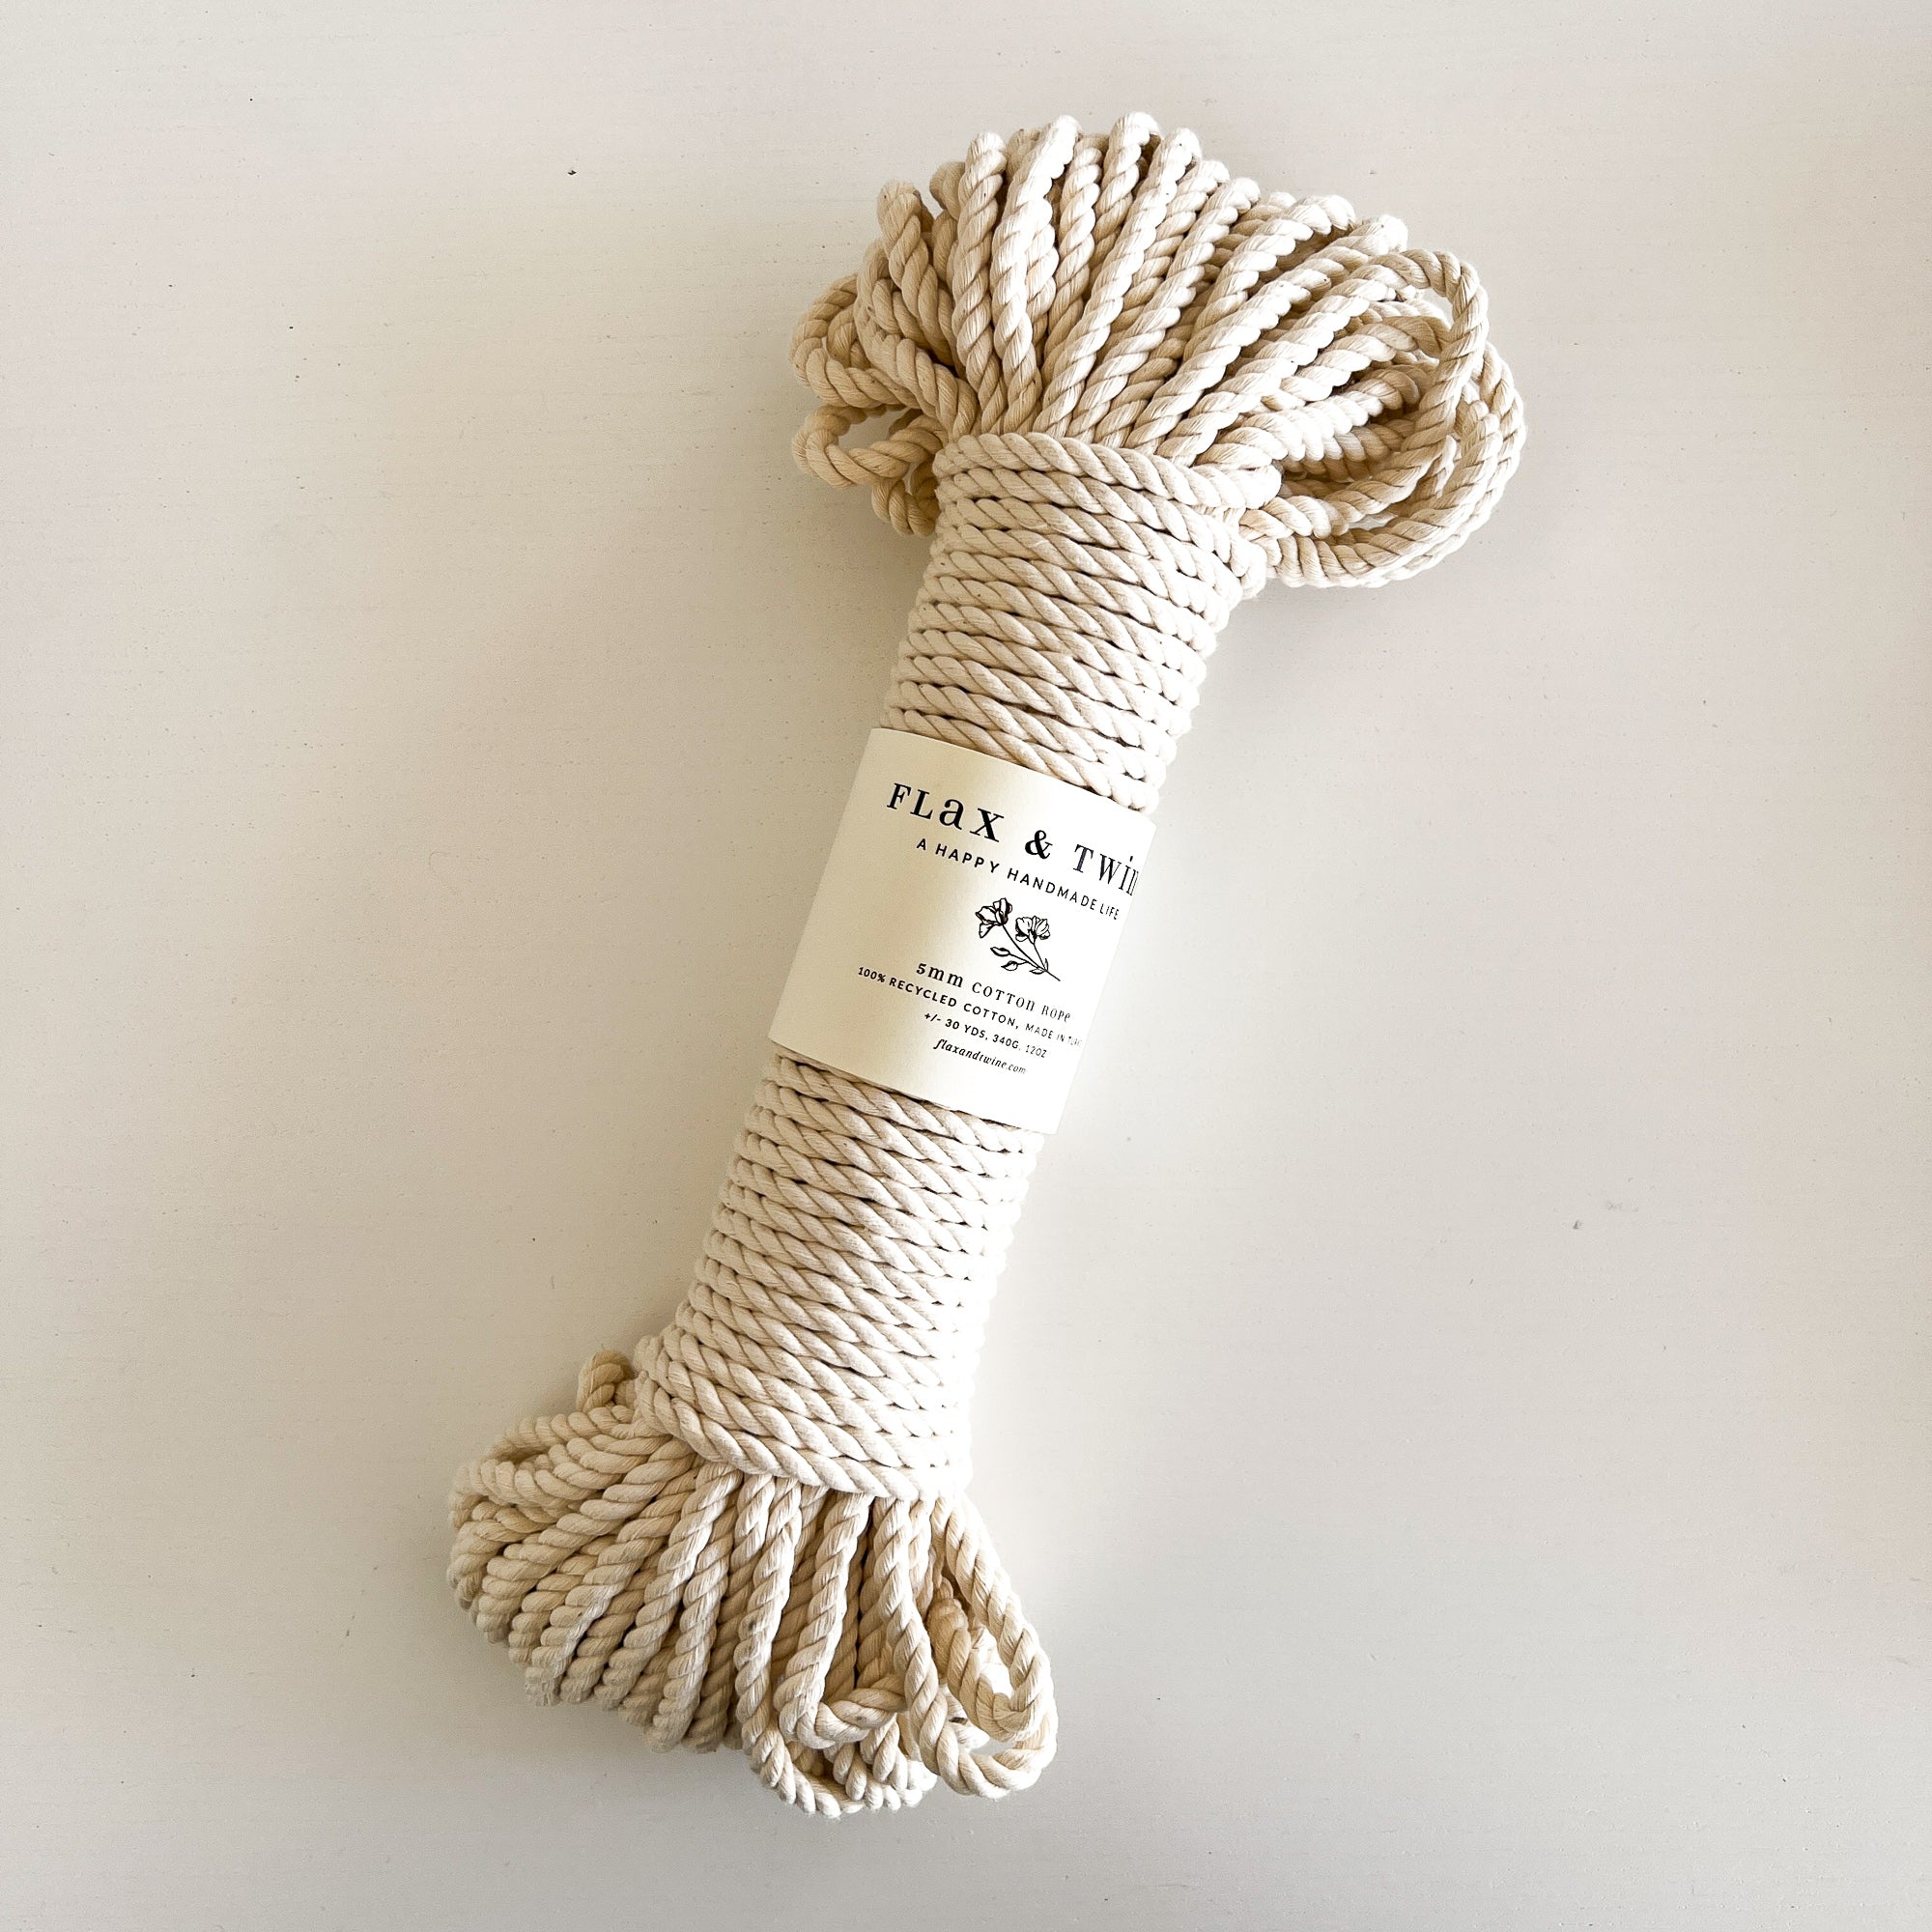
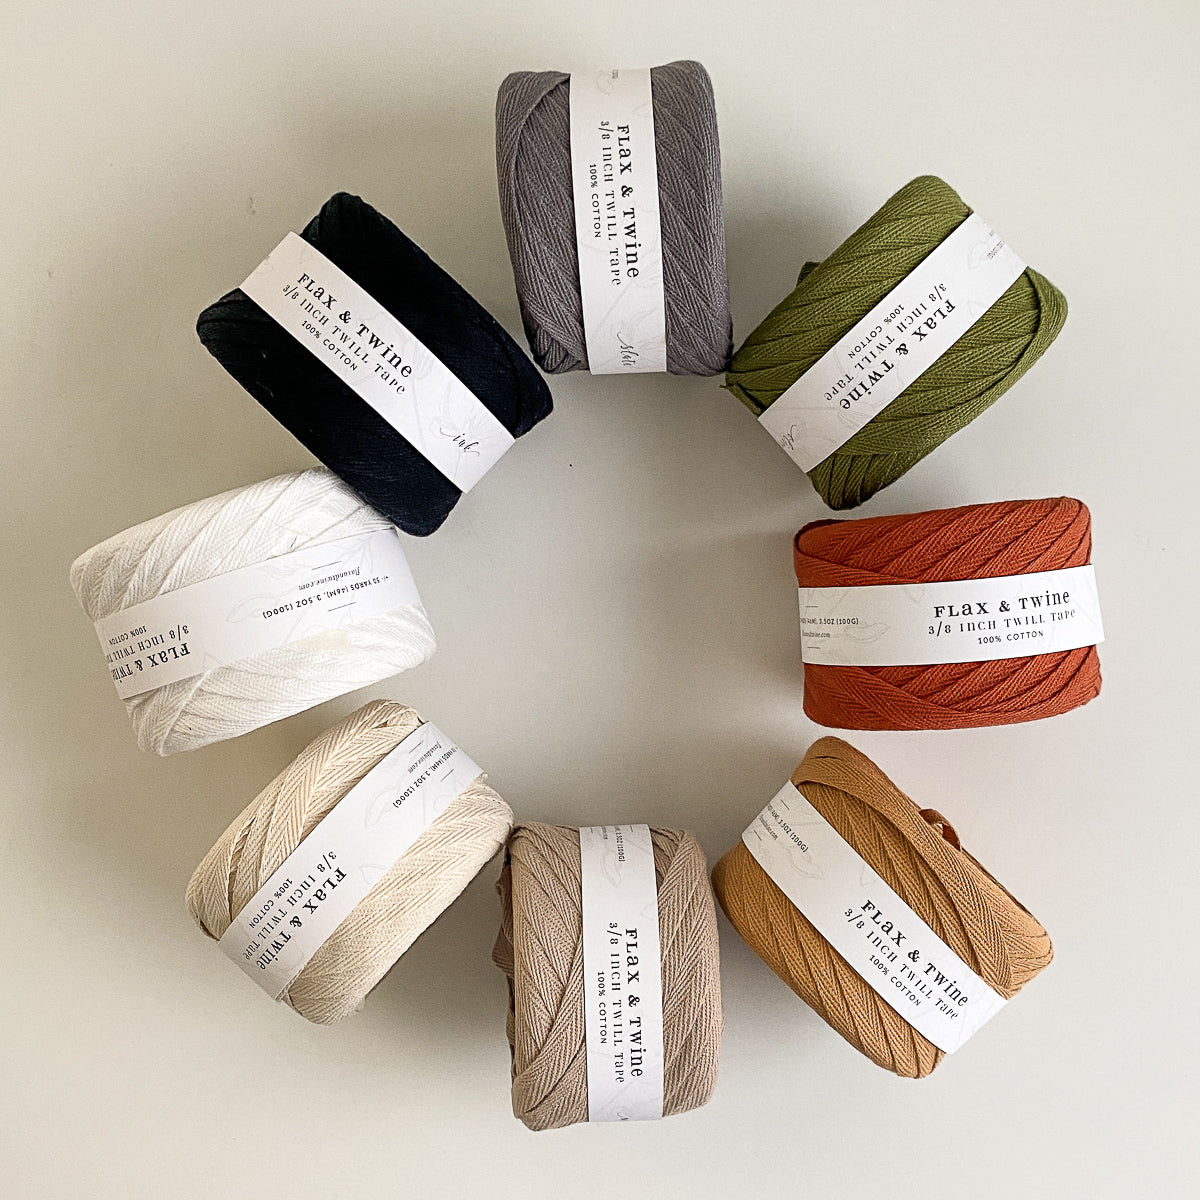
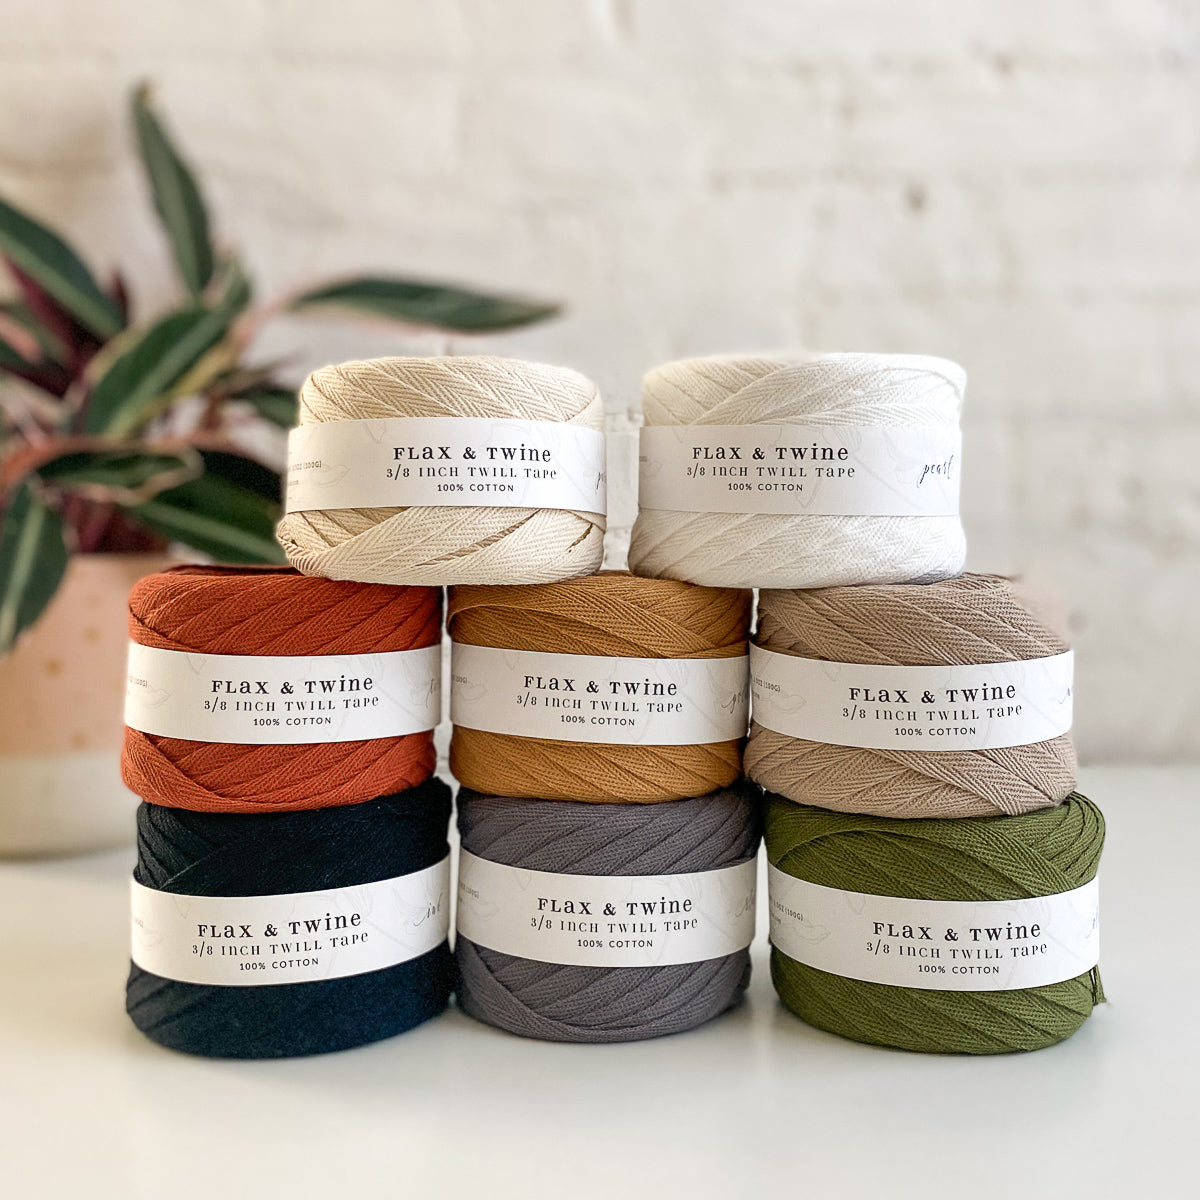
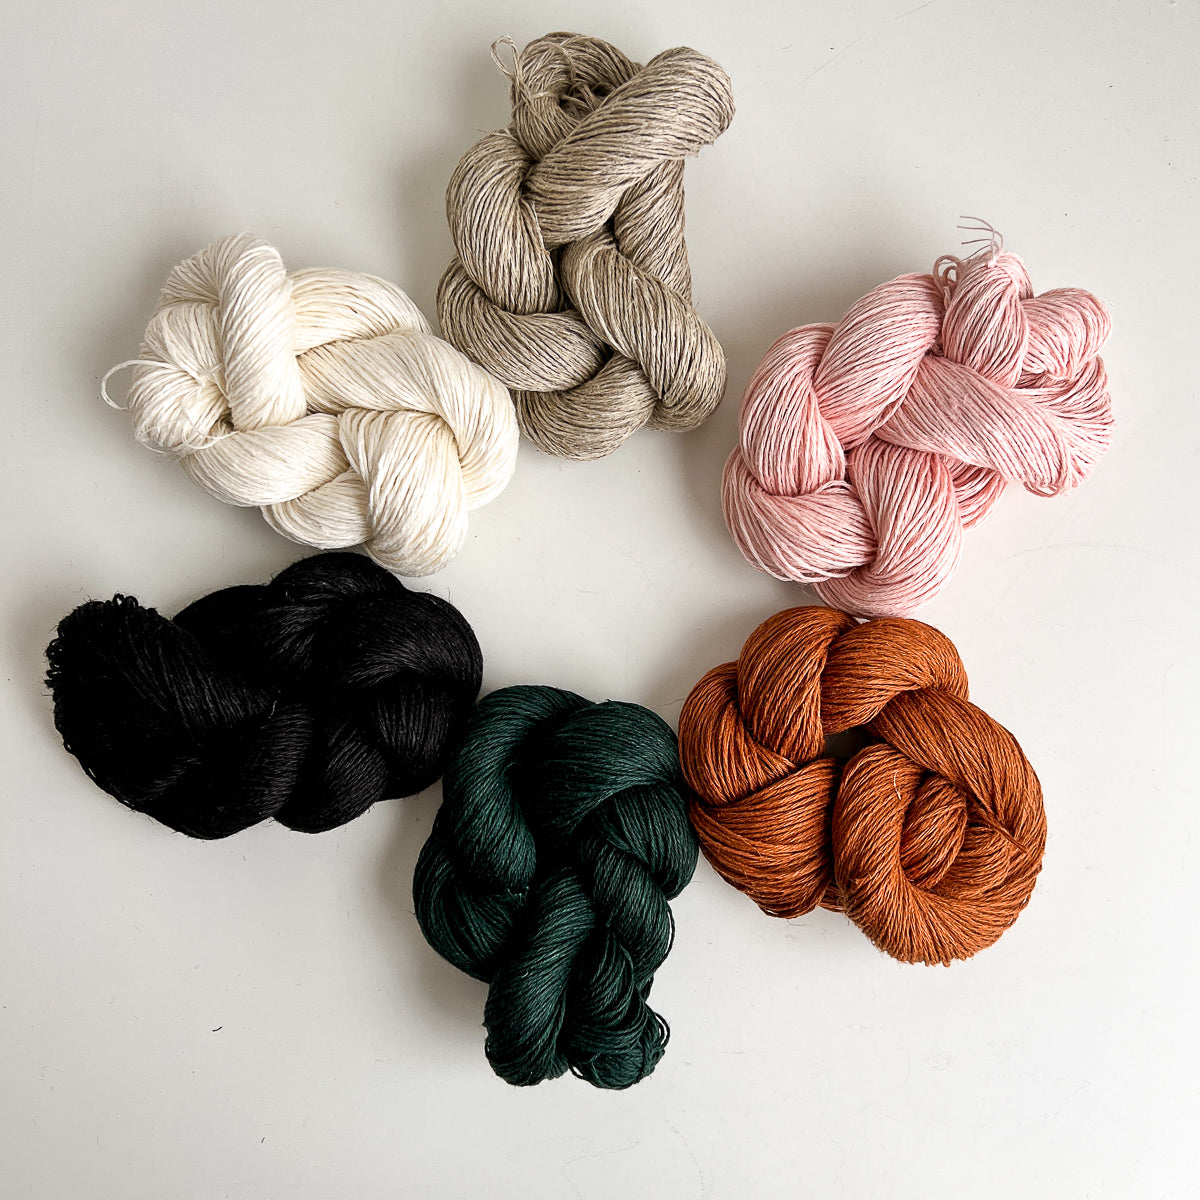
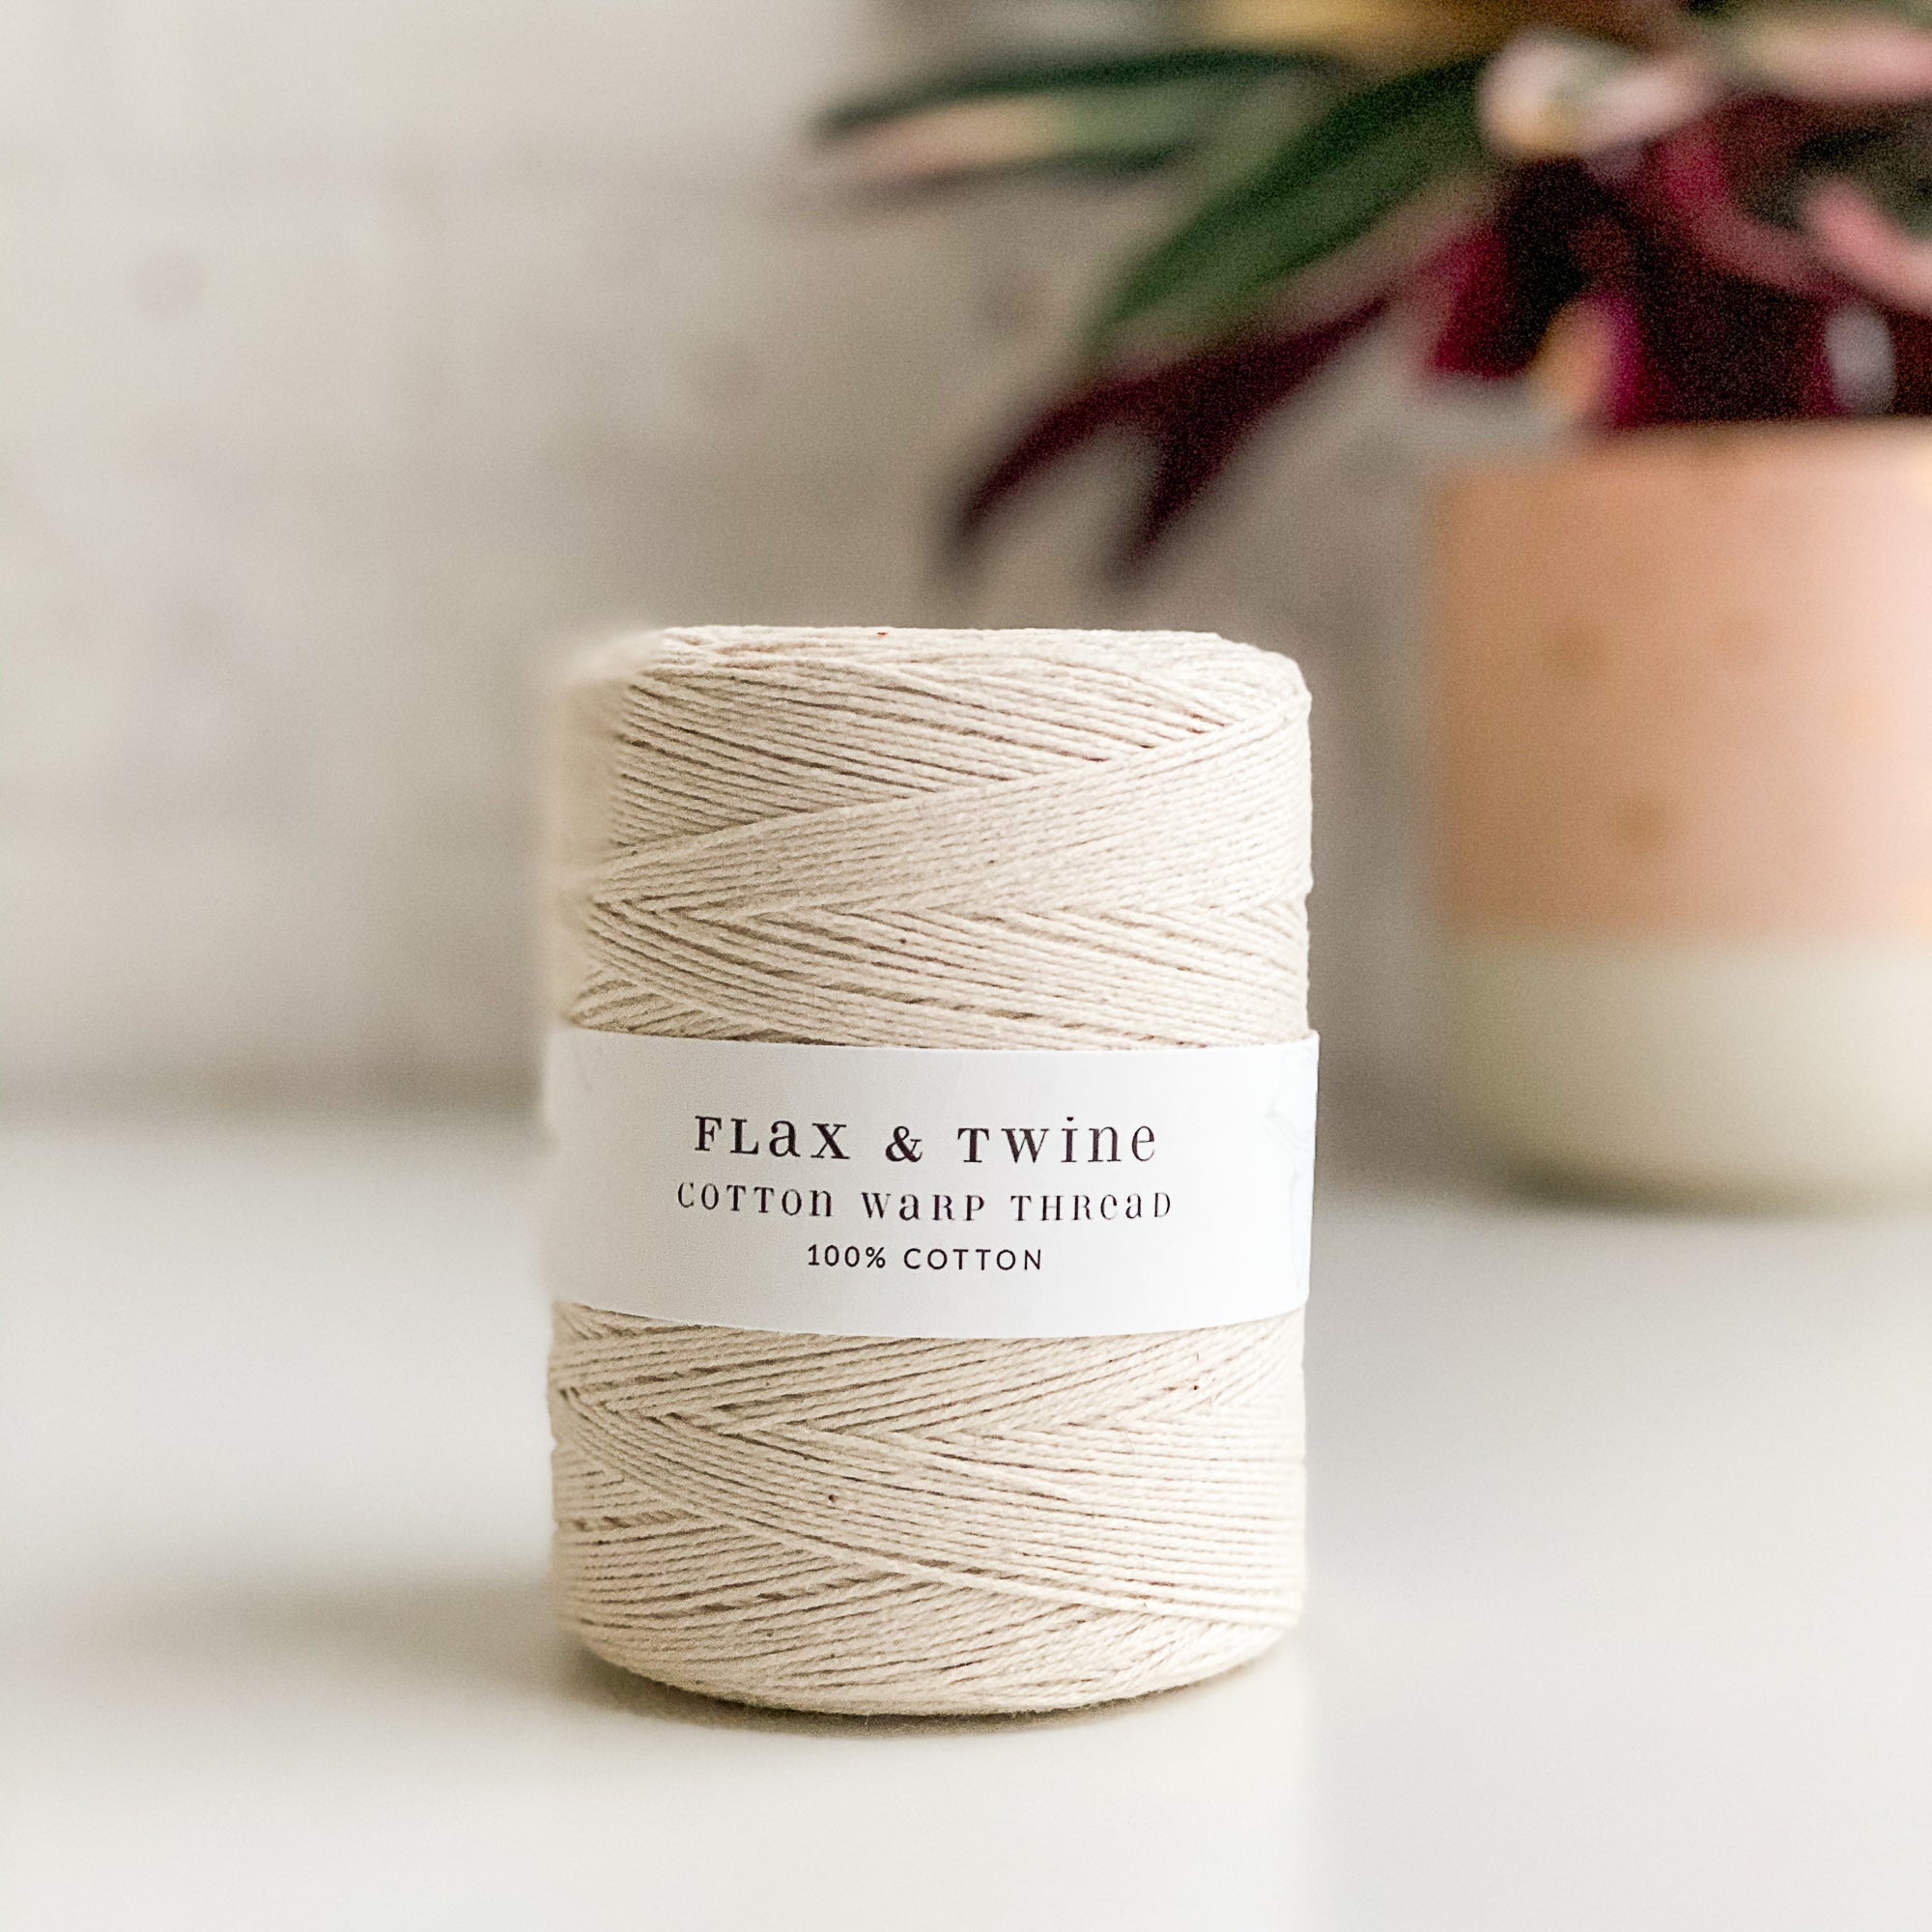
Sourced for you
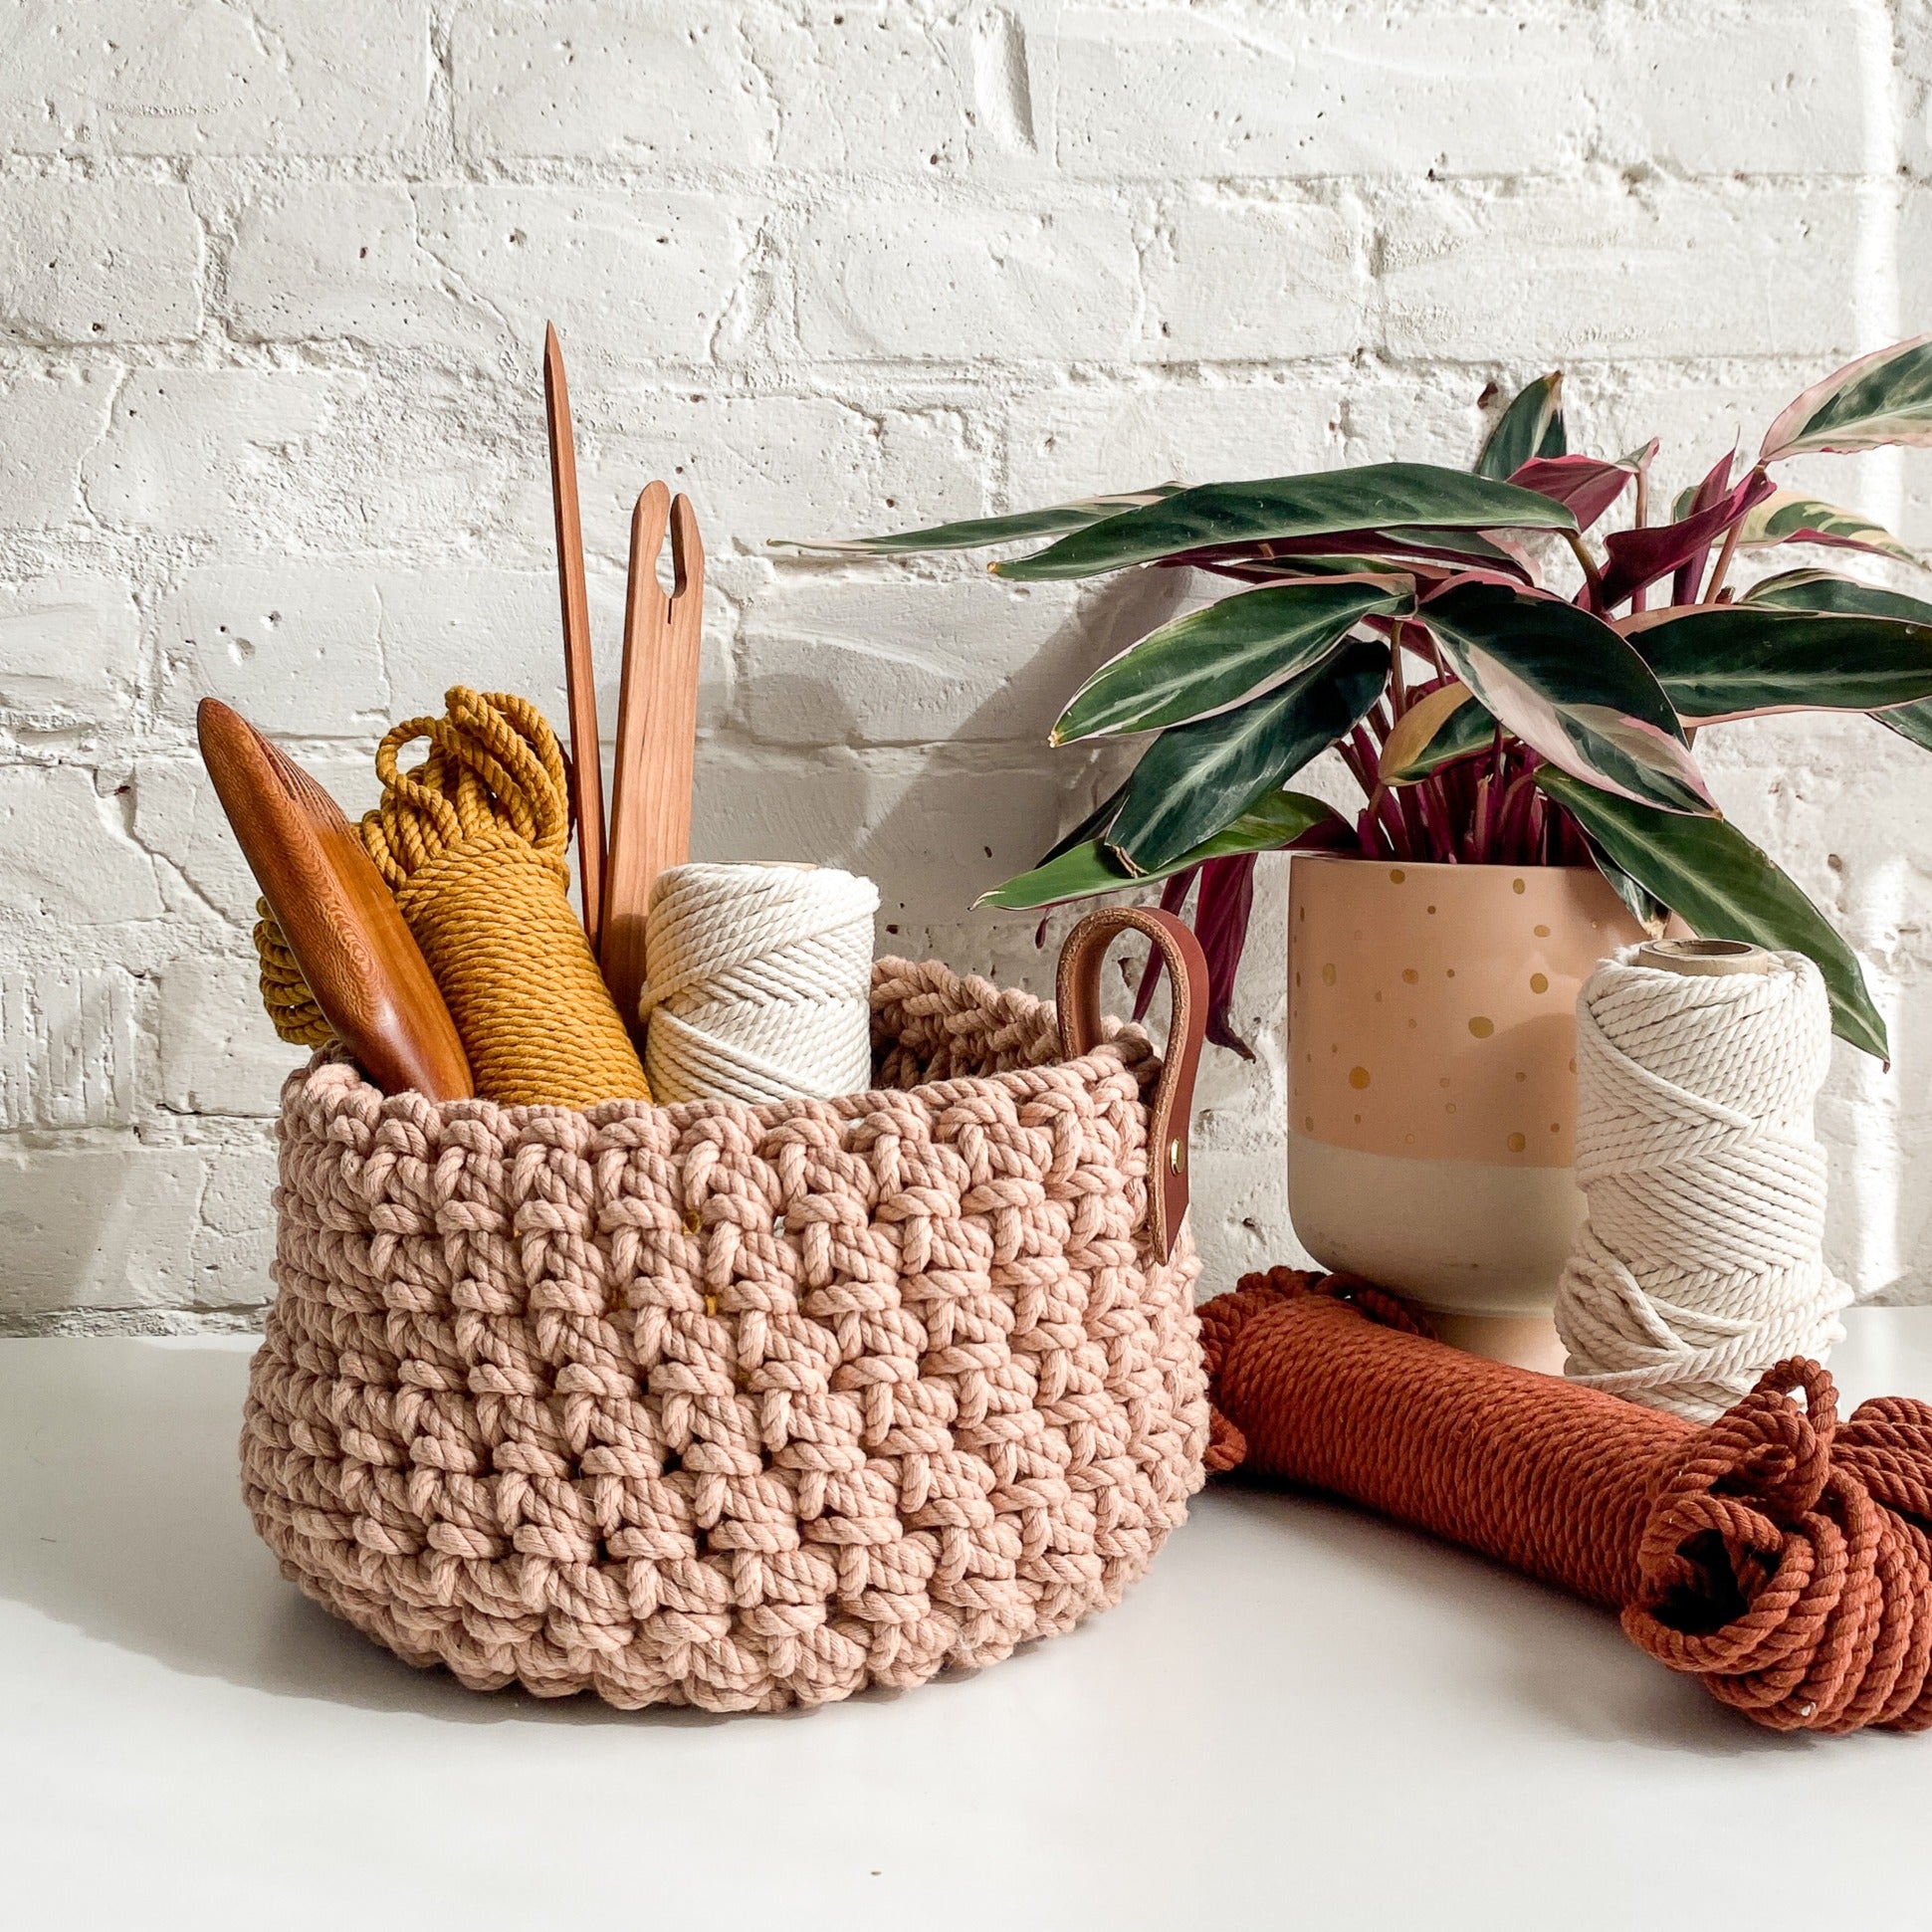
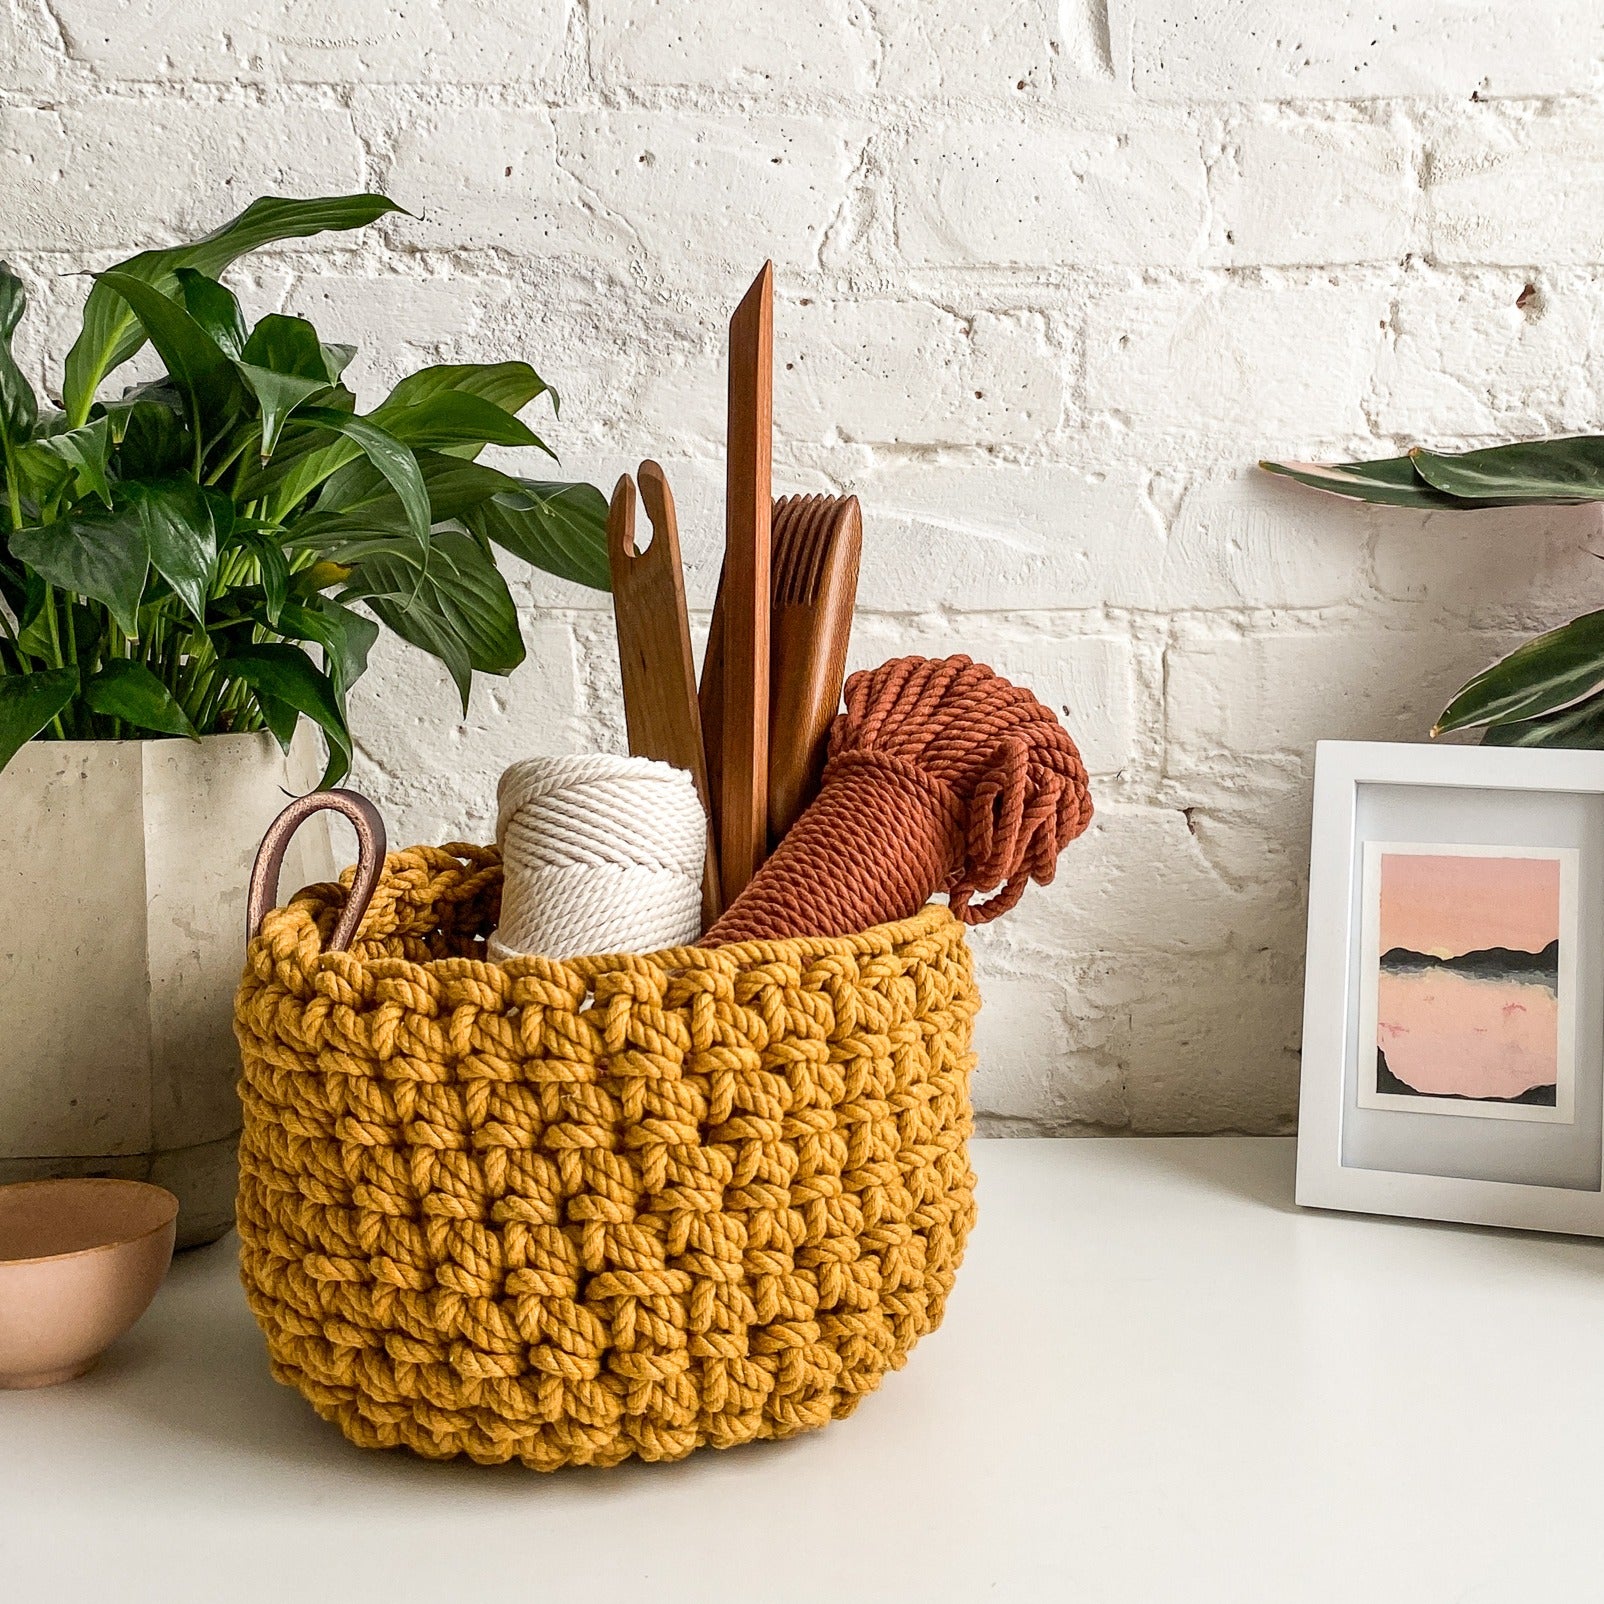
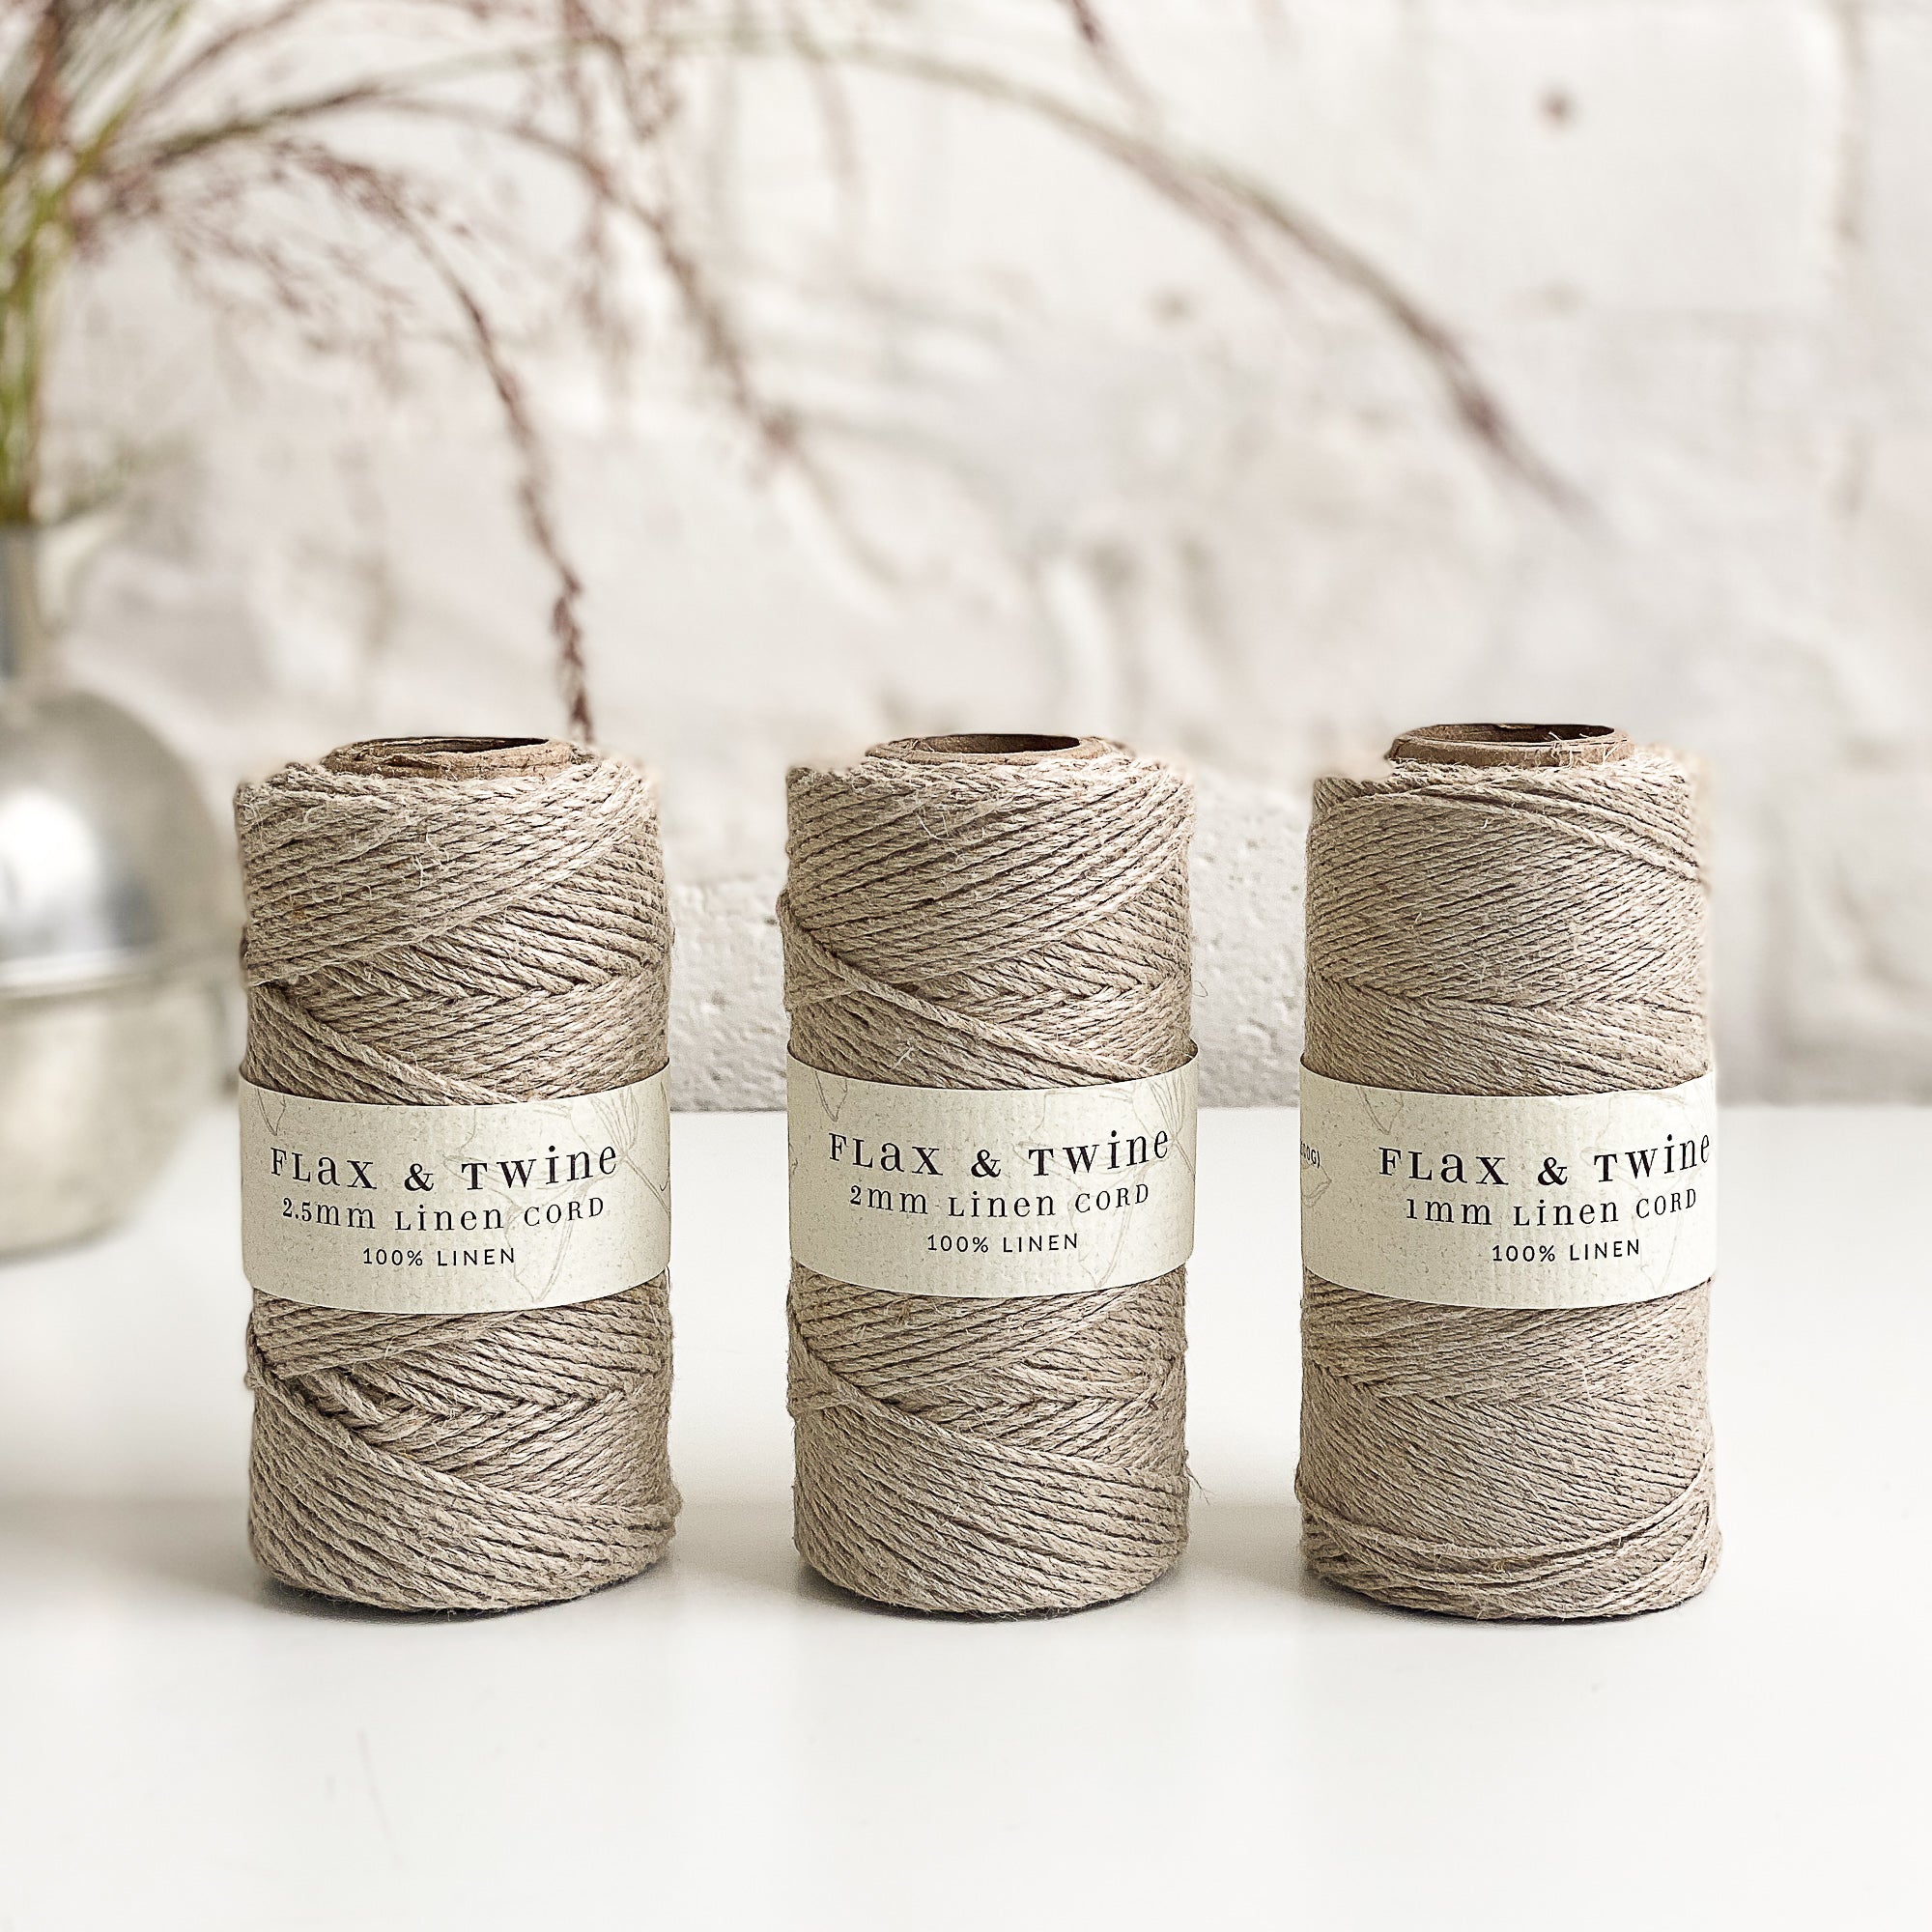
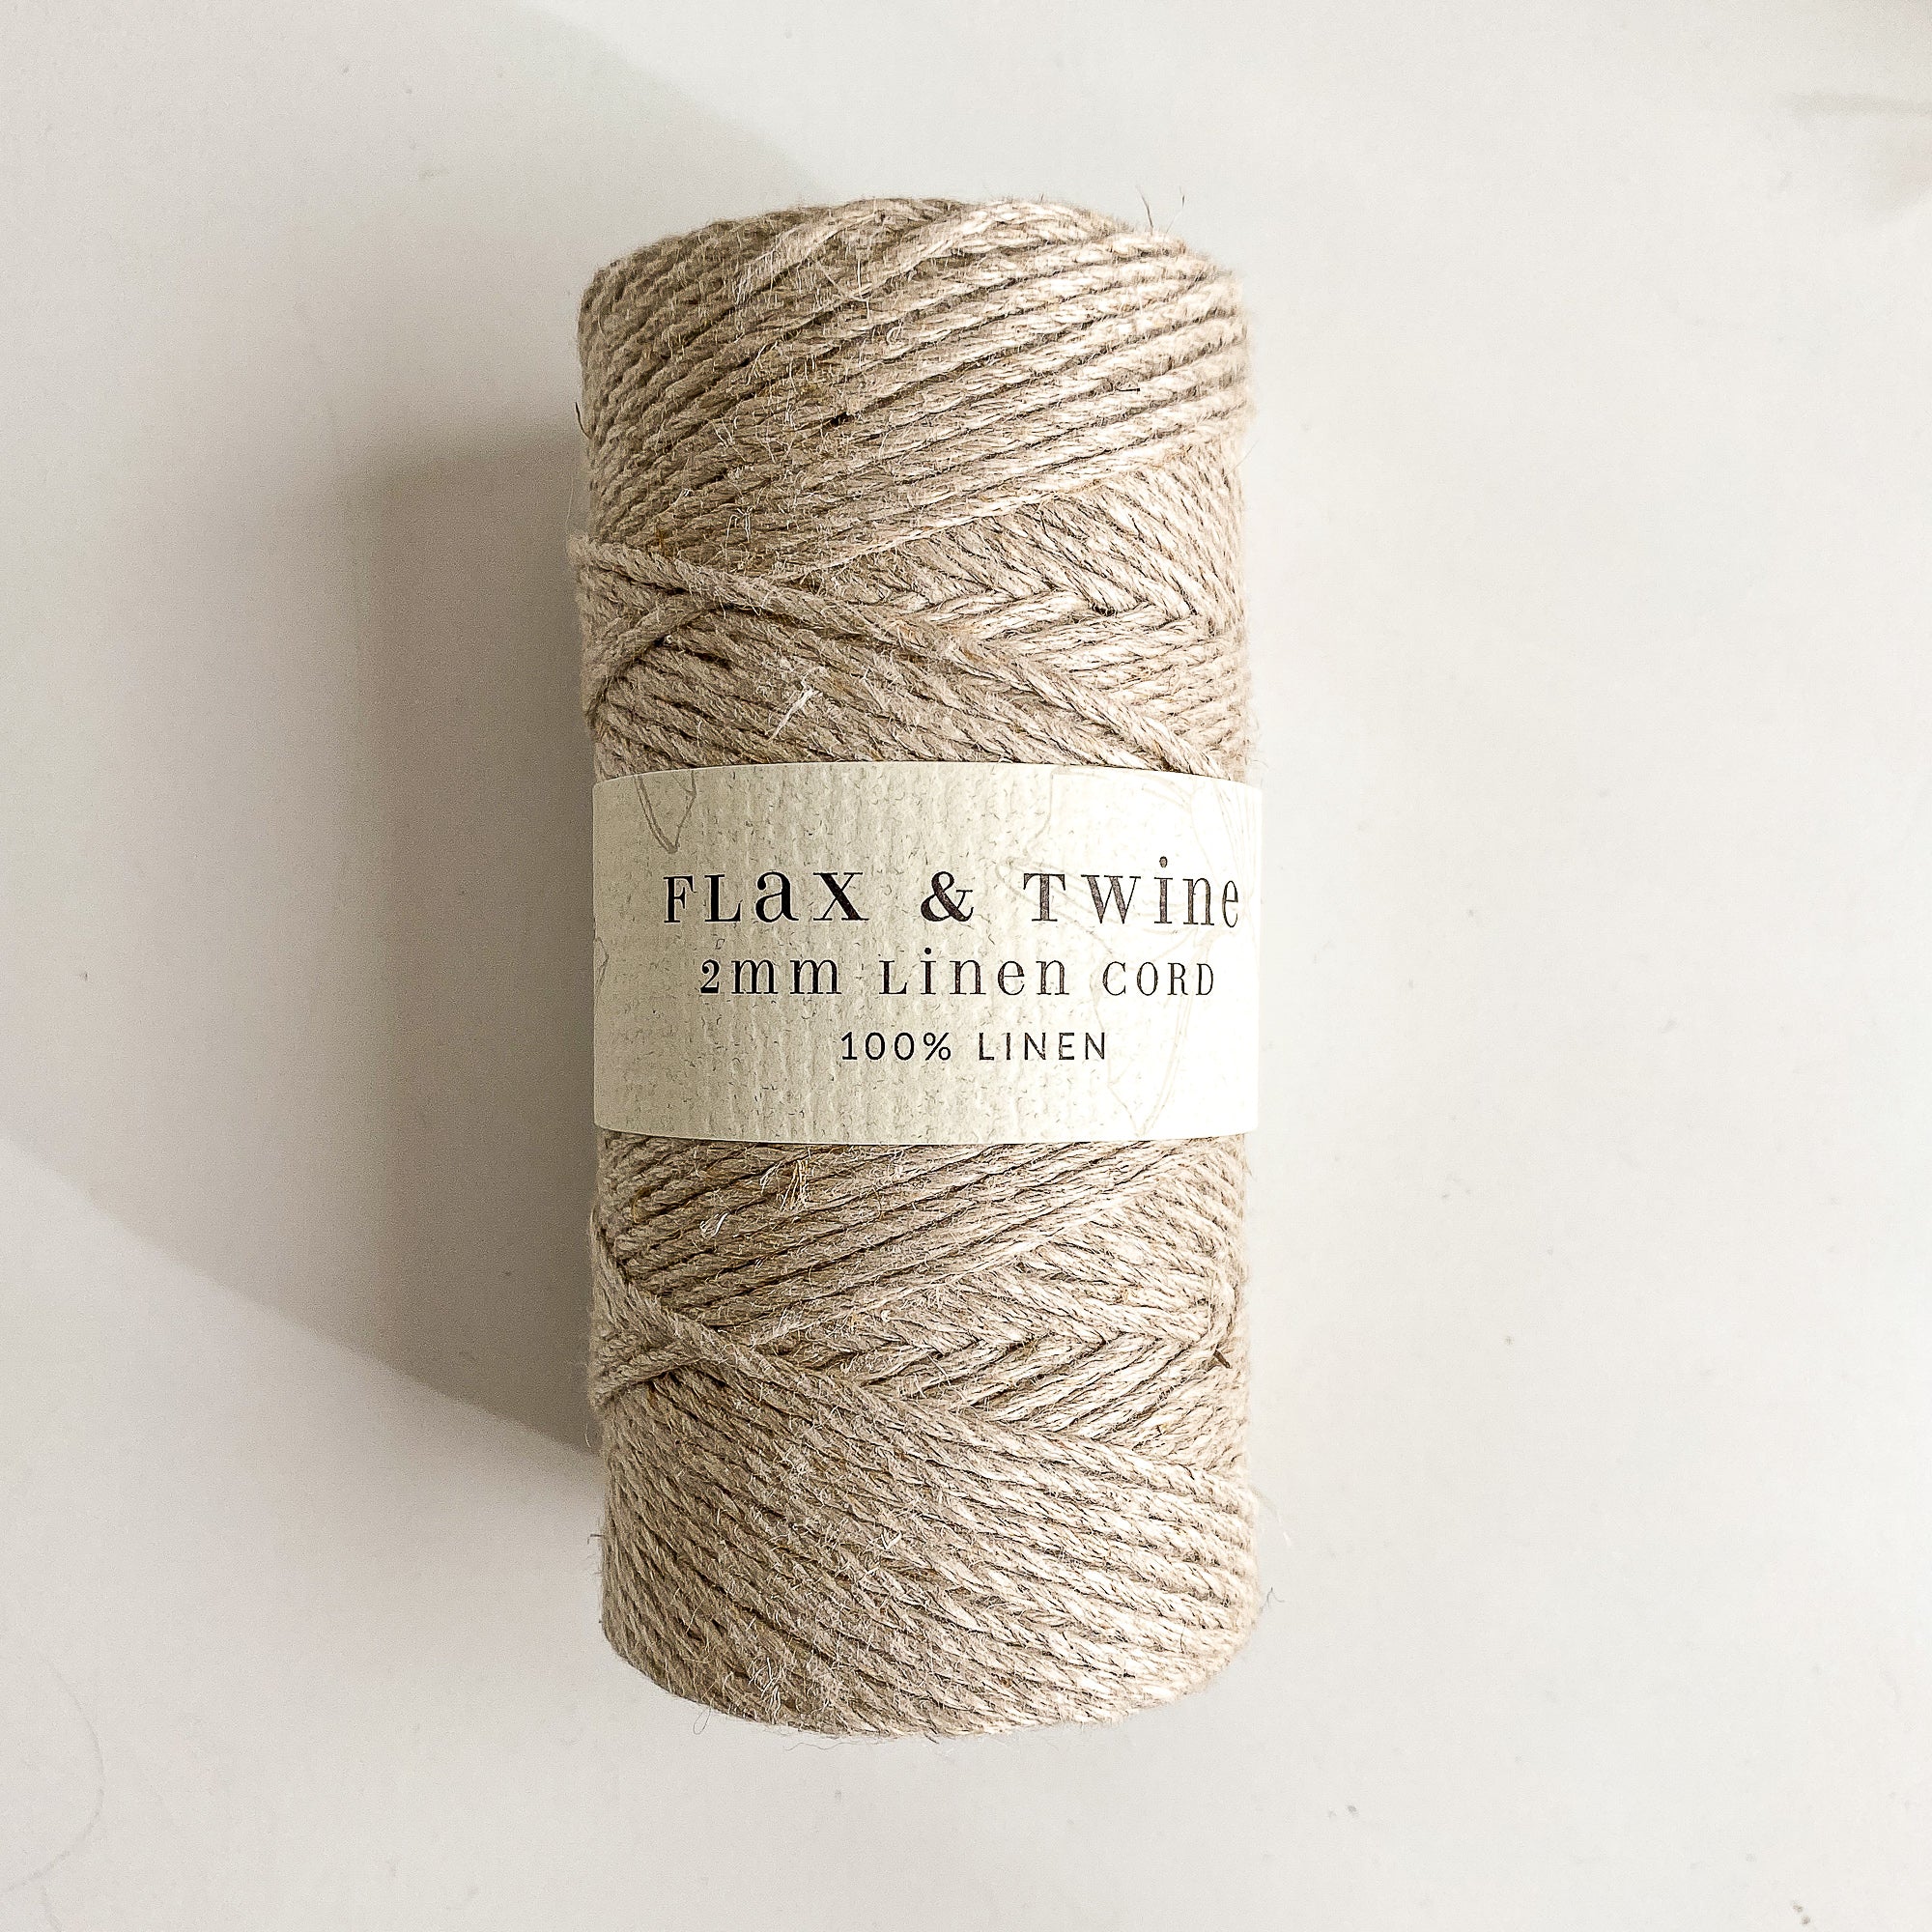
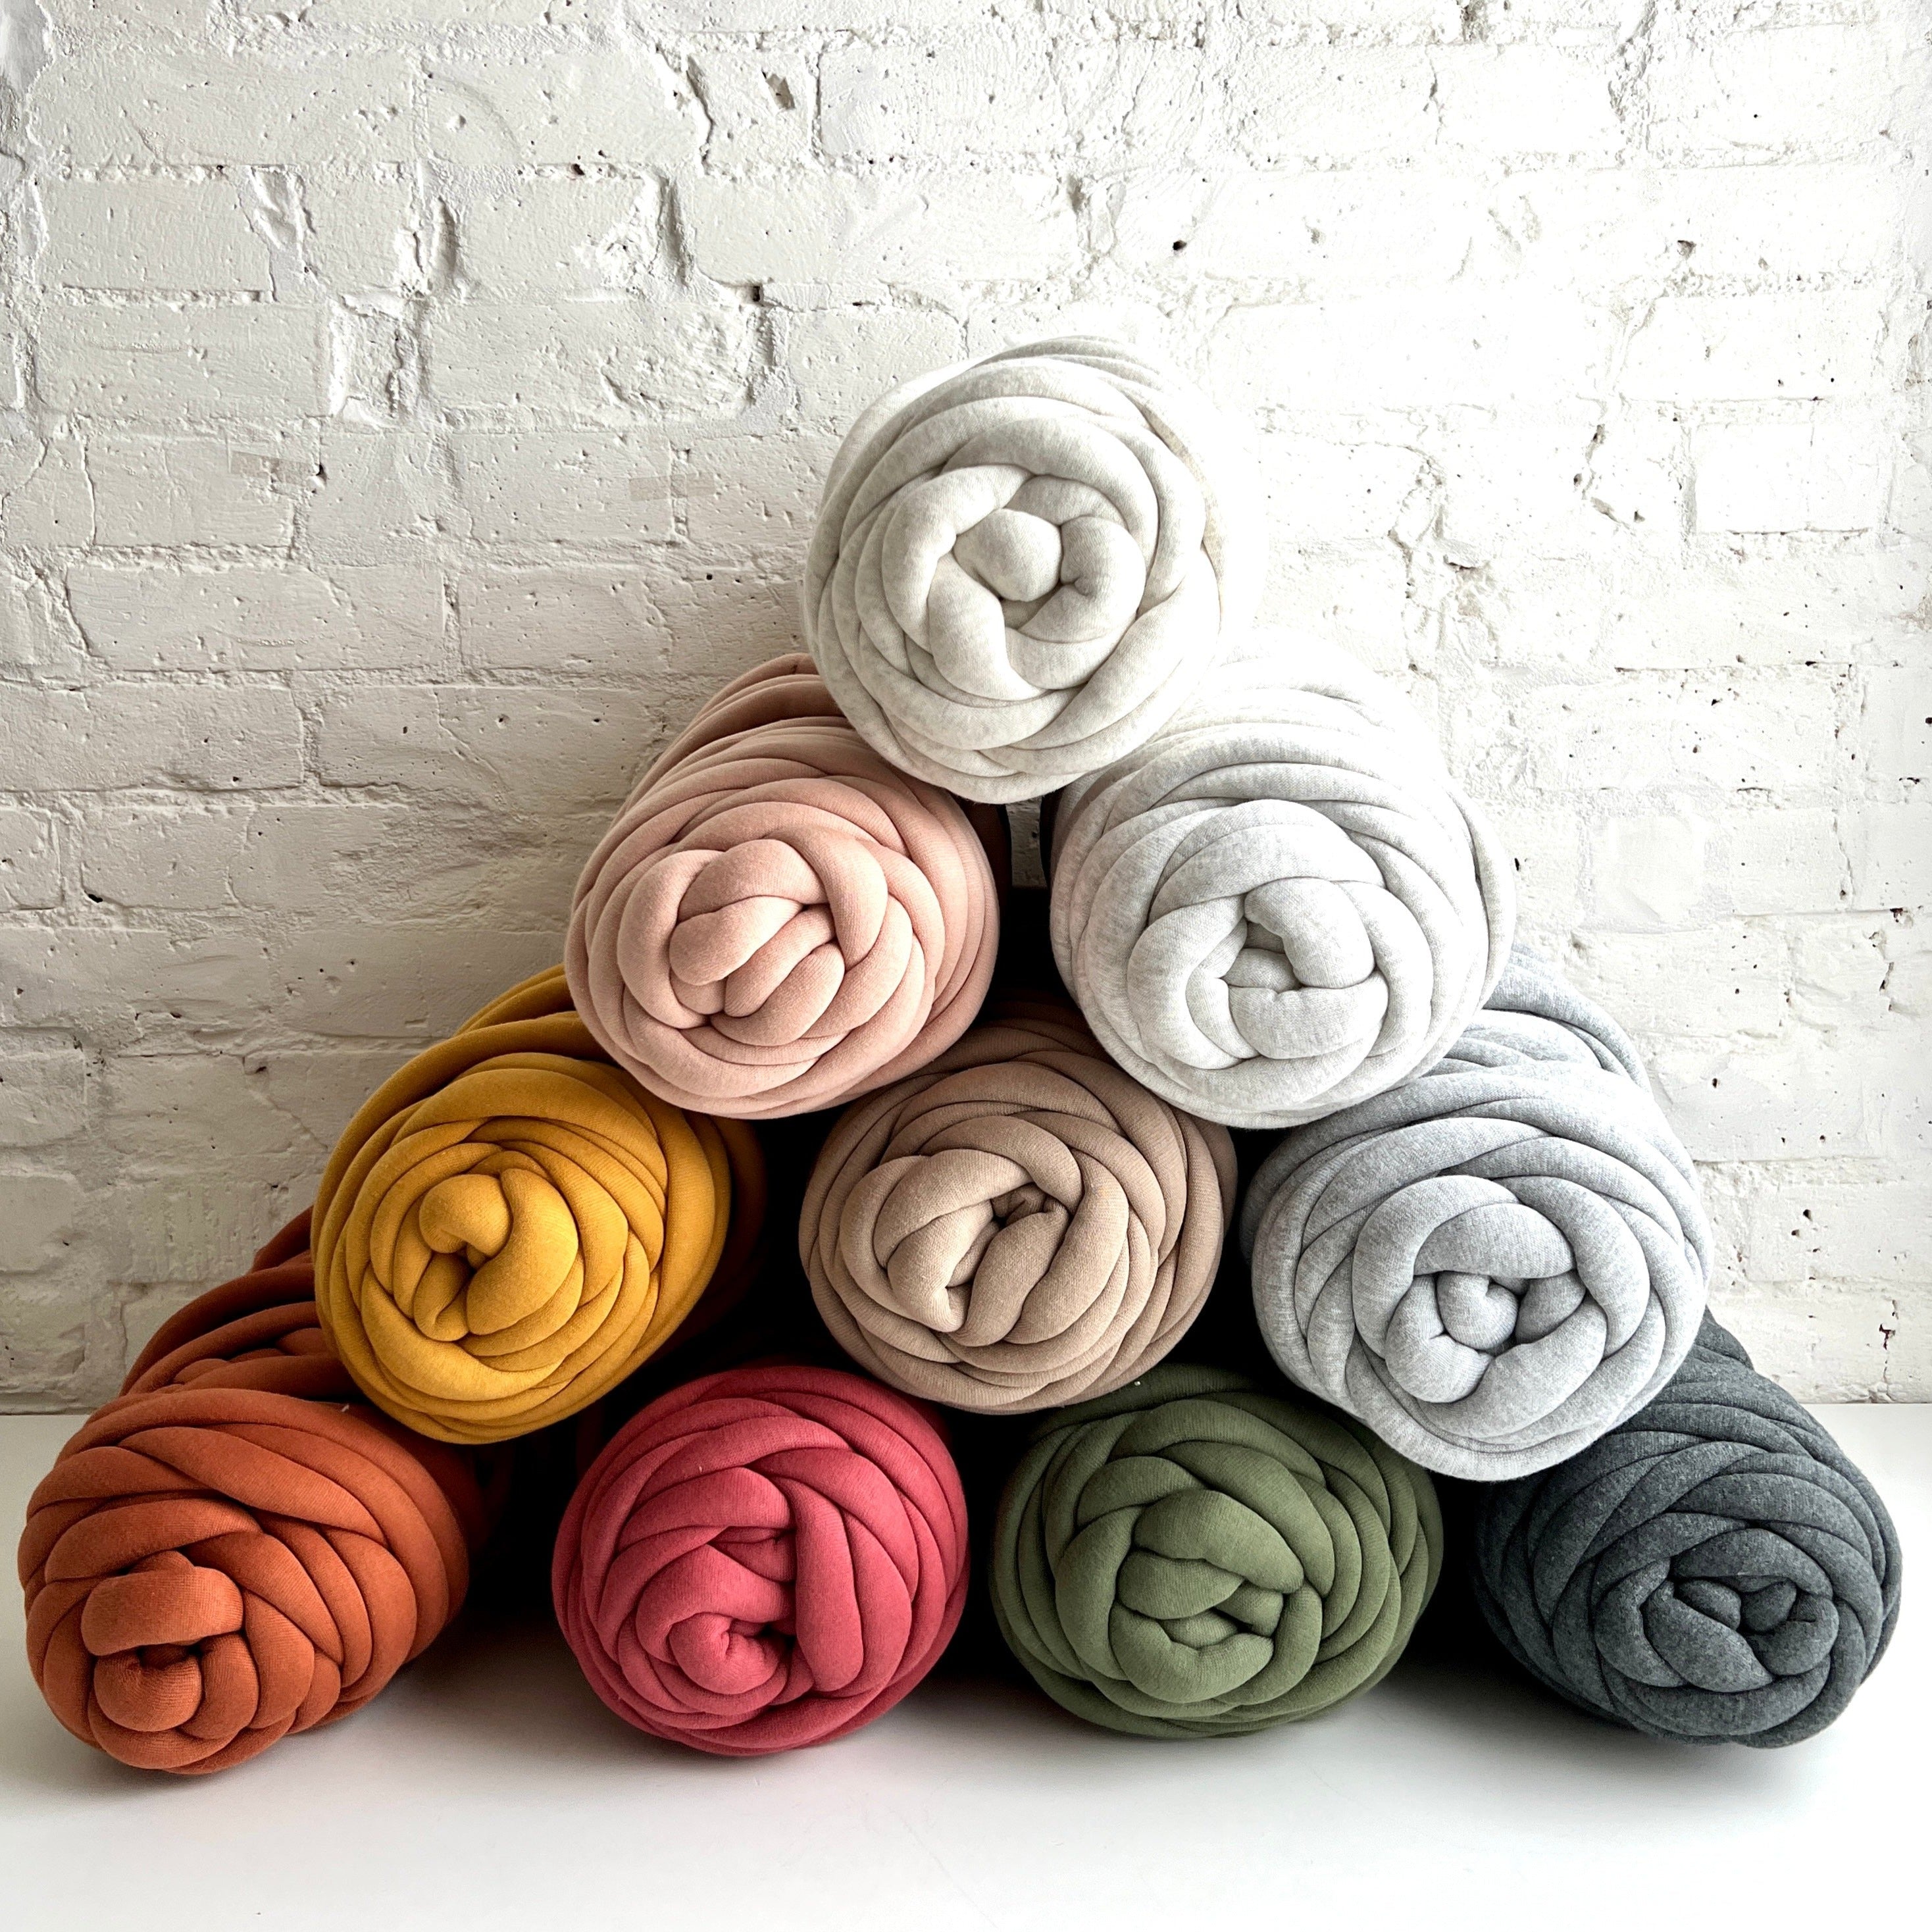
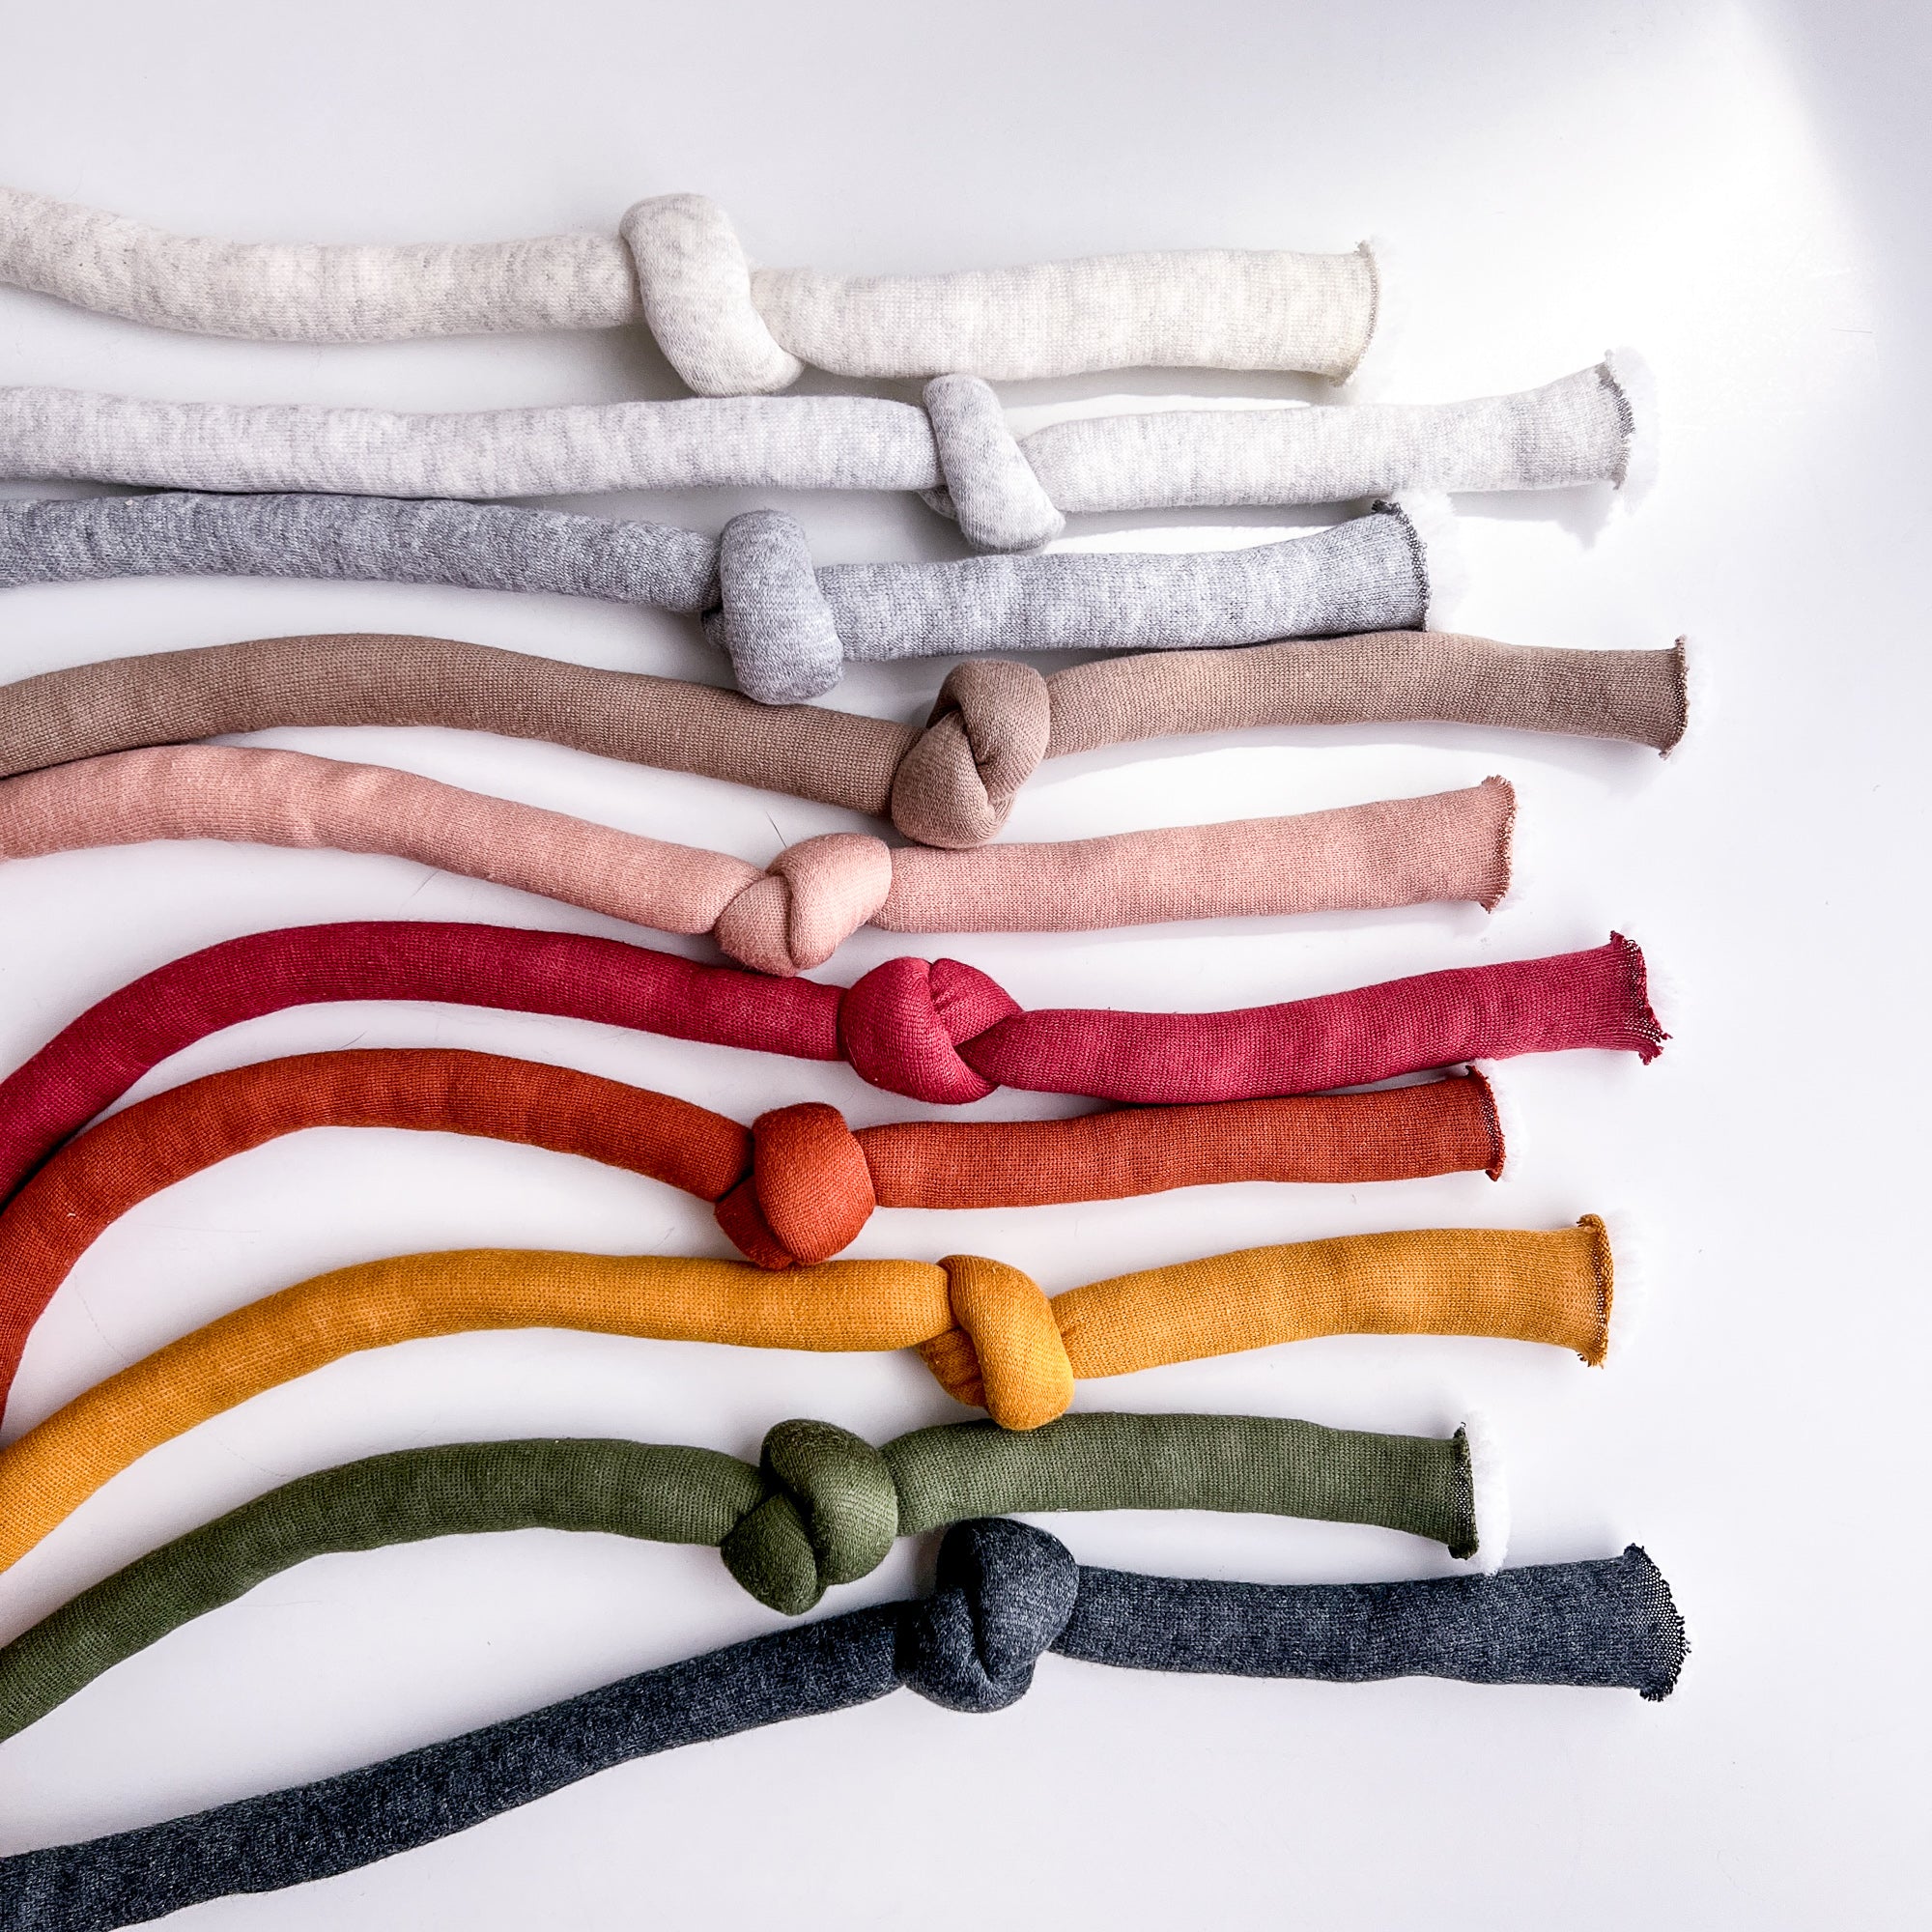
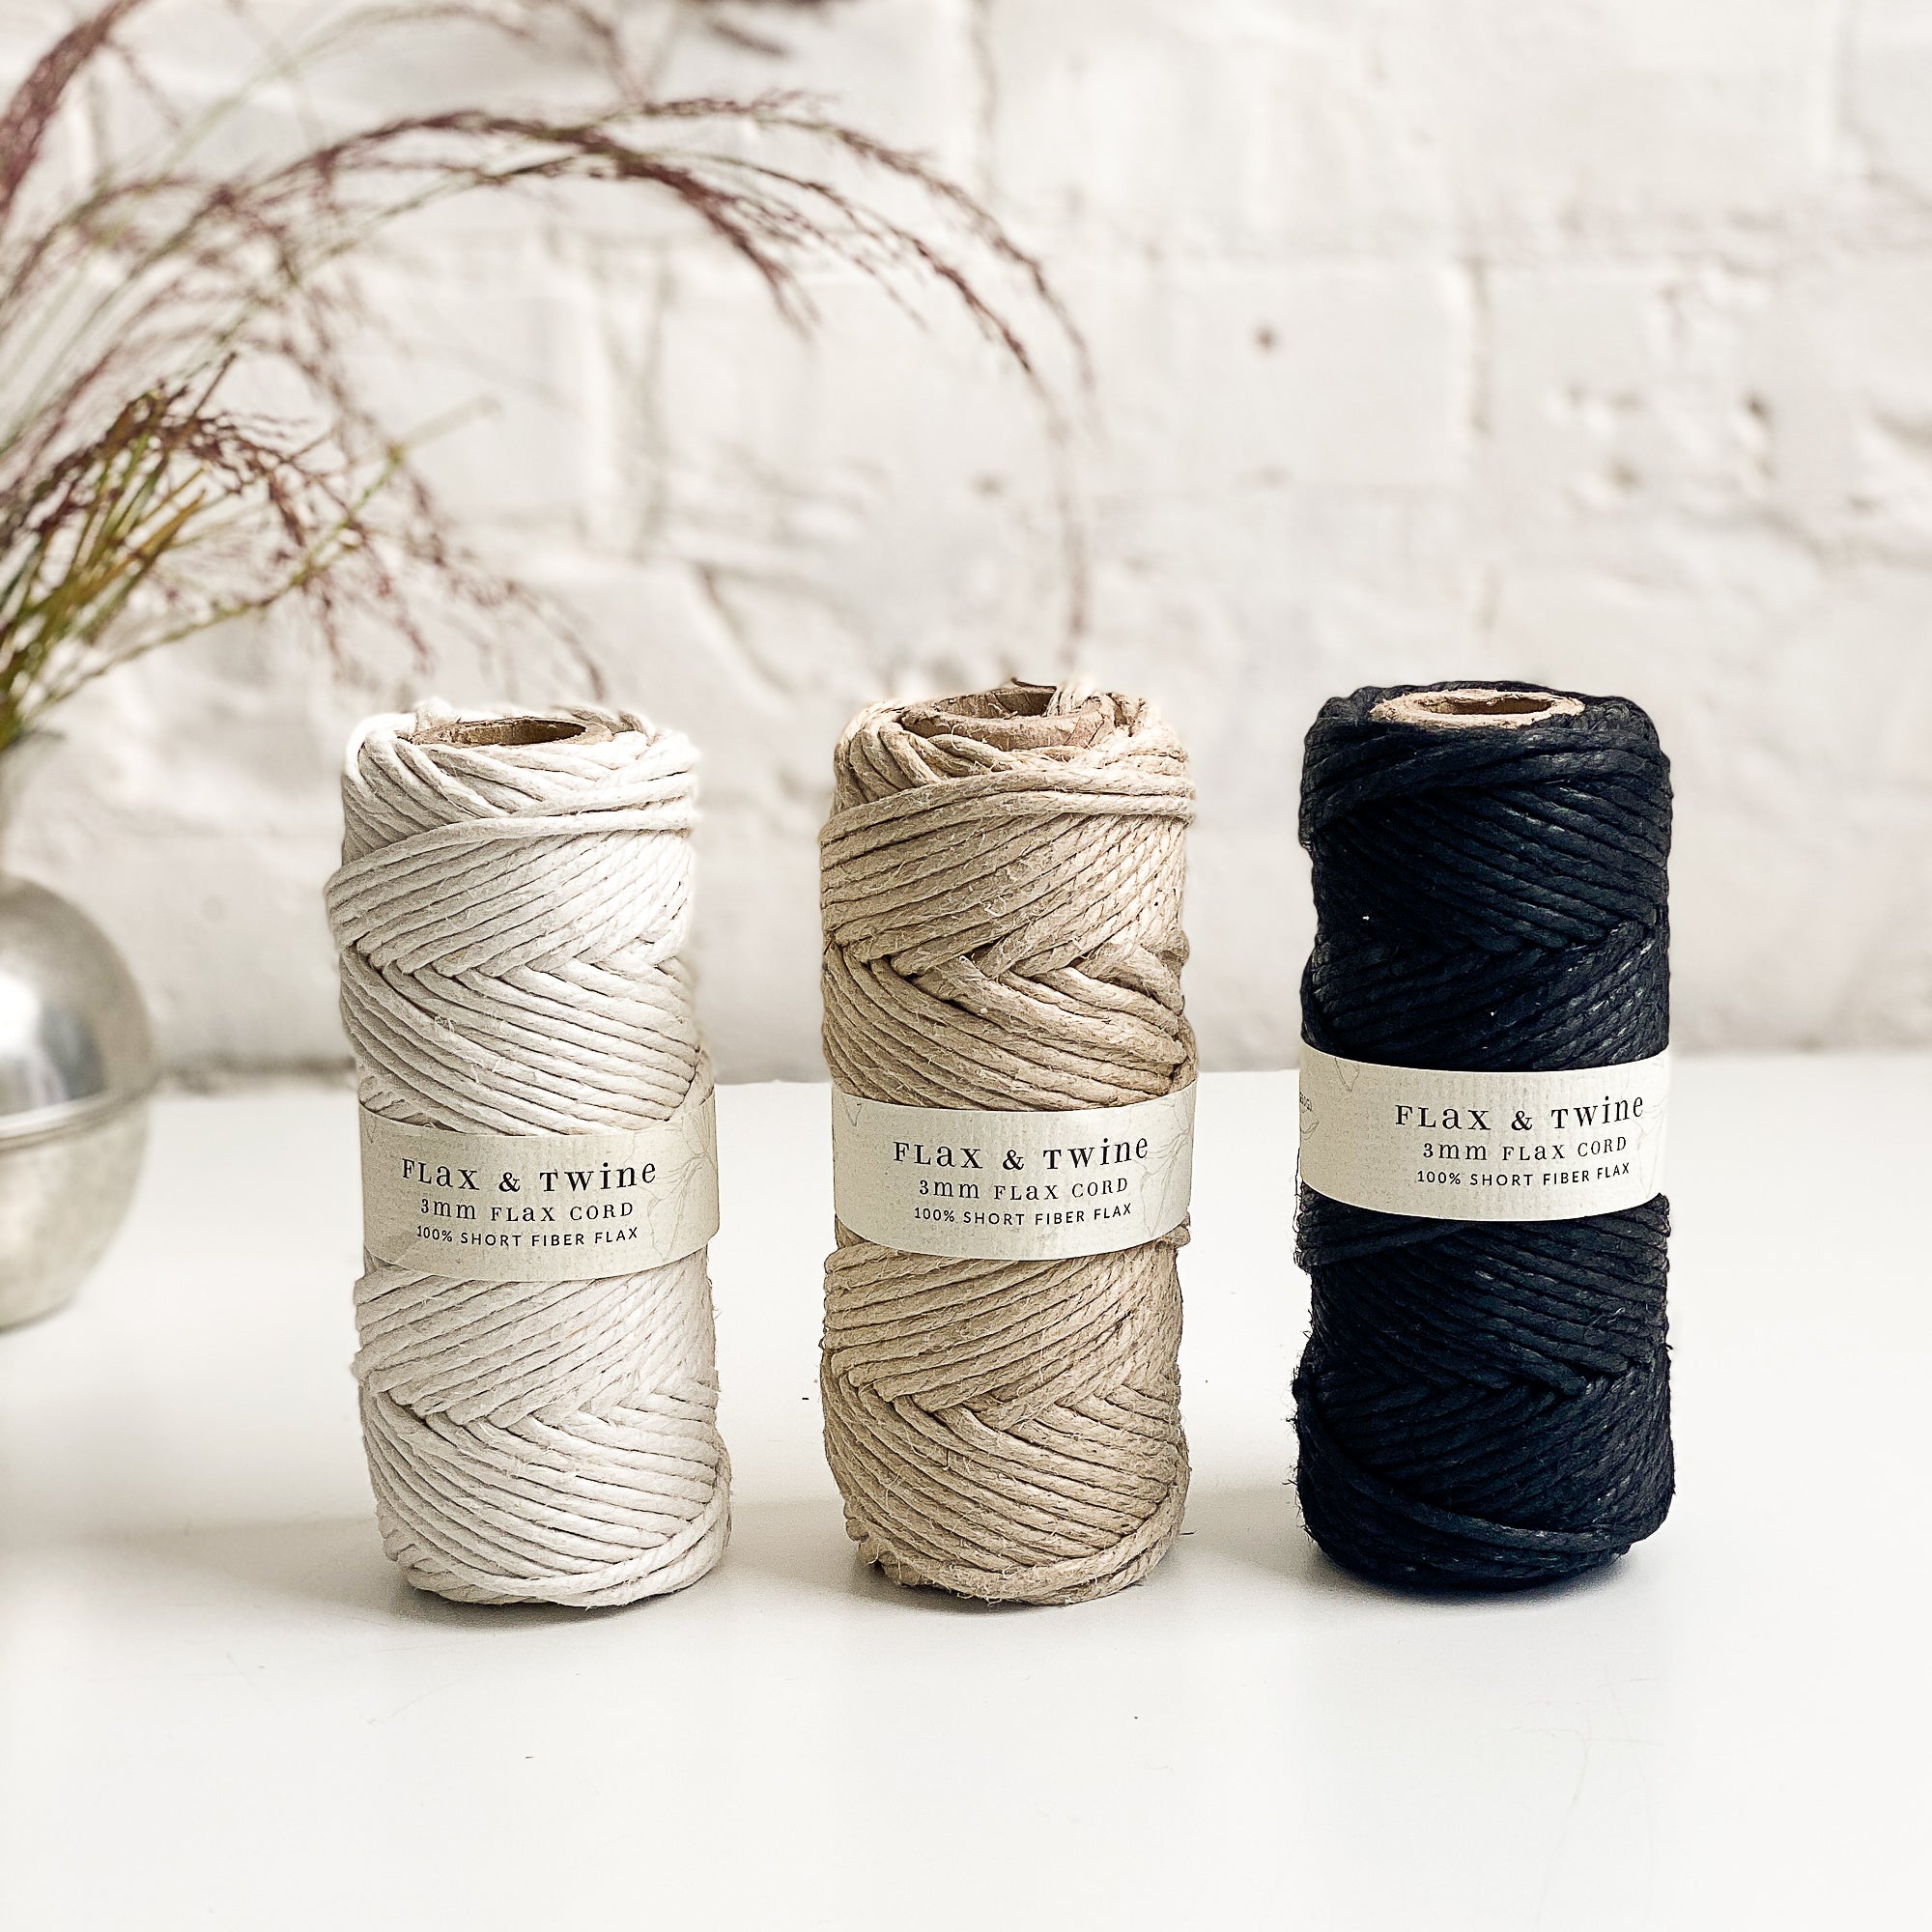
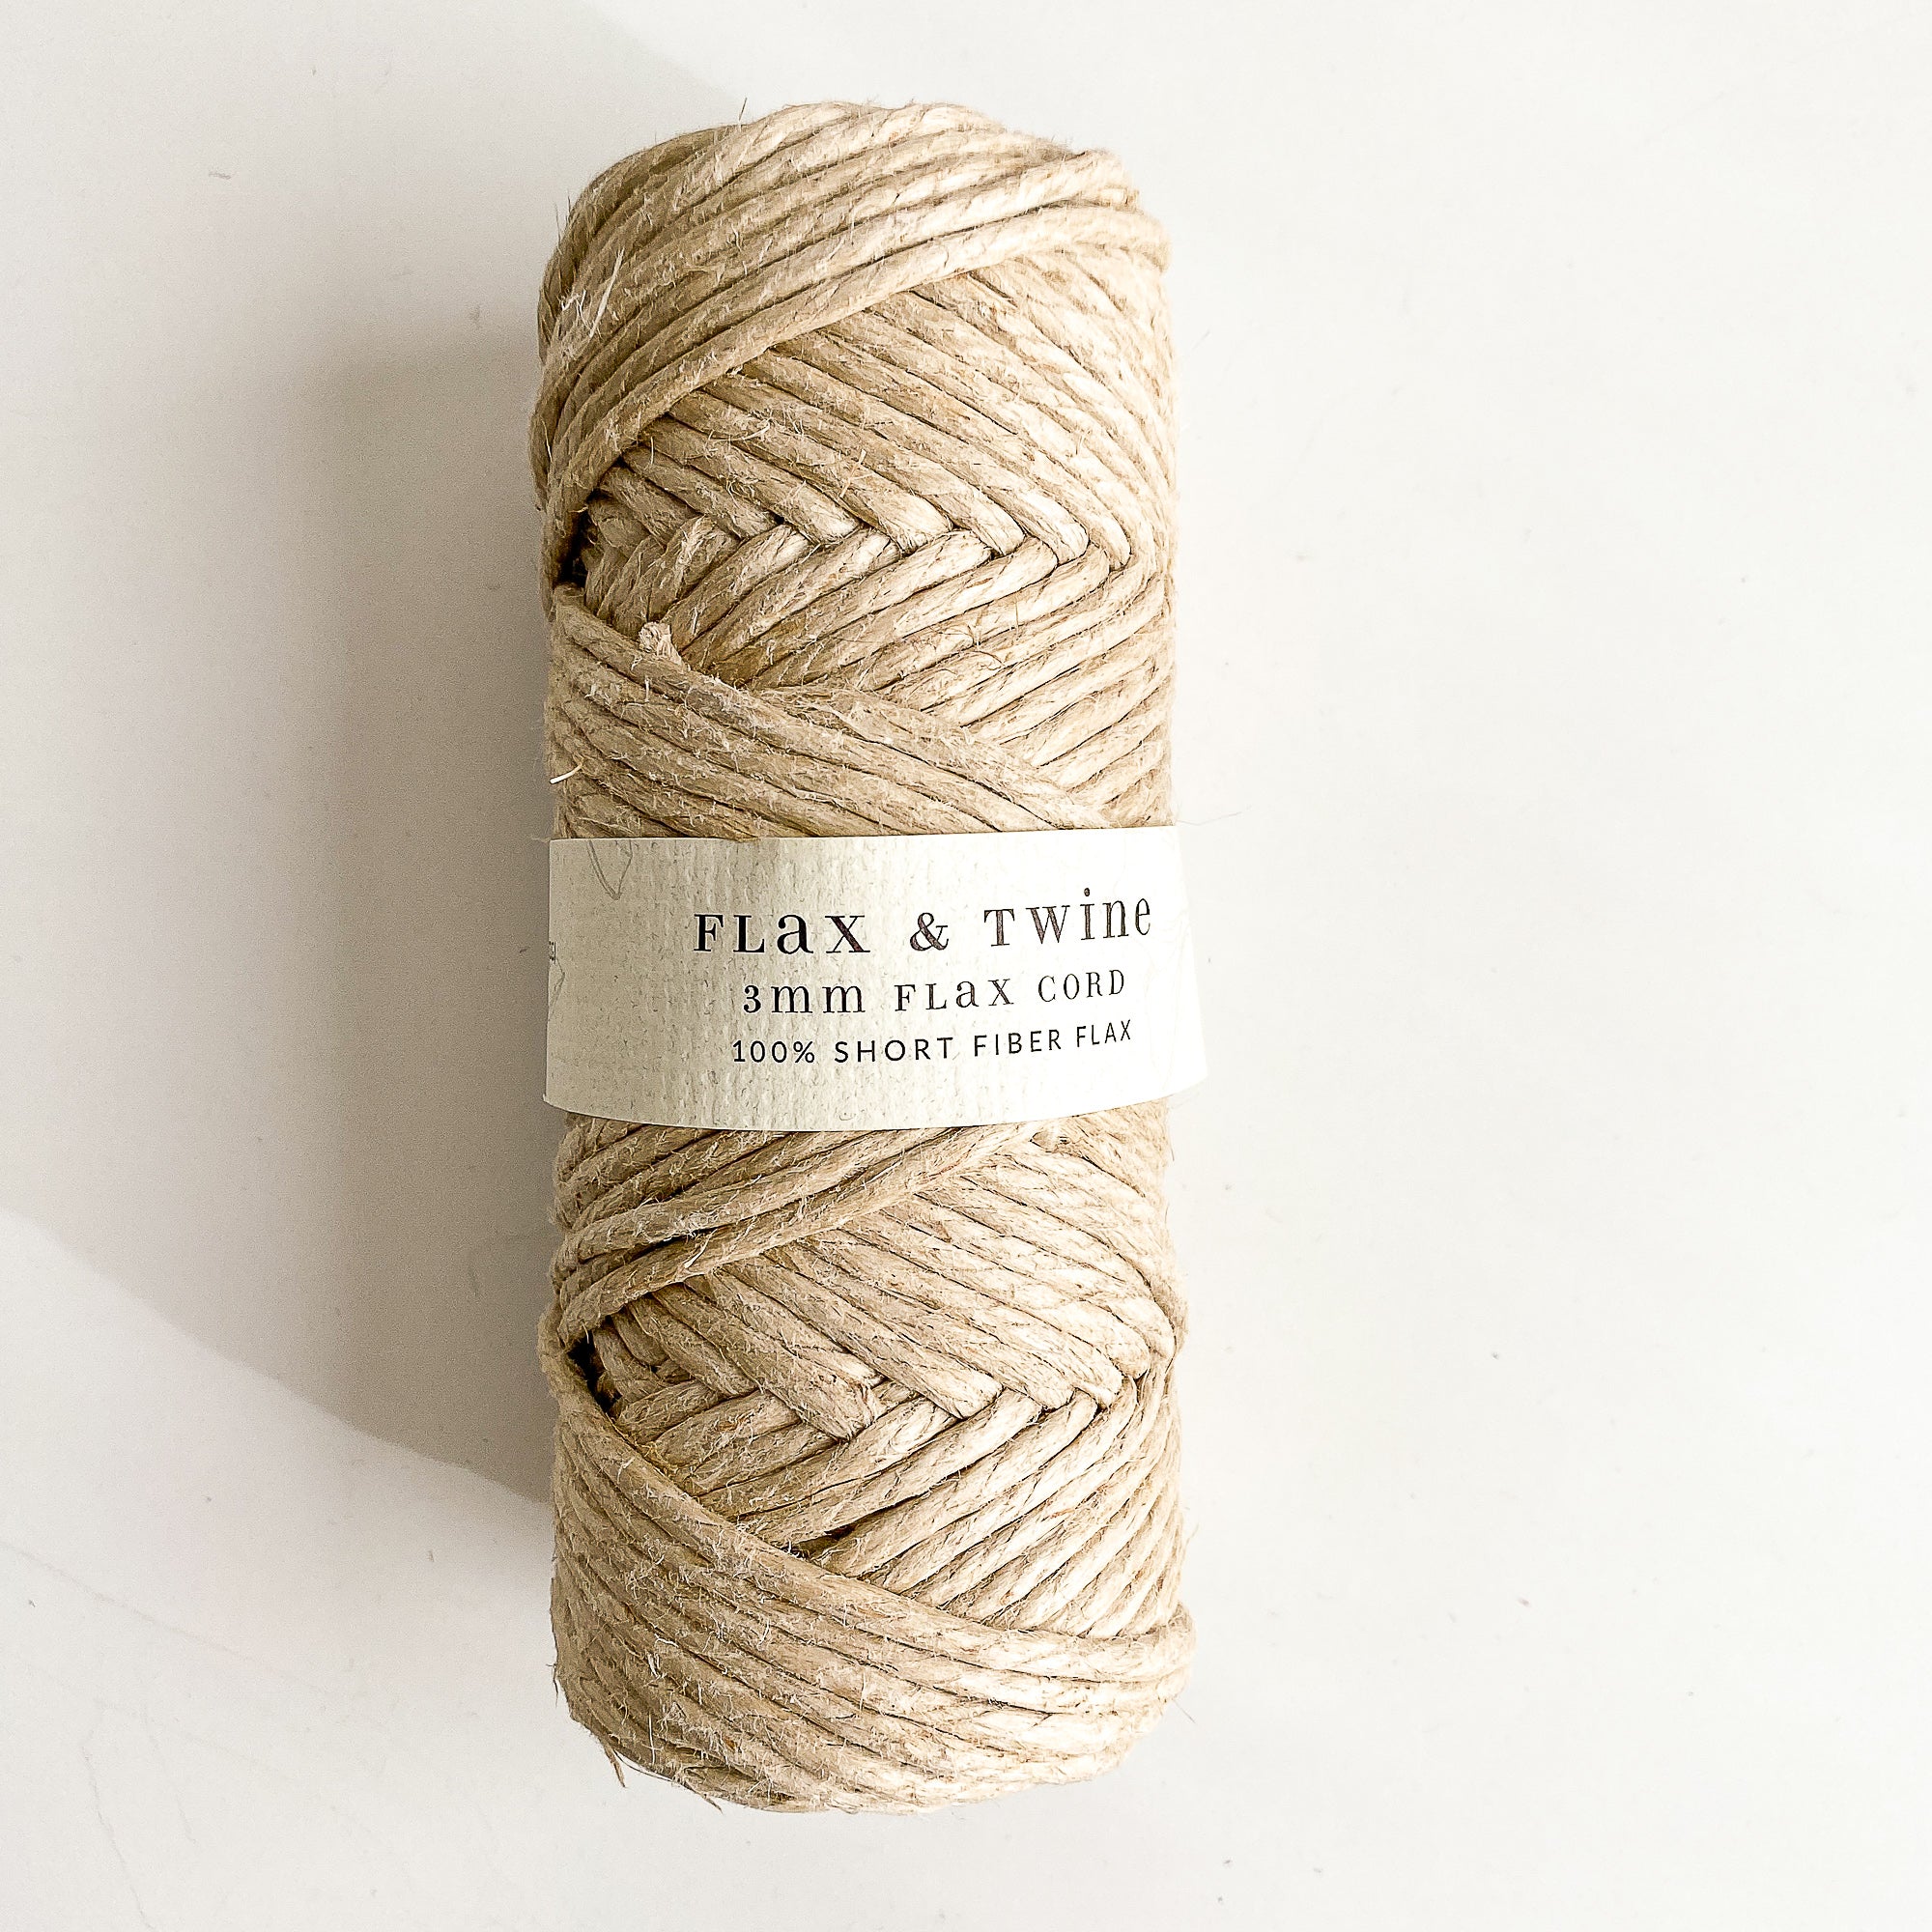
Flax & Twine Fiber


ABOUT
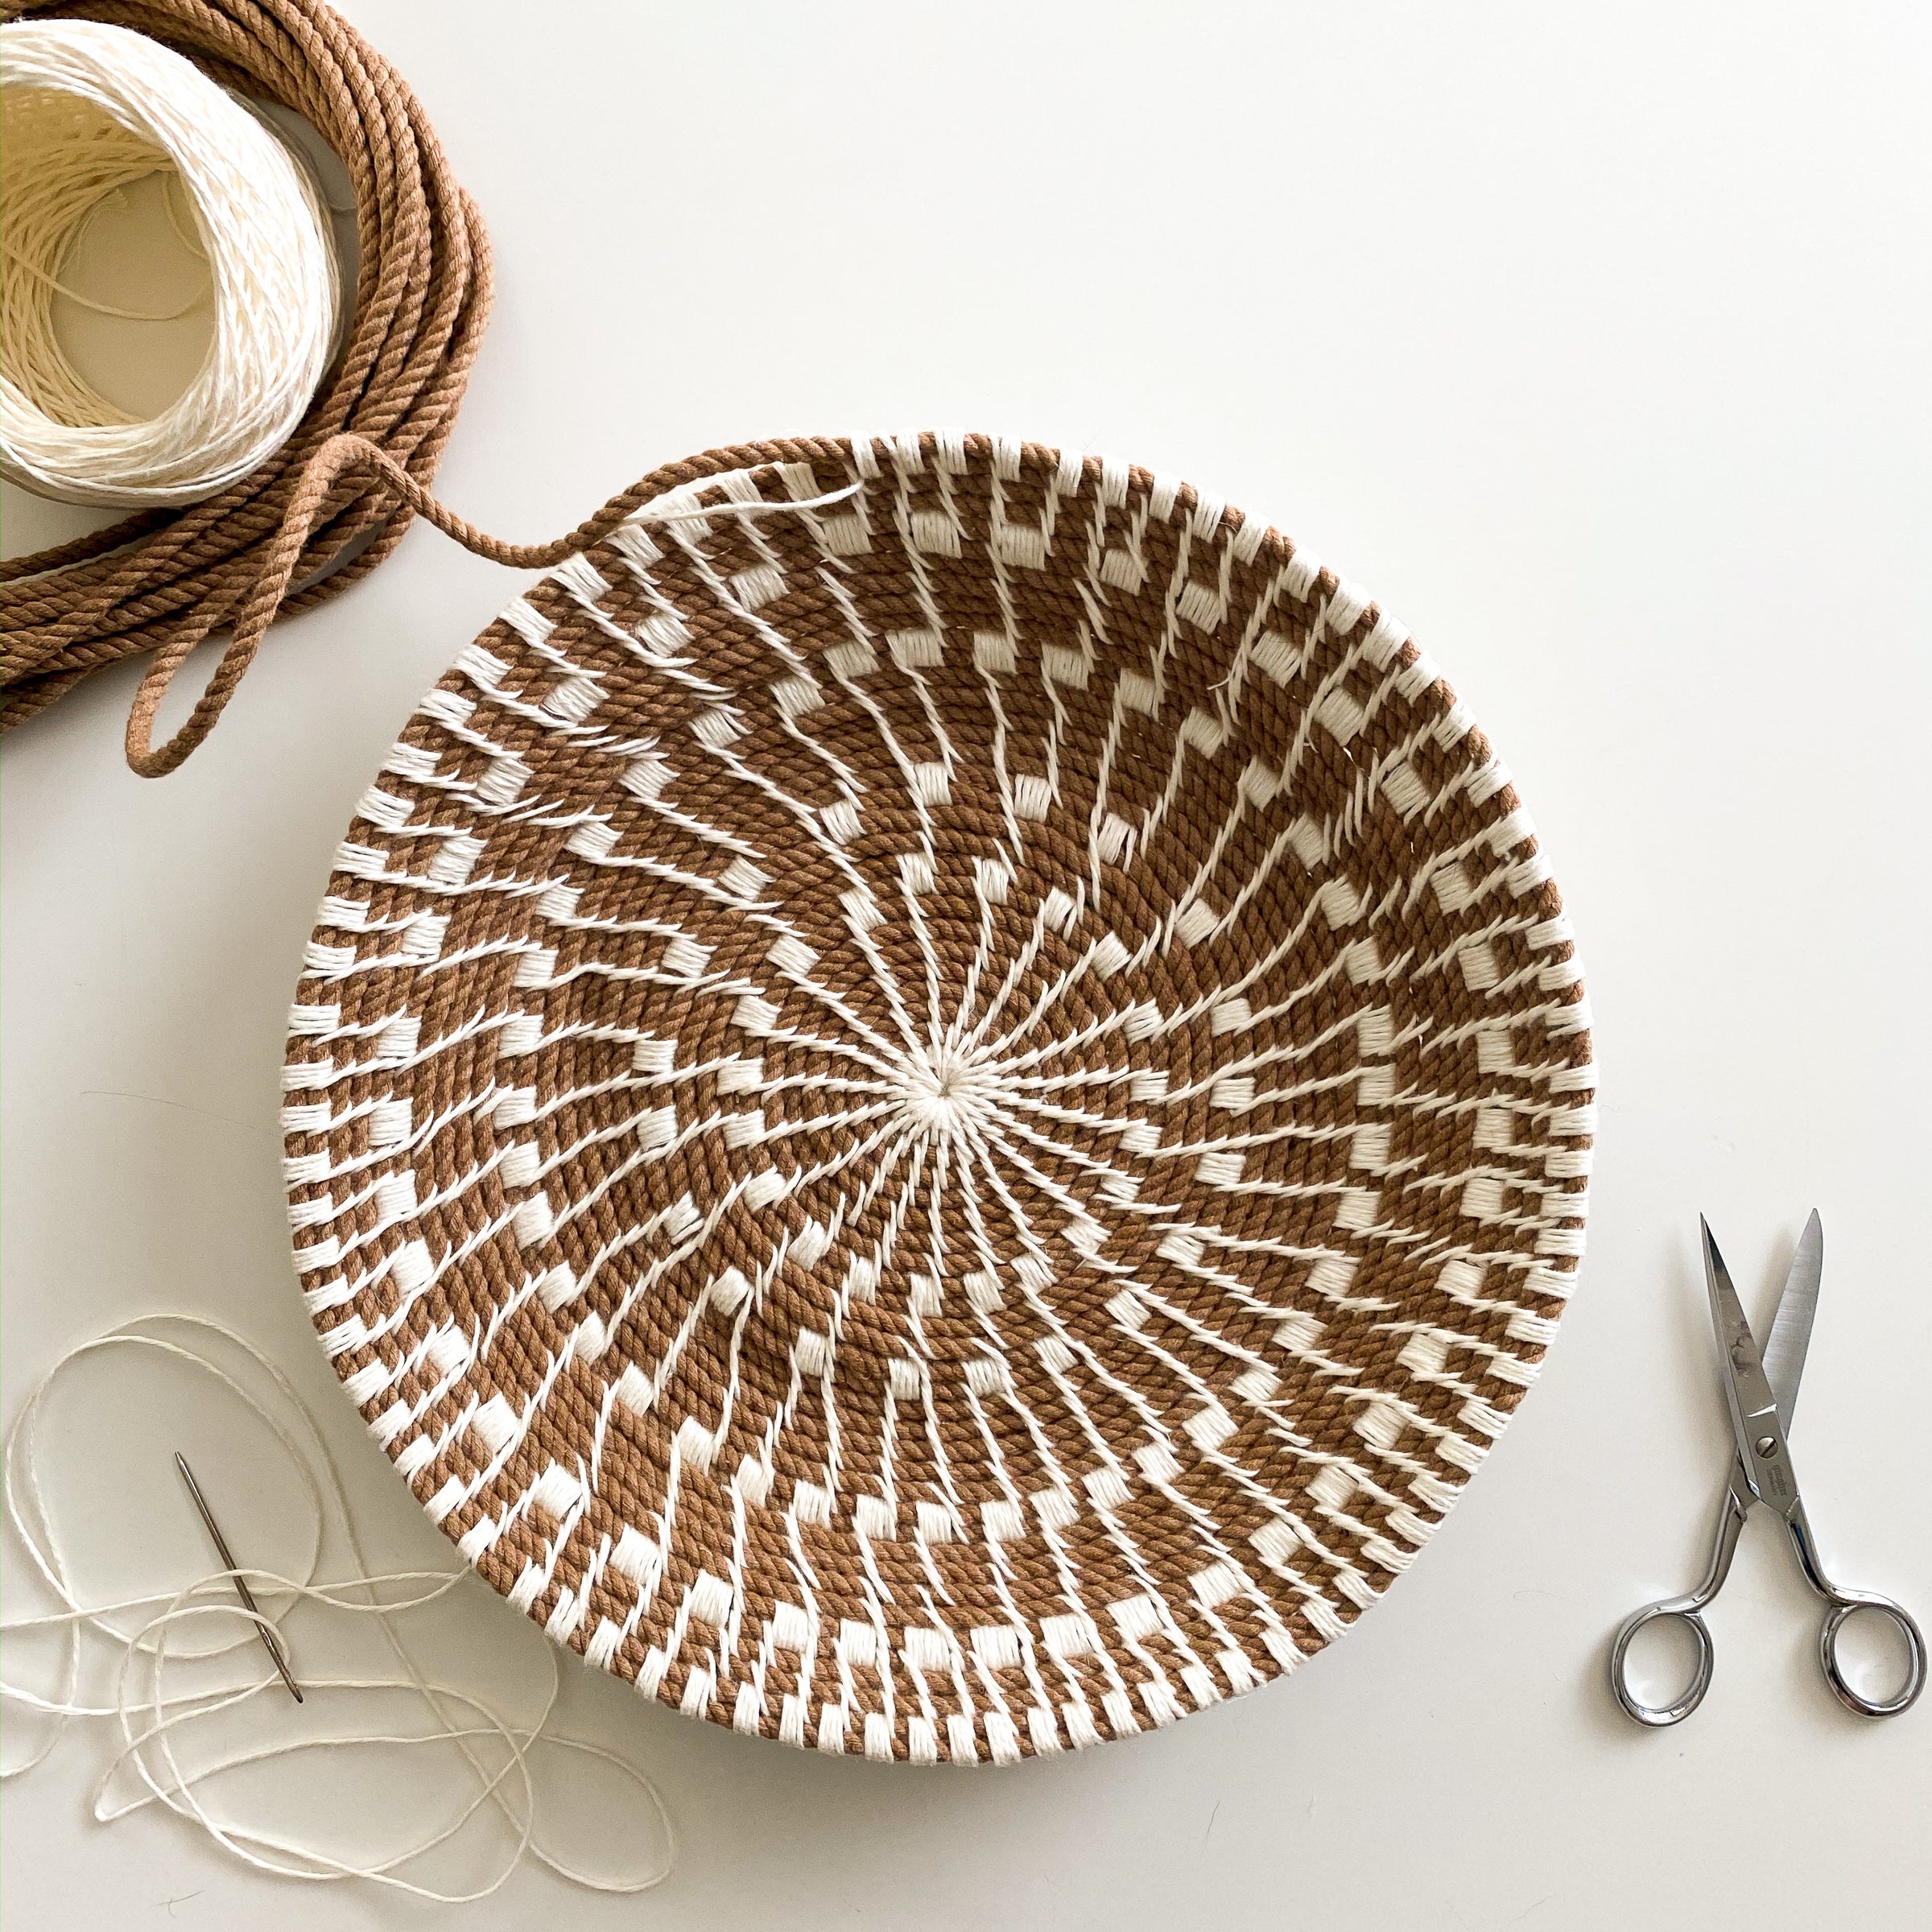
MAKE SOMETHING BEAUTIFUL TODAY
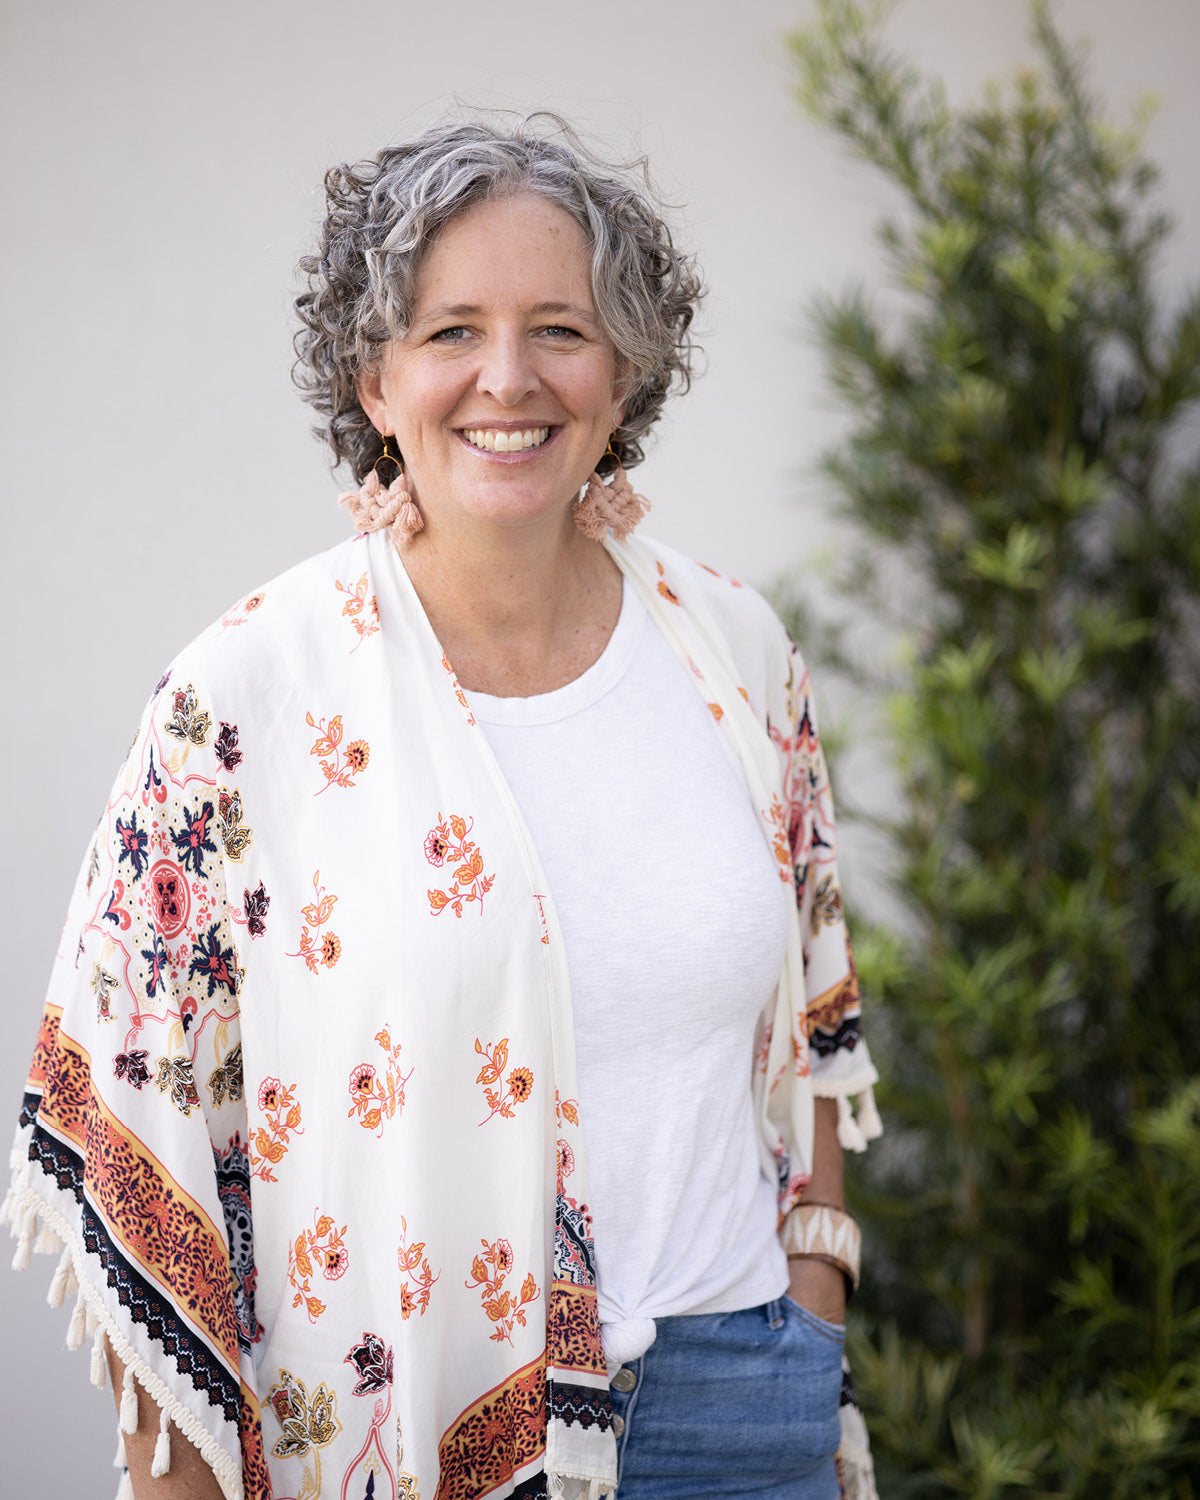
At Flax & Twine, we believe everyone’s a maker. We provide carefully-sourced fibers and tools to make creating easy. Our kits come with everything you need, including detailed instructions, step-by-step videos, and natural fiber materials, all specially curated by Anne Weil, author of Weaving Within Reach and Knitting Without Needles.
AS SEEN IN
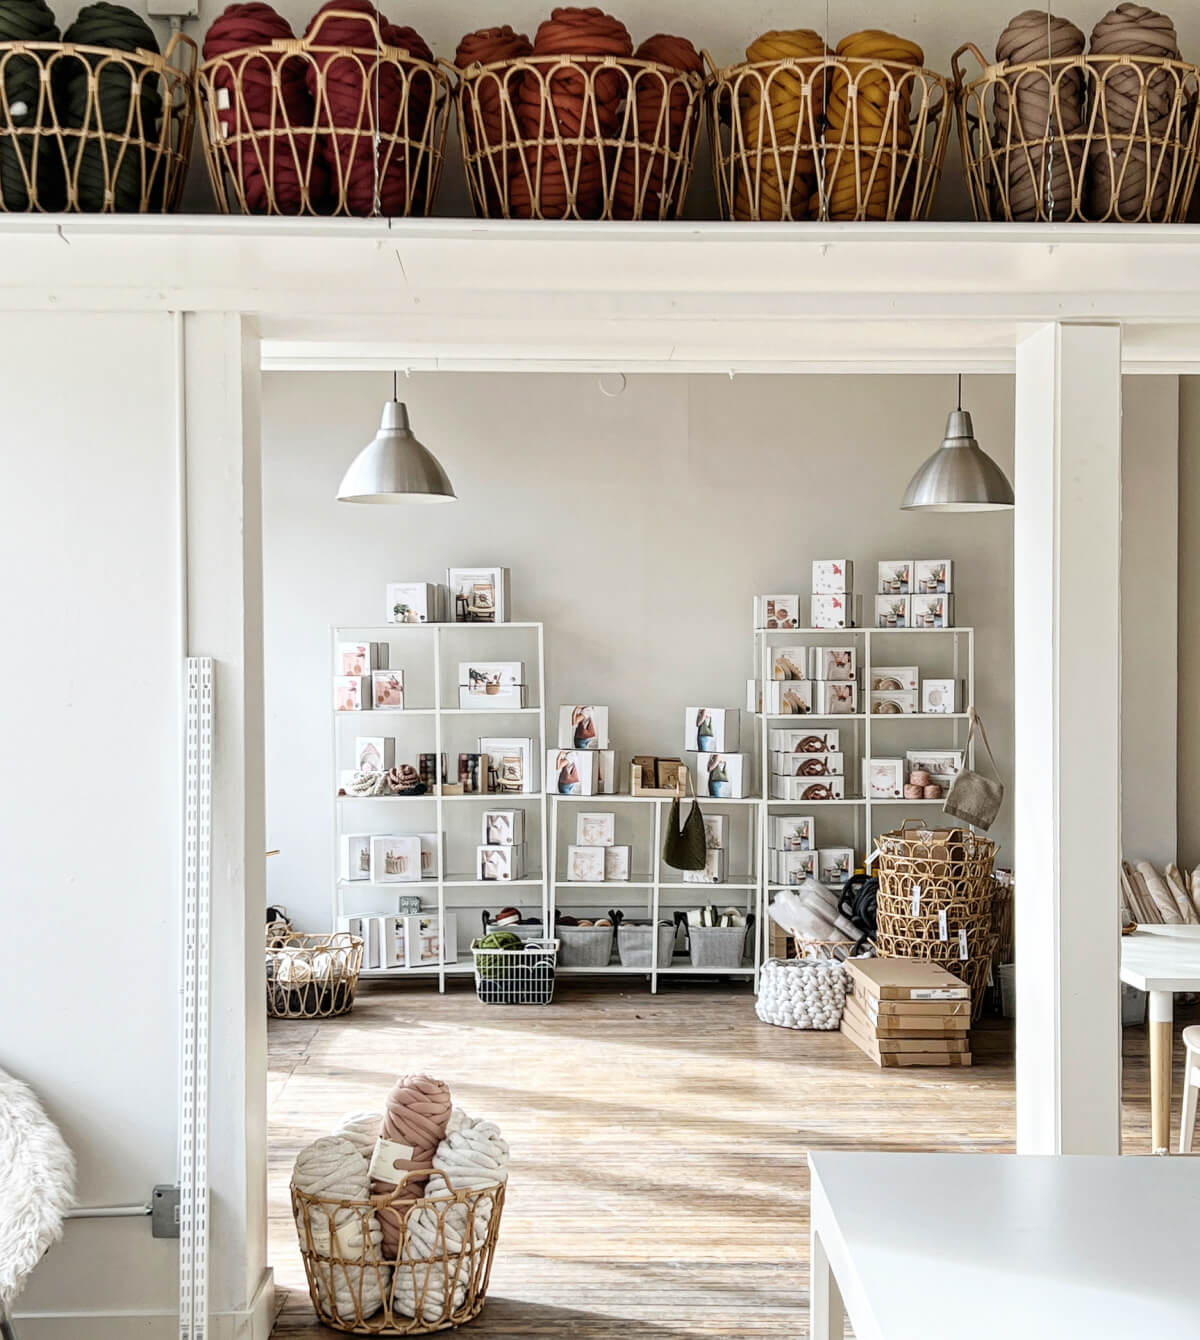
VISIT US
Flax & Twine Shop
Stop by our brick and mortar to discover a new craft.
3321 E Colfax Ave, Denver, CO 80206
OPEN M, T, TH, F, SA 10am to 2pm
Tel: 720-443-2948
GET 10% OFF FOR SIGNING UP
You’ll receive updates on new kits, projects, sales and more.
Written with love since 2010