I love this crystal trim–its inexpensive and very twinkly. From the moment I saw it, I wanted to make this wrap bracelet. I started by trying to tack it to ribbon. It wasn’t stiff enough to carry it off, which is how I ended up with
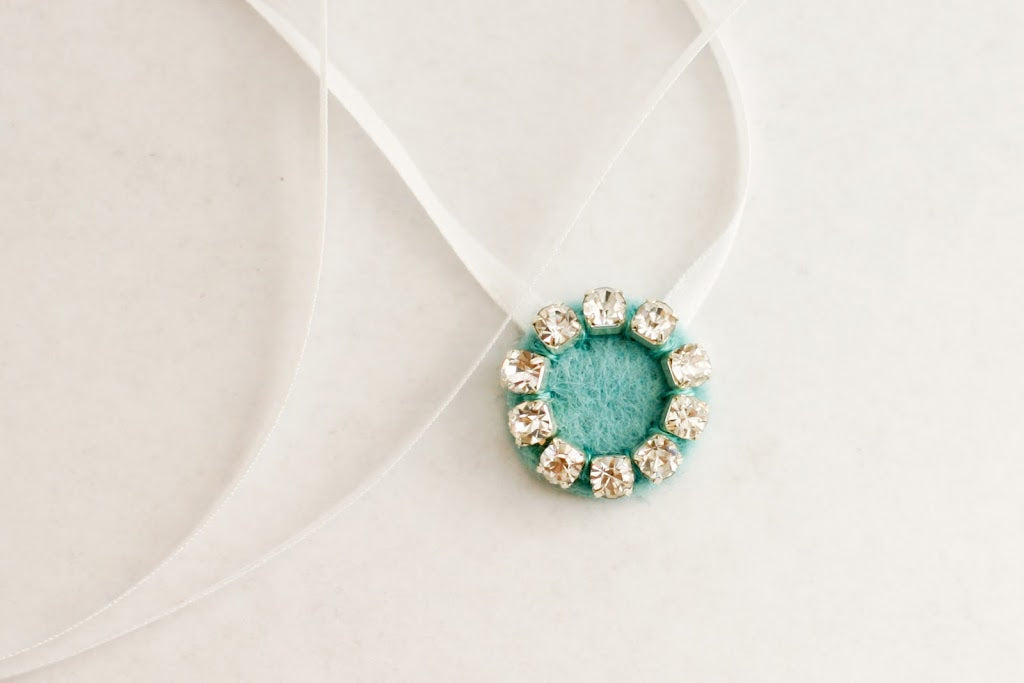
the ruffle necklace. Its twinkle led me to use it for the
sparkle headbands, too. But, still, I was determined! to make the wrap bracelet. I’m like a bulldog when I get an idea in my head, so the search was on. I found this 1/4" cotton twill tape in my ribbon box and thought it might be stiff enough to do the trick. The tape has been floating around my stash for a while – never long enough to wrap a package, but clearly waiting for something. It found its home. I love the thin wrap and the sparkle the crystal (okay, plastic!) adds.

The plastic crystal trim is easy to find and buy inexpensively at a craft store in the ribbon section. The thin twill tape is trickier. I found lots of 3/8" cotton twill tape online and in the craft store, but had a hard time sourcing the cotton twill tape I had used. If you know of a good source, let me know! Here is the 3/8" version, which I also love. It also shows you the crystal (plastic ;)) button I used for closure on both bracelets.

Together, they just look so Christmasy, don’t they? My kiddos are getting so excited – only 3 more days until Christmas morning. When I see their joy, I can’t help but be extra excited myself. I am looking forward to taking a few days off to concentrate just on my family. I love my blog, but as you can see from poking around it, doing a
tutorial every day for 24 days is definitely an increase in my posting pace! I can’t tell you how much fun this has been though – lots of new readers (with beautiful blogs themselves), fun comments and great ideas! So thanks to all of you for participating with me.
Materials:
1/4 or 3/8" cotton twill tape (enough to wrap wrist 4x plus an inch – 36 inches or so for my daughter)
Plastic crystal trim (on a spool)
Needle
Thread
1" piece of cord elastic
Plastic crystal button
Time: 40 minutes
Hem approximately 1/2 inch of the twill tape to start. Just as a note, when I use embroidery floss (DMC 25) to do a project like this, I used two strands of the six-stranded floss.
Tack on the crystal trim by stitching in between each bead.
Let the bracelet fall as you stitch so you are stitching the beads with the twill tape curved as it would be around your wrist.
When you get close to the end, remeasure around the wearer’s wrist or compare one more time to the measurement you took (remembering that you still need to fold over another 1/2 inch of tape). I’ve mentioned this before, but as these are all
advent gifts for my daughter, I surreptitiously measured her wrist with a twist tie early on.
To finish, cut the crystal trim and hem 1/2 an inch of the twill tape. Trim the remaining length of excess twill tape, if any.
To make the closure, fold a 1" piece of cord elastic in half and sew to the wrong side of on end of the bracelet.
Make sure to go through the elastic a number of times.
Whip stitch around the elastic to hold in place and finish neatly, going in between the beads nicely on the other side.
Here it is from the front.
Attach the button to the other end of the bracelet.
Finis!
We’re almost to the end. I have a twinkly pendant and a lush bracelet coming up–two of my favorites in
the collection. See you tomorrow!


Leave a comment
This site is protected by hCaptcha and the hCaptcha Privacy Policy and Terms of Service apply.