


Arm Knitting How-To Photo Tutorial // Part 1: Casting On

Welcome! I’m so glad you’re here to learn how to arm knit. I think you’re going to love it! You don’t need to be a knitter at all, though if you are, it will be familiar right away. If you aren’t, I’ve provided lots of detailed photographs to make it super easy to follow and learn.
You’ve reached Part 1: Casting On of a four part arm knitting tutorial.
You can reach the other parts of the tutorial here:
Part 2: Arm Knitting
Part 3: Binding Off Arm Knitting
Part 4: Finishing Arm Knitting
Or, if you want to skip to the end and/or have a portable copy, you can purchase the instant download PDF of all instructions here. Or, if you want a kit with gorgeous yarn and directions, go here!

All you need is a good attitude and lots of bulky yarn and you’re ready! To make the knit fabric really full, I use three strands of a bulky yarn at the same time. Here are some yarns I suggest and some samples:
Lower Cost:
// Lion’s Brand Wool Ease Thick and Quick (Wool/Acrylic blend)

// Loops & Threads (Wool/Acrylic blend) (tutorial sample also in this yarn)

These yarns can be found at national chains such as Joann’s, Michael’s and Walmart.
Luxurious:
// Blue Sky Alpaca Bulky (100% merino wool, note you need 6 skeins of this for the cowl)
// Rowan Drift or Rowan Big Wool (100% wool)

These yarns can be found online or at your local yarn shop.
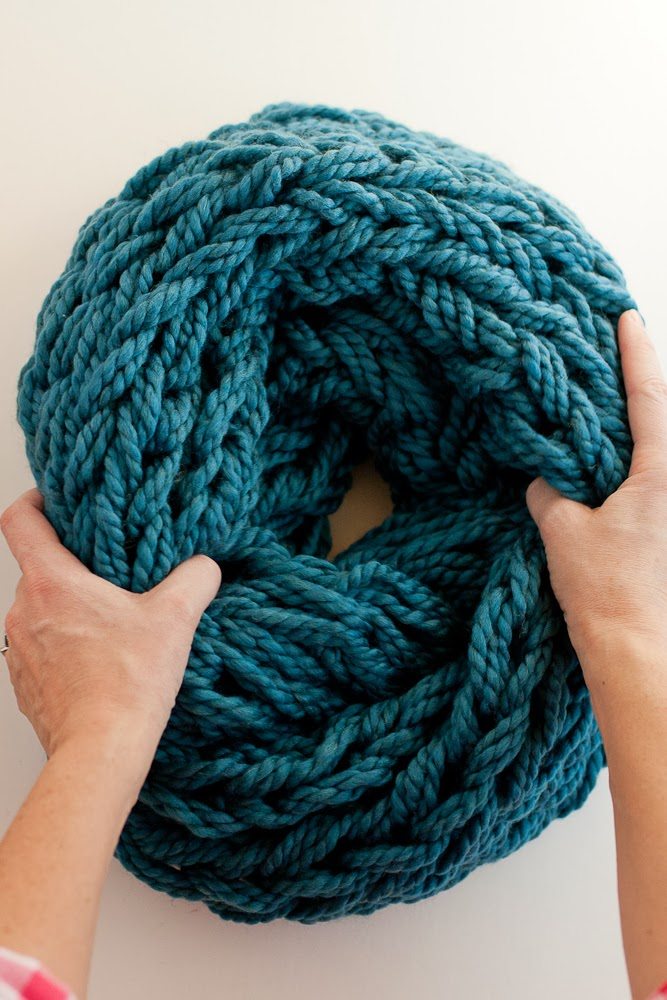
What I love about arm knitting is that you can come away from your first learning experience with a gorgeous cowl! What could be better? Here are yarn requirements and measurements for the cowl before we get started.


// About 1.5 yards from the end of the yarn, make a loop by taking the working yarn over the tail.

// Pull the working yarn through the loop.
// Pull this tight to finish the slip knot.
// Place the slip knot on your right hand with the tail closer to you and the working yarn farther from you.
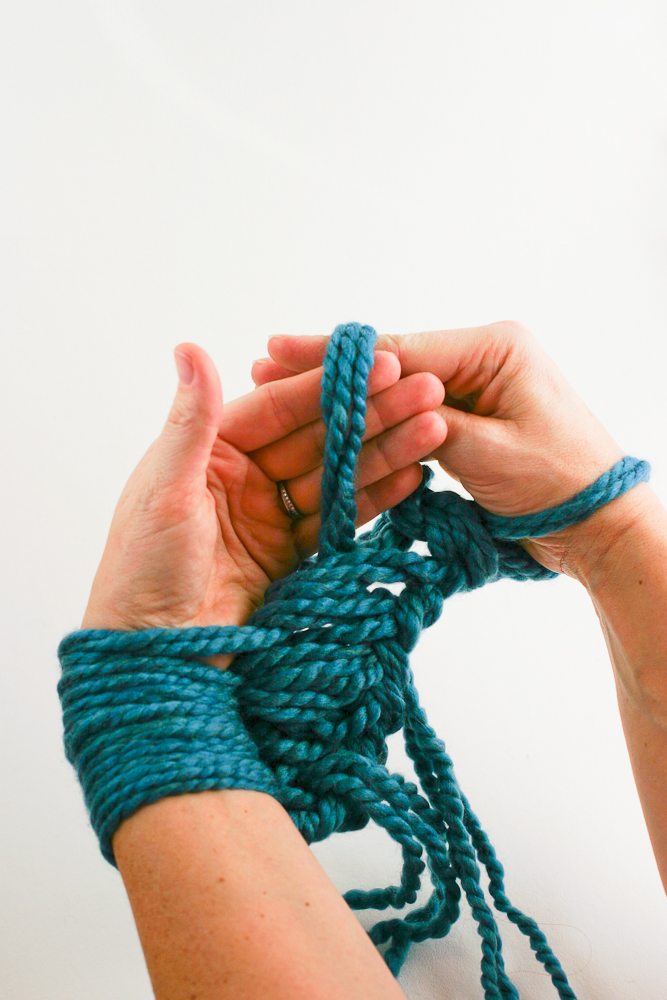
Casting on

// Make a loop with the tail, so that the remainder of the tail hangs in front of the loop.
// Hold the top of the loop with your right hand. Put your left hand through the loop and grab the working yarn.
// Pull it through the loop. Drop the yarn you held with your right hand.

// Put your new loop over your right hand.
// Pull the working yarn and tail apart to tighten the stitch on your arm.
// Repeat this process for as many stitches as you’d like.
If you want to make the cowl, cast on 10 stitches.

Leave a comment
This site is protected by hCaptcha and the hCaptcha Privacy Policy and Terms of Service apply.