
Well, this is it, folks–the last piece of jewelry in the series–
24 amazing days of glamorous jewelry for the little girl in your life, (even, if that little girl in your life happens to be you, or a relative, or a close friend!) I have made many of these items in my size and proudly flaunt a
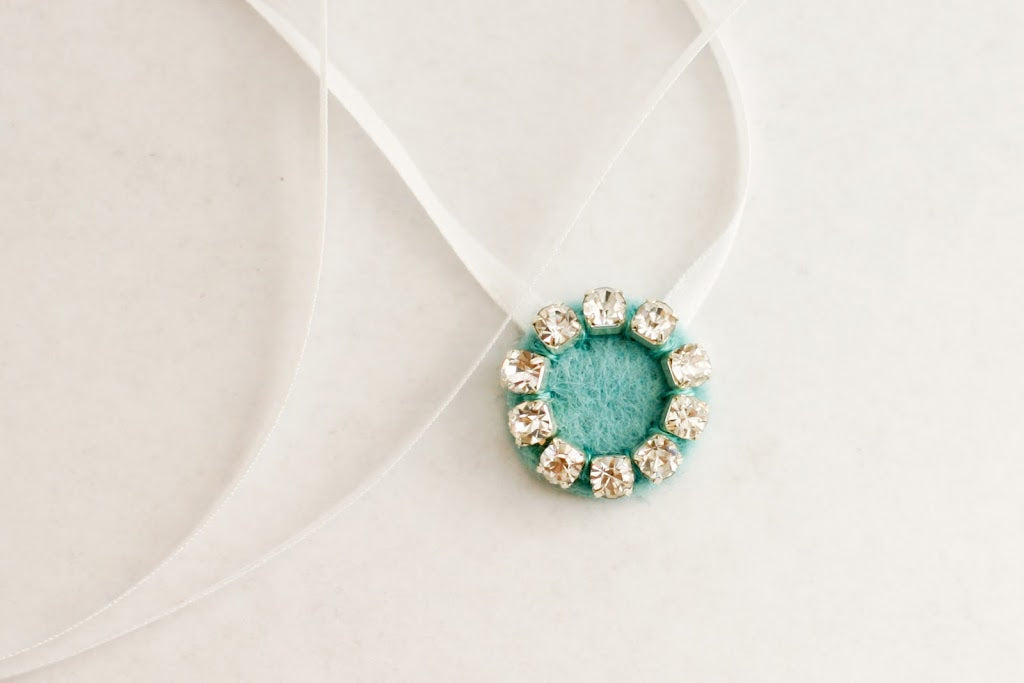
little sparkle here or
warm pearls there or even a
petite bow – why not?! I have to say that this bracelet is one of my favorite, the lush cream of that woven ribbon and the red fuzzy felt next to that gleaming pearl – mmm!
Once I started making these poppies, I didn’t want to stop. I made one in green, lavender and yellow. I made them big, medium and small. This definitely won’t be the last time you see this style flower in one of my designs. They seem intimidating, but they really are quite easy to do. Give it a whirl below.

I can’t tell you the pleasure I’ve received out of doing a tutorial each and every day. Not only did my daughter love to open her gift every day, I got the sense that many of you had a feeling of excitement to see what would come next, as well. Your support, enthusiasm and positive words kept me going through what honestly was a ton of work! I’ve done a lot of tutorials in the life of this blog, but never one every day, for 24 days. It was great practice in efficiency, taking better photos, writing clear directions, using illustrator and much more. I hope
this collection becomes a resource you can keep coming back to for endless hours of creative fun for you or your daughter or your granddaughter.
Materials:
1 8mm glass pearl
1 snap closure
100% wool felt
Thread
Scissors
Needle
Time: 40 minutes
Cut an approximately three inch circle out of 100% wool felt. I cut a larger circle than I think I need and trim the excess when I get the size flower I want.
Cut a spiral in the circle. There is more lee-way in this than you might think. I was concerned that it would need to be perfect, but you can trim here and there to adjust it after the fact. I didn’t measure or draw anything, but just cut it by hand.
Now that you have your spiral, start twisting it, beginning with the center.
It should spiral up like this. Trim off any excess spiral you don’t want to include in your poppy.
Stitch the poppy together at the bottom of the blossom. I went both directions across. I also came up the outside petal and stitched the top of the outside flap to the the inside layer.
Come up through the center of the poppy, just off from dead center. Add the pearl.
Bring your thread back through and finish off underneath the blossom. Voila! There’s your poppy.
Measure the ribbon to your wearer’s wrist, or take a measurement with a string. Note that with the snap closure, 3/8" of the bracelet will overlap. You want the bracelet to be pretty snug so the poppy won’t swing around to the bottom of the wrist. Hem each end of the ribbon by 3/8".
Sew on the snap closure (you could also do a button and cord elastic like many of my other bracelets). Remember that one part of the snap goes on the wrong side of the bracelet, and one part of the snap goes on the right side of the bracelet, as they will overlap.
Sew the poppy to the bracelet in the center.
Finis!
Merry Christmas everyone. I hope you all have a joyful and bright holiday! I will be taking a bit of a respite from the blog for recovery’s sake. But, trust me, this whole project has my brain churning on other series for next year. Can’t wait to share my ideas with you!


Leave a comment
This site is protected by reCAPTCHA and the Google Privacy Policy and Terms of Service apply.