Day 14: Rose Barrettes - a diy hair accessory

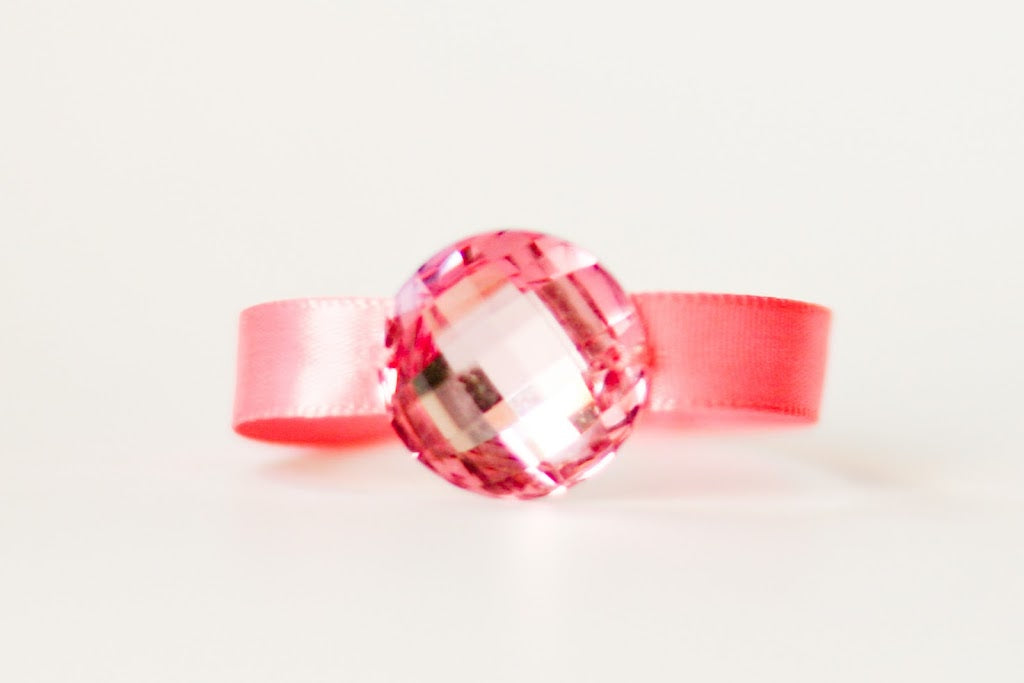
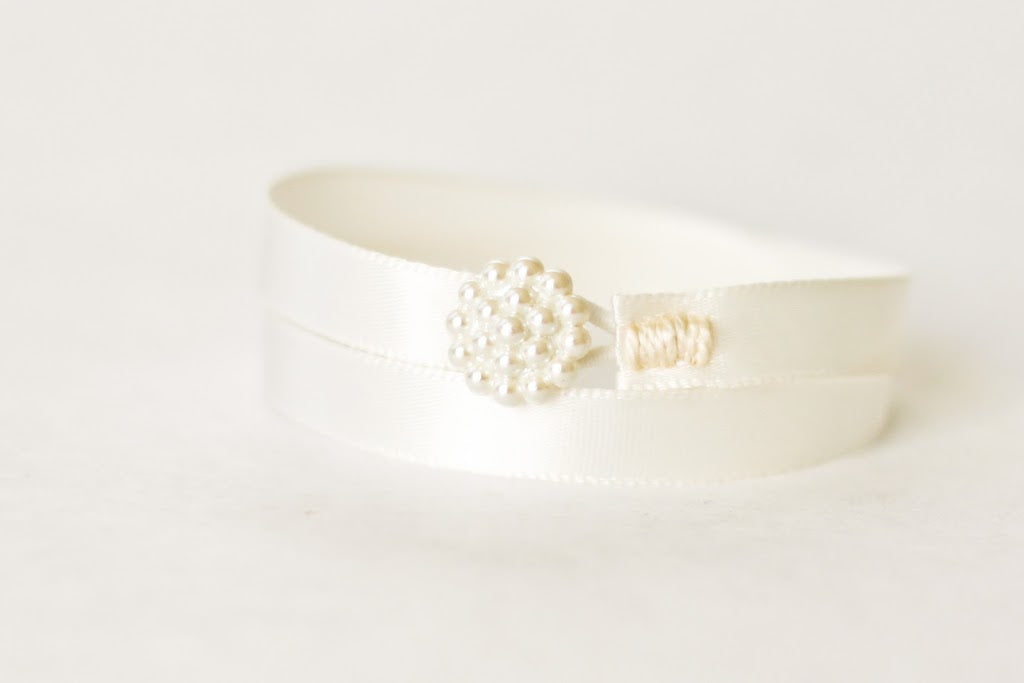
These barrettes are so much fun! They are made with wrapped embroidery thread, a couple fabric scraps and goody metallic barrettes. Everytime I pick up a goody barrette, it takes me back to when I was nine, making piles upon piles of ribbon woven barrettes. The ones where you wove the 1/8" ribbon through the barrette and ended with the tails hanging off the ends, to which I added beads – so cool! Does anyone else remember those? 
The kids and I originally made these flowers as part of a bouquet for my mother-in-law for her 70th birthday. I miniaturized them here and attached them to an embroidery wrapped barrette. They take a little bit longer than some of the other projects in this series, but I think they’re worth it.

As with the button hairbands, there are endless combinations of colors and prints you could do. You could wrap them with ribbon if you wanted to make it super fast, but I love the thread. Or, you could make some smaller blossoms and glue them the length of the barrette.
Also, don’t forget to check out the other jewelry and hair accessory designs in this series. Lots of ideas for gifts or fun projects to keep you busy over the holidays.
 Materials:
2 metallic barrettes
2 strip of fabric 6.5" x 1.25"
Craft glue
Embroidery thread/floss
Time: 30 minutes
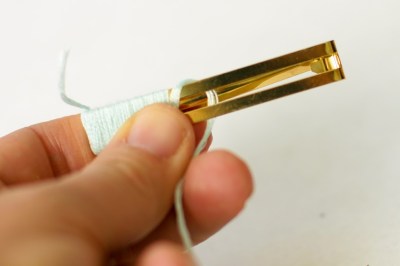
Now, wrap the barrette. Place craft glue on the inside of the end of the barrette.
Place your embroidery floss in the glue with a tail hanging out. You want to catch this tail with the other loops a couple times as you go.
Do a few wraps, catching the tail of the floss. Let the glue set just a touch.
Continue wrapping tightly around the barrette. Wrap a couple times and then compress the wraps towards the beginning. It takes less time than you think.
I twisted the floss flat as I went to get a smoother and more organized look.
Continue to compress the wraps towards the beginning as you go to get good coverage of the barrette.
When you get to the end, cover the tip with glue.
Carefully wrap the tip, letting the floss set in the glue.
Place glue under the tip, and bring the floss around to set in the glue underneath.
Repeat with the other barrette.
Now, glue the blossoms to the barrette.
You may want to attach them by sewing them to the barrette which will make them more secure. I tend to glue first (easier) and sew later if it doesn’t hold up. But, I am, by my nature, lazy :).
Finis!
I think they are quite pretty. I also think the embroidery thread-wrapped barrettes look beautiful without the blossom, as well. I was thinking you could add some beads as you wrapped. Hmmm, I’ll have to try that some time.
Enjoy!
Lots more to come. Thank you for all the wonderful comments. You all keep me going through producing all these tutorials.


Leave a comment
This site is protected by reCAPTCHA and the Google Privacy Policy and Terms of Service apply.