


Day 4: Button Hair Bands - a diy hair accessory

You can’t get much simpler than this. With a great little button-making kit that you can find at any craft store, you can make lots of these beauties. Its a fabric covered button and a hair band – that’s it. But, aren’t the simplest things always the cutest? 
The young girls in your life will love to do this with you. They can make these for many friends and family members as a sweet little Christmas or Hanukkah gift – and do it quickly! Or, how perfect for a stocking stuffer or advent gift! I’ve taken you through the how-to on the button making as I think having the photo tutorial makes things so much easier to follow – especially if you’ve never made a fabric covered button before. You can imagine that the possibilities are endless! The grey polka dots are the 3/4" size. The yellow ones are 7/8".

Allie loves dogs, so I though these were super cute.

It was hard to tear myself away from making these because I just wanted to keep whipping them out. You can use all those adorable little fabric scraps you’ve been saving and put them to good use.
If you want to see more great, easy jewelry diy, see the 24 Days of Glam page here. This has everything I’ve made so far and will have the entire collection going forward.


Materials:
Aluminum cover button kit
Fabric scraps (apprx 2×2" is enough for a 7/8" button)
Hair Binders
Pliers
Time: 10 minutes

Here is the base to the button making kit.

Place your scrap of fabric (2×2" for a 7/8" button kit) over the base.

Place the aluminum disc (you can see the corner of it in the photo) into the base on top of the fabric and press into the fabric.


Take the back of the button and put it on top of the fabric.

Press down with the presser until you hear/feel a “click.”

Voila! – isn’t it cute? Repeat the process with the other button.


Pinch the hair band with your pliers.

Thread it through the back. This part can be a little tricky and it helps to squeeze the band so its smaller. Then, use the pliers to grab on to the band on the other side.

Pull the hair band through the the loop.

Now, pull one end of the hair band through the other end of the hair band across the


I will definitely be making more of these puppies.

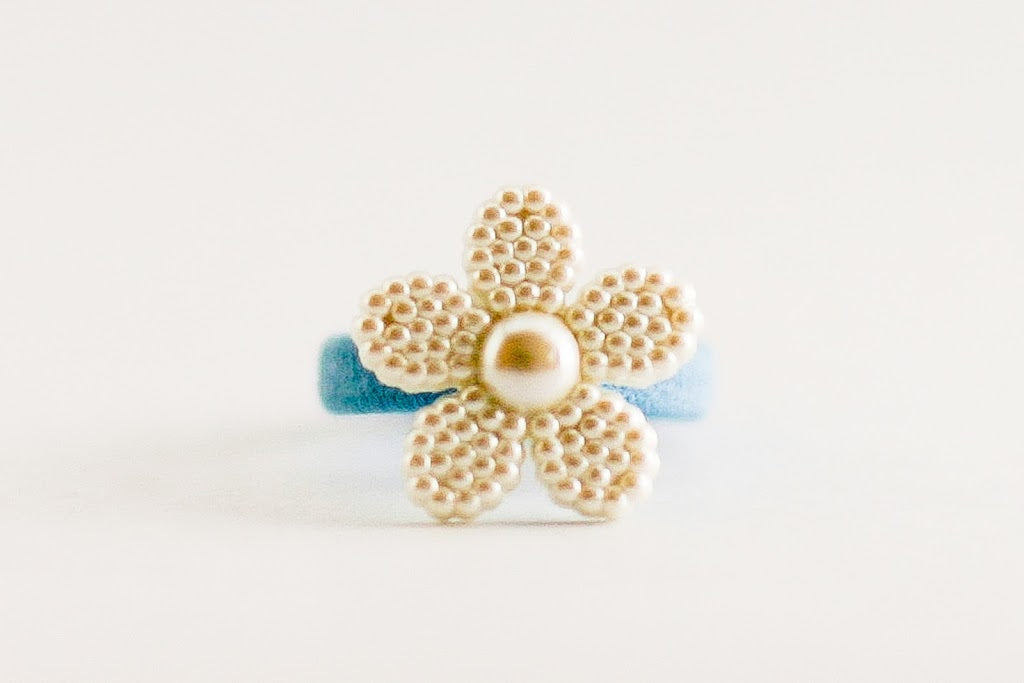
Tomorrow is an easy, peasy ring – cute as a button.
Leave a comment
This site is protected by hCaptcha and the hCaptcha Privacy Policy and Terms of Service apply.