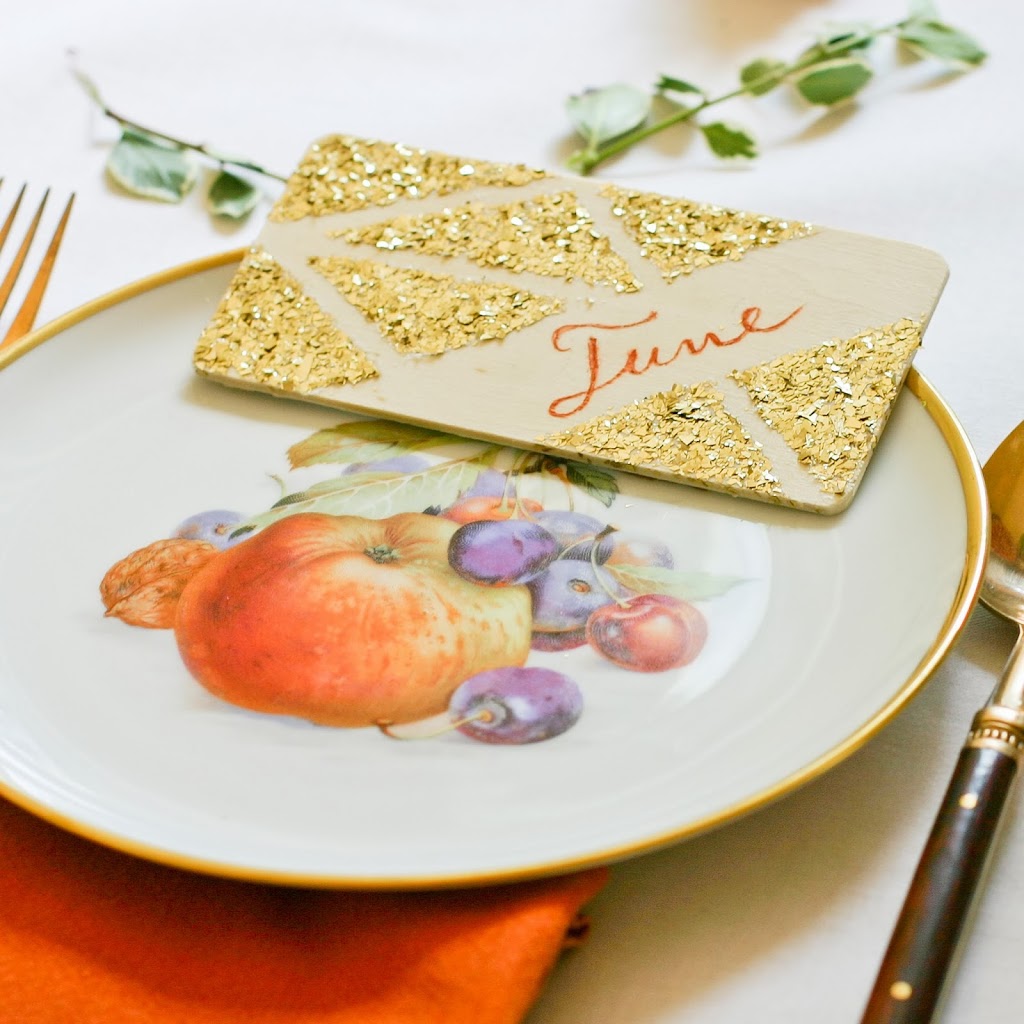
After styling the shoot for the
DIY Geo Chalkboard Place Cards, I had a collection of beautiful flowers left over. Yes, I did this two weeks ago! Can you tell I’m behind? Anyway, those dahlias and calla lillies were to die for. I didn’t want them to go to waste, so decided to spread the love a bit. I mean, really, who doesn’t love a surprise bouquet of flowers?
I split the bouquet into five smaller mini-bouquets and wrapped them in a little bit of recycled, hand-decorated paper and some twine. The result was a sweet fall bouquet with just a touch of shiny love – perfection!
This is re-gifting at its finest. Once made, the kiddos and I headed out to give them as thanks or even just because.
I let each kiddo pick one person they wanted to give a bouquet to. Baillie’s teacher from last year and Allie’s dance instructor experienced a visceral thrill at the surprise.

I wish I had been there to see my friend come to her door to find this sweet bouquet and thank you note waiting for her.
By far and away, though, watching the rush of shock and then absolute joy on Charlie’s bus driver’s face when he handed them to her elevated our whole family’s mood for the week. I so wish I had had my camera to capture her reaction. As a family, we had the opportunity to remember how much more happiness we get from giving rather than receiving. We all know this, right? But honestly, it’s so easy to forget.
As a result of the bouquet delivery, I even got a wonderful surprise myself – an hour of quality time with one of my dearest friends in Baltimore. It was worth every penny and moment spent. So go do it – go spread a little bit of your own surprise love.
How to Wrap a Mini-Bouquet of Thanks DIY
Materials:
Old grocery bags
Leftover bouquet
Stamp
Gold stamp pad
White paint pen
Scissors (not shown)
Cut a paper grocery bag (I have a ton because I always forget to bring in those reusable ones, don’t you?) to approximately 8 x 10". Fold the piece in half at a bit of a tilted angle (i.e. not directly in half). Use a
heart stamp or other fun stamp and
gold metallic stamp pad or paint to cover one side of the wrap with hearts. I outlined the hearts with a
white Sharpie paint pen to make them pop. Repeat this process for as many bouquets as you’d like to make.
Now, divide your flowers into mini-bouquets, evenly parsing out the juicy flowers and then adding greens and fillers as you go. Wrap each bouquet individually as shown below.
Angle your flowers so the heads are at the corner. Bring the left side of the wrap over to line up with the stems of the bouquet. Wrap and roll, folding over the tail end of the wrap for an even edge on the front. Tie with some twine and trim the ends. Now, go deliver and watch the joy grow!


Leave a comment
This site is protected by hCaptcha and the hCaptcha Privacy Policy and Terms of Service apply.