


Making Pompoms in Bulk

I’m always looking for ways to save time. I am currently working on a feature for Discovery Girls magazine that absolutely needed some pompoms–a lot of them. The thought of doing each one individually nearly took me under. The process to make them in bulk is quite easy and definitely beats making those little cardboard templates, which drive me nuts.

14 at a time? Now, we’re talking. I used a piano bench, but any piece of furniture with legs a good distance apart and room to bring the yarn around will work. Allie and I became a pom-pom making machine. Did you wonder what this sausage looking thing was from this Mid-Make post? Read on through the tutorial and you’ll see.

Add some neon thread to your final pile of poms and you’ve got a fun garland to hang anywhere– great party fare or tween room dec.

Here is the tutorial for making pompoms in bulk.
Materials
::A bench or table. A piece of plywood with nails will work also. The wider apart the two legs, the more pompoms you’ll make!
::Yarn ( I used around 200 yards for the small pom poms, and it was about right. For the bigger pompoms, I should have used more.)
::Scissors

Tie one end of your yarn around one of the legs of your bench.

Start wrapping around the two legs. This is a great thing to have kiddos help with.

Wrap a ton of yarn. It takes more than you think it will. I like the fluffiness of my small poms, but the big poms I made were a little weak. The large poms pictured here had a center about 1" wide, and the actual poms were 3" wide. I think the ratio would need to increase to 2:1, meaning create a 1.5" center for a 3" pom to make them full enough for my taste. You can test the width of the center circleby squeezing the bulk of yarn together between your fingers and estimating.

When you have enough yarn, tie the end of the yarn to the leg of your bench.

Now, you want to secure the center of your pompoms. Cut a number of pieces of embroidery thread approximately 12" long. This will provide enough length to hang the poms if you choose.
You want to tie the thread at regular intervals across the hank of yarn. Decide on the size of your pom and use a piece of embroidery thread as your guide to measure evenly. The small poms you see are about 2.5" poms, the larger ones are 3" poms. When you tie the thread, you want it to be as tight as possible. When tying, during the initial cross over of ends, wrap the thread around twice before you pull tight. This will help it keep the tie from loosening, then complete with a square knot. Tie the thread around again.
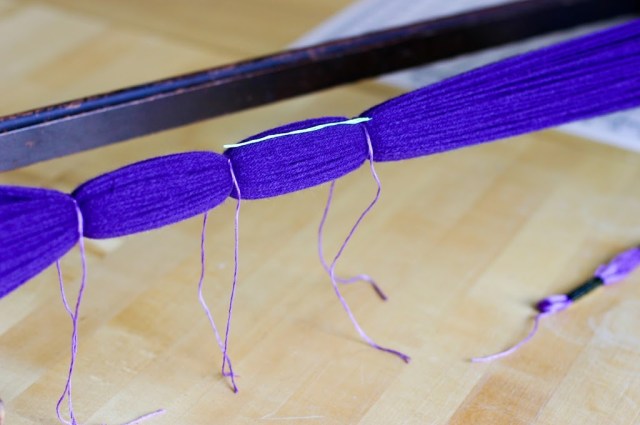
It will look like this after you tie them all off.

At the end, fold your measuring thread in half to appropriately measure the end cut. Repeat on the other end.

Now you have a link of pom sausages like this.

Cut straight down the middle of each section, doing it in two parts to get as straight a cut as possible.
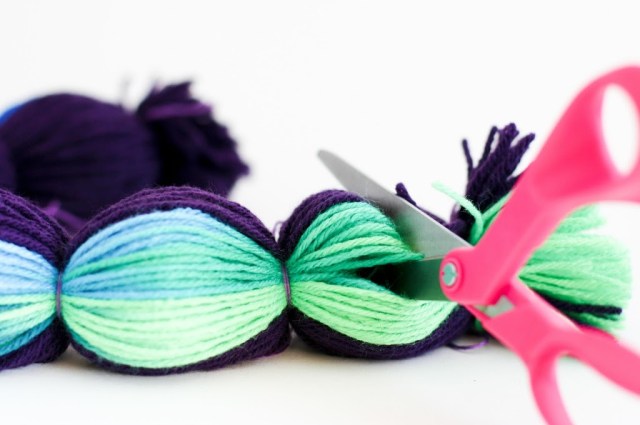
After you cut in the middle of each section, you will have pompoms that looks something like this below. Next step is to trim and fluff the poms. As I mentioned above, I wish that I had added more yarn to these poms. I think 3“ poms need a center of at least 1.5", and 2.5" poms would need a center of 1.25" etc.

To trim the poms, put your thumb and forefinger at the middle of the pom such that each finger is on either side of the center circle. Be careful not to trim the threads used to tie the center if you want to use those to hang your pom. Trim pom to get an even circumference throughout the pom.
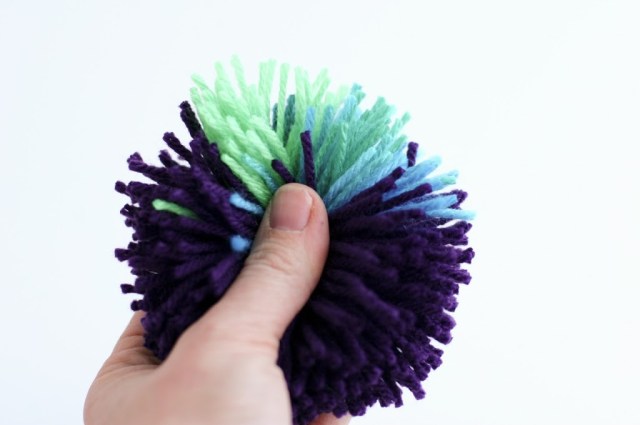
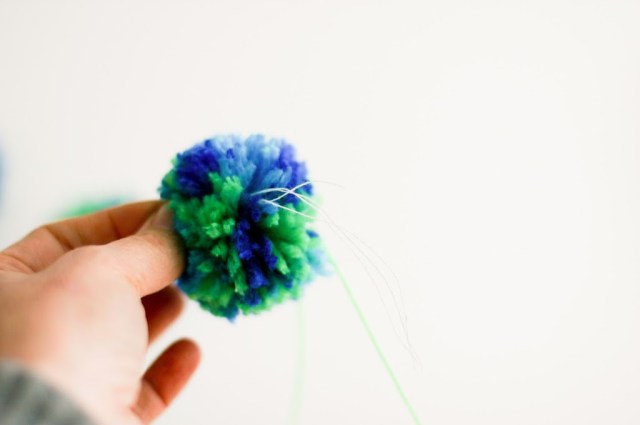
It should appear rounded like this:

Repeat with each pom and you’re done–over 8 large poms all at once or 14 medium poms.

To make a garland, find a fun thread to string your poms on.

Trim the center threads.

Bring embroidery thread through the center of each pom with a needle.
Adjust the width between each pom and hang. Yay! Super-fun. Happy pomming.

Leave a comment
This site is protected by hCaptcha and the hCaptcha Privacy Policy and Terms of Service apply.