


DIY Tasseled Love Pillow - a finish fifty project

Making this pillow has been on my finish fifty project list since last year when I first started brainstorming fun finger knit projects. The long finger knit chain just asks to be turned into letters. For some reason, I never got around to executing on it–I guess it was just waiting in my notebook for a Valentine’s Day 2013 execution.

Frankly, I’m in love with this tasseled love pillow. I used basic duck canvas and some pretty cheap-o variated yarn that Baillie had started finger knitting. He wasn’t entirely happy that I co-opted it for this pillow, but I got him going on something new :). This pillow is 30 x16, nice and big. It would be cute with any word, in any colors–your kiddo’s name, peace, fun, happy, etc, etc. Even though, I finished the five fabulous finger-knit series here, I’m adding it as a bonus project–how could I not? 

I might just have to add these tassels to more pillows around the house.


Materials
finger knit yarn
scissors
thread
needle
sewing machine (optional)
wire (20 gauge)
1 yard duck cloth (canvas)
stuffing (I used two 16×16 pillow forms and a towel)
additional yarn for tassels
4" piece of cardboard for tassels

Fingerknit a length of yarn long enough to form the word you want.

Uncurl the finger knitting chain and thread the wire through the middle of it. It doesn’t really matter where you thread it, just keep it consistent.

Entwine one end of the wire in one end of the finger knitting so you have a fixed starting point.

Form your letters. Leave a length of wire and finger knitting at the end of the word for now. 
Sew your letters with the wire to your canvas, stretching the finger knitting around the wire as you go, so as to hide the wire and twist the finger knitting so it has a nice appearance.
 Once you get to the end of the word, you can trim the wire and the finger knitting. Simply cut the finger knitting an inch from where you want it to end.

Pull out the extra bits and undo a couple rows until you get a few inches of remaining yarn, thread it through the finger knitting length and pull.

I thought it looked knice to have the starting and ending bits of yarn sewn down as well.

Here it is all sewn down on the duck cloth.

I measured the length of pillow I wanted (30 x16) and added 1/2 inch on each side for a seam allowance, keeping the word centered in the middle.

Cut another piece of duck cloth the same size. Pin the two together right sides facing each other. Your word should be sandwiched in the middle.

Pin and then sew around the entire pillow with a 1/2 inch seam allowance. You can use your machine, but you could also hand sew this if you wanted. Leave a 10" opening to turn it inside out.

Trim the corners and iron the seams open.

Make the tassels:
Cut a piece of yarn about six inches long first.

Wrap yarn around something approximately four inches long. I wrapped the yarn 40 times around. Leave the ball of yarn attached. Don’t cut yet!

 Still don’t cut the ball of yarn away yet. Pull the circle of yarn off your cardboard. Tie a knot in your 6" length of yarn around the top of the loops.

Now, take the yarn going to the ball and twist it around the top of your loops. Tighten it on to the loops about 3/4" down. Repeat this process 10 times, pulling tightly each time. Pull out your 6" length of yarn each time so it doesn’t get caught down.

It should look like this.

Now cut the other end of the loops.


Attach the tassels to the pillow by bringing the top ties on the tassel through the corner of each pillow separately.

Tie them in a square knot on the inside of the pillow.

Voila, almost there!

Stuff the pillow and sew the remaining open seam closed, using a blind stitch. Take a little bite of the fabric under the fold, then go directly across to the other side, take a little bite of fabric and repeat.
 Yipee!! You’re done! Allie was over the moon about this one. She put it on her bed immediately.
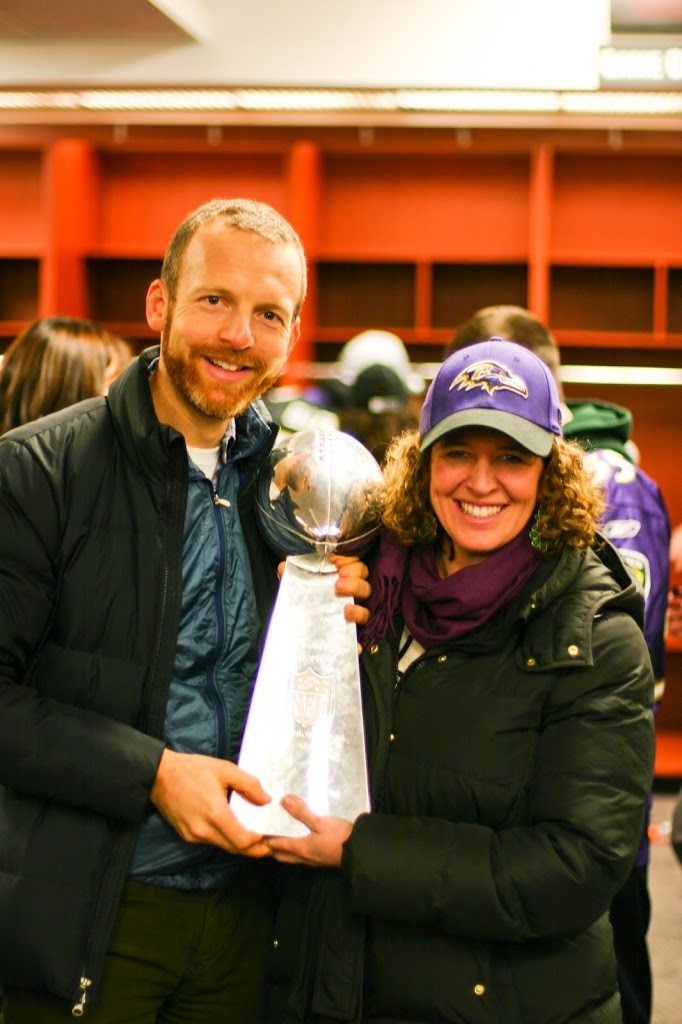
Happy Valentines! We’re off to New Orleans this weekend for the Super Bowl. I still can’t believe its my husband’s job to be on the Ravens Team! Go RAVENS!
Leave a comment
This site is protected by hCaptcha and the hCaptcha Privacy Policy and Terms of Service apply.