


Day 1: A Strand of Pearls - a diy ribbon and pearl necklace

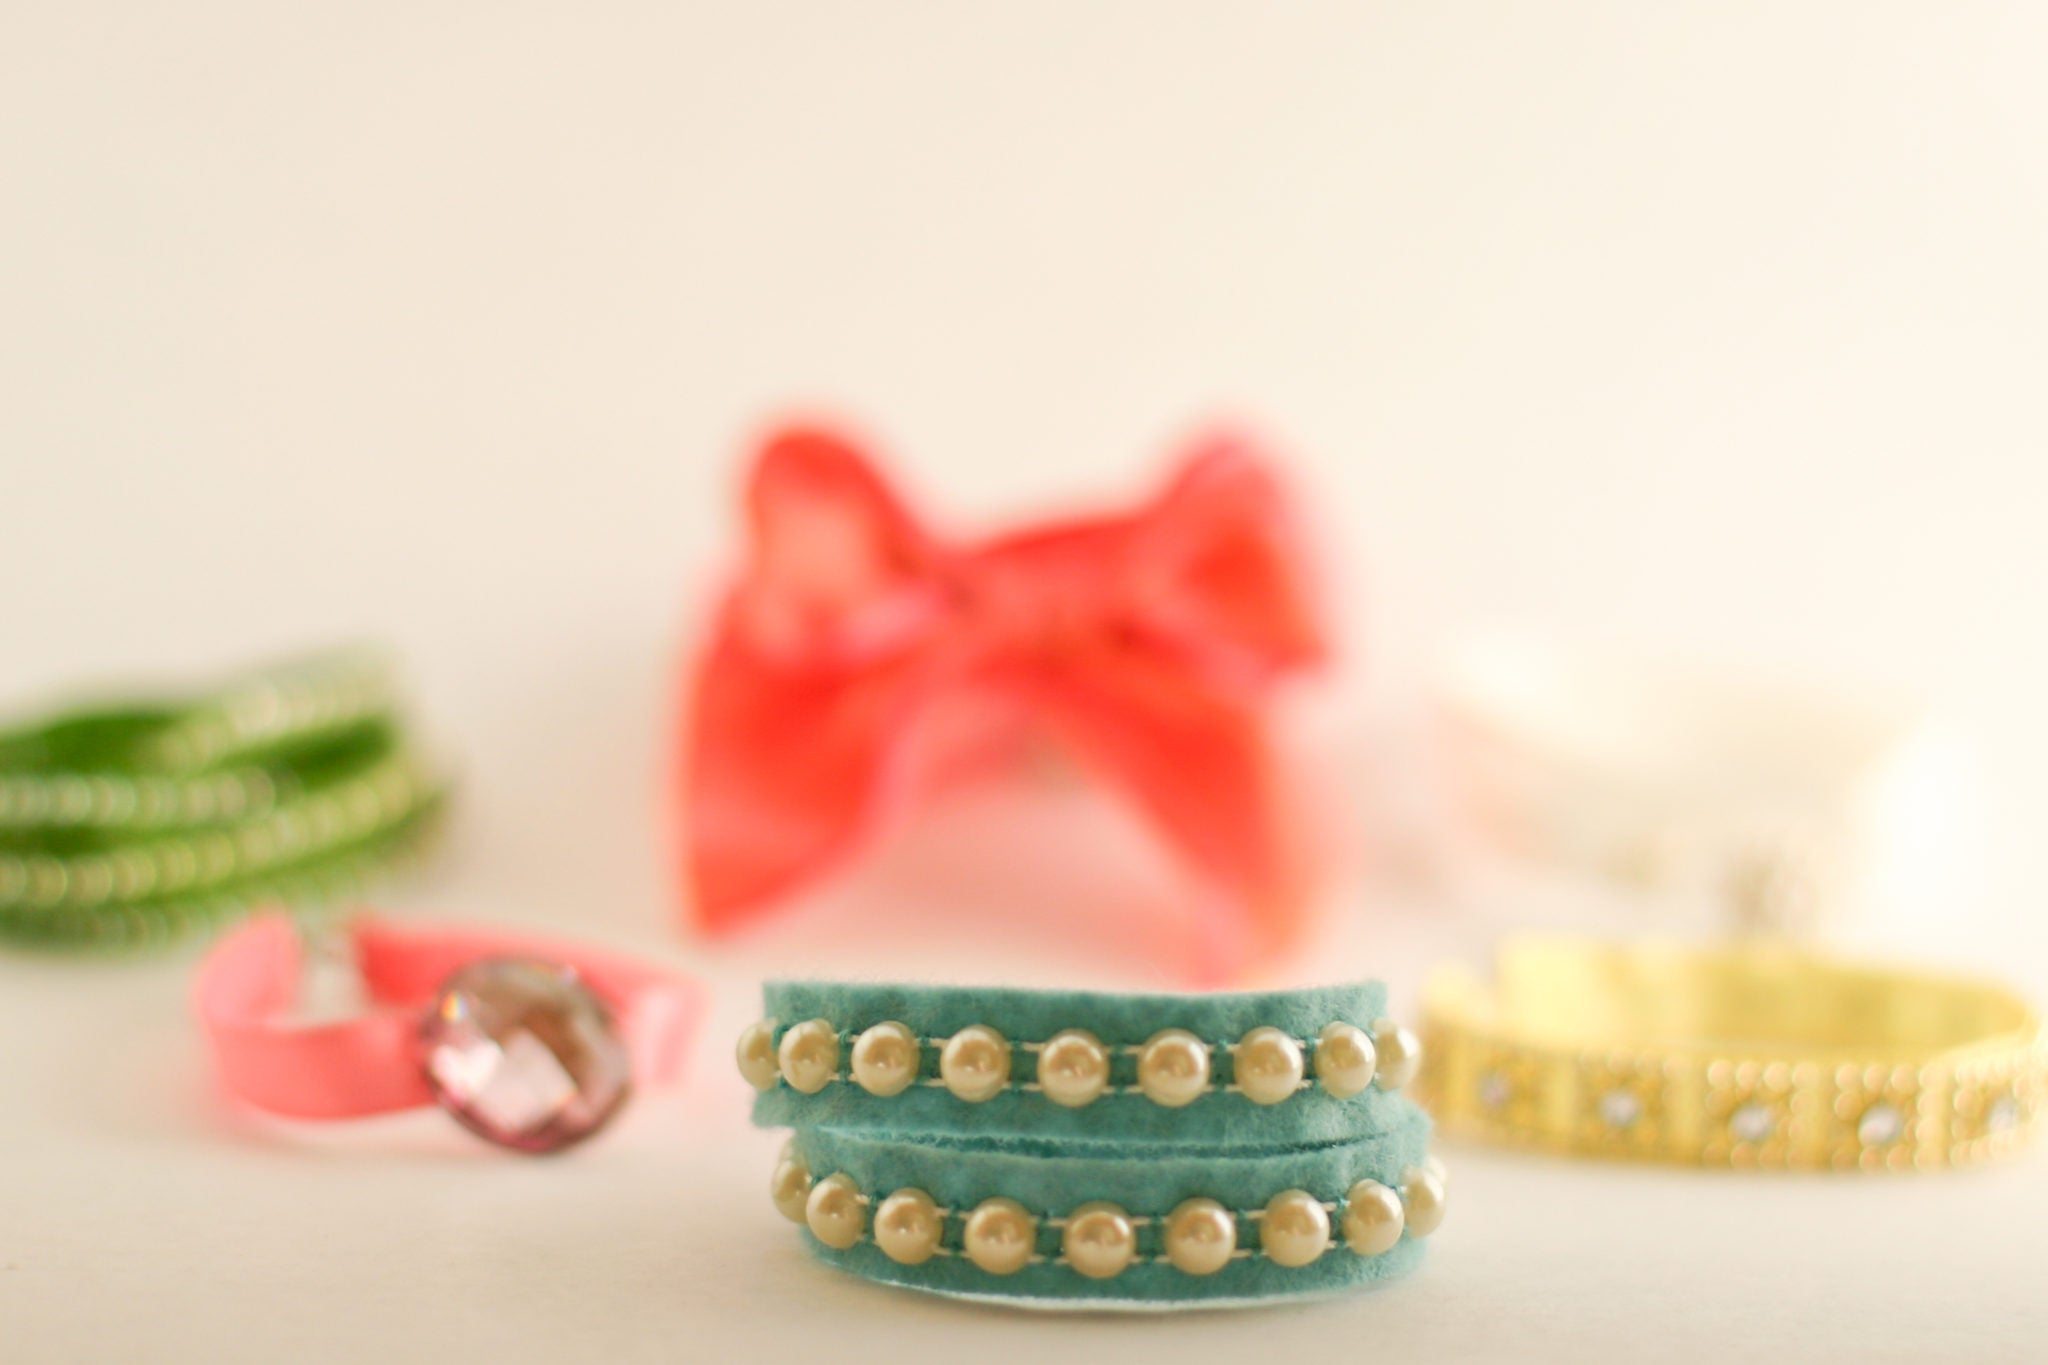
Yippee–here it is–Day number 1. I think this necklace actually was the first thing that I made in my jewelry-making frenzy to fill Allie’s Advent Calendar. I love the blue next to the pearls and love the lines the undulating ribbon and smooth pearls make together. This ribbon strand ties in a bow in the back to whatever length your little girl desires. The overall length on this one is 28", but with the bow, she can shorten it to whatever length she likes. The necklace is super easy to make. It took less than 30 minutes to so. The pearl beads and ribbon are from JoAnn’s.
I thought I couldn’t get better than the blue until I made the sample for the easy diy tutorial below – I just ADORE the green.


Cut your ribbon to desired length, adding enough length to flow in and out between the pearls. I used approximately 34". Knot a length of floss, leaving extra tail before your knot that can tied off back through some of the pearls when you are done.


Bend the ribbon around the pearl to judge where you should put the needle next. You want the ribbon to wrap tautly around the pearl without gapping, but not so little the pearl bulges out. Depending on your pearl size, it should be about 3/4 of 1 cm. Getting this right takes a little bit of practice, but you’ll get it quickly.

Put on the next pearl.

Continue to alternate between threading a pearl and wrapping the ribbon until you reach your desired length. The pearl part of the blue necklace shown above is about 8" (32 pearls). Its overall length is 26".


Leave a comment
This site is protected by hCaptcha and the hCaptcha Privacy Policy and Terms of Service apply.