


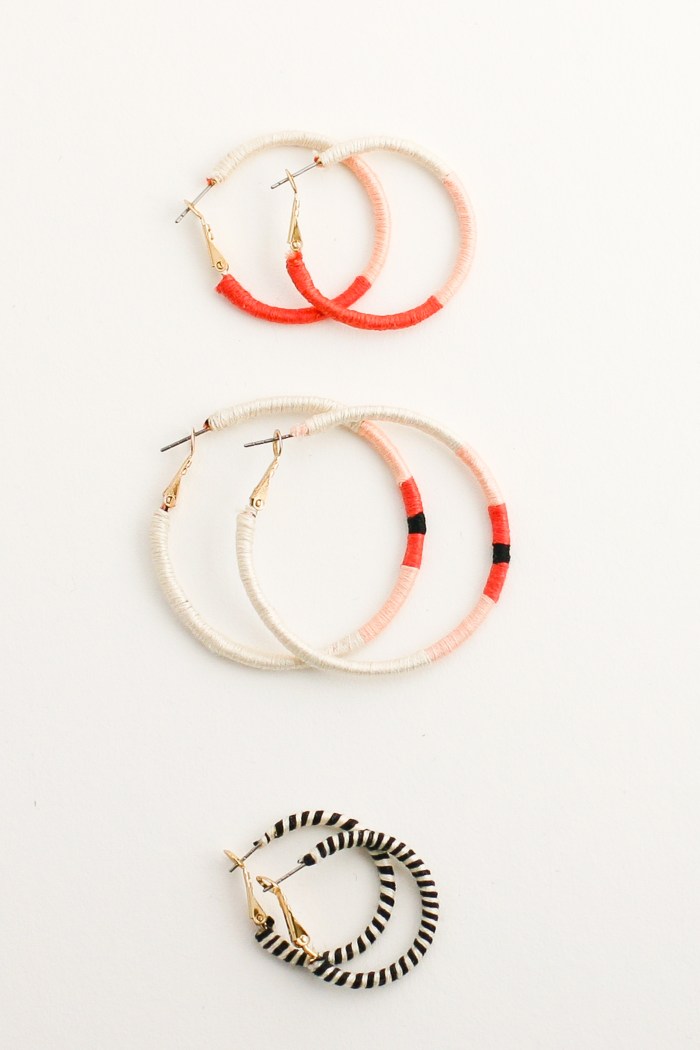
Embroidery Thread Wrapped Hoop Earrings DIY
I originally designed these embroidery thread wrapped hoop earrings back in 2013 for EZ Pudewa who used to write the blog Creature Comforts. The tutorial used to live on her blog, but sadly, no longer. So many beautiful blogs have closed their doors! Well, these earrings have been featured a few times since then, most recently in the upcoming issue of the German magazine, Couch, and also by Karen Templer on her blog. The attention these hoops have received, even six years later, made me want to rewrite the tutorial so you all could still have it. I think hoops are timeless – especially ones you make yourself!
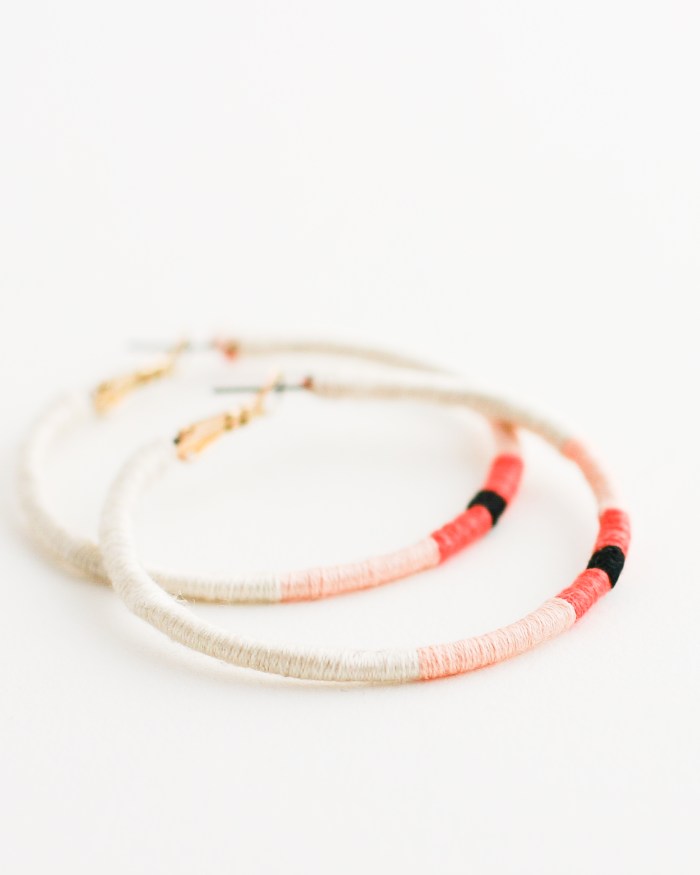
I still love this peachy range of colors as well as the black and white. These hoops are simple to make, yet such a fun splash of hand made in your wardrobe.

I love that you can customize every pair just the way you like and make them in just the size you’d like!
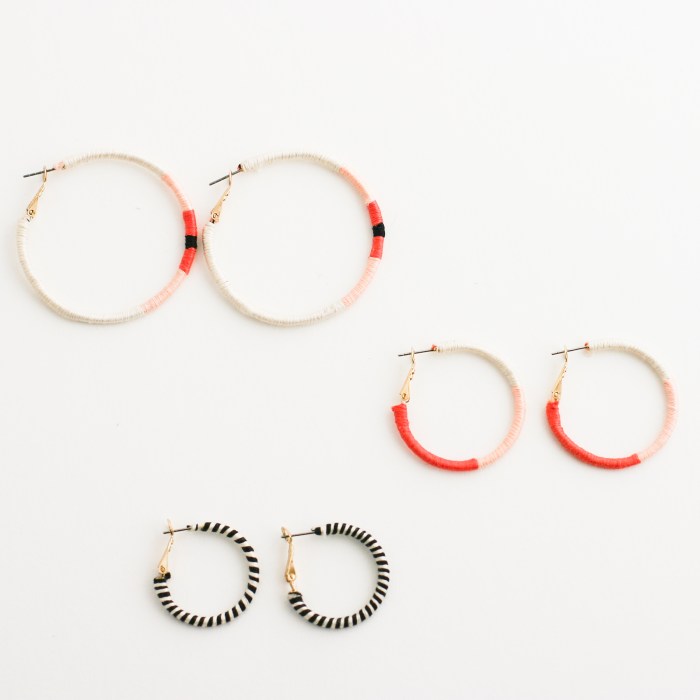
These hoops make for a fabulous last minute, personalized gifts, too.
DIY Embroidery Thread Wrapped Hoop Earrings
Materials
Embroidery thread (DMC 6-strand)
Inexpensive hoops
Craft glue
Scissors
Cut 40” of chosen embroidery thread colors for a large hoop, less for smaller hoops. If you place the hoops in your ear before you start, it will help you decide where to change colors and place the majority of your design color work. Start by placing a small bit of craft glue at the end of the hoop, by the post.

Take desired embroidery thread colors and line them up parallel to the hoop, placing the thread in the bit of glue. Choose the color you want to start with and begin wrapping it around the hoop and the other colors you aren’t using (they go along for the ride). Keep wrapped thread snugly side-by-side so you can’t see the hoop or other colors underneath.

When you want to change colors, drop the color you were using parallel to the hoop and start wrapping with the next color you’d like, covering the colors you’re not using as you go. Repeat that process to change colors again. Change as many times as you’d like.

When you get to the end, place another small bit of glue. Wrap directly over that glue, using your finger to wipe away any excess.

Trim the embroidery thread colors you are not using first as close to the hoop as possible. Then, place a little extra glue to secure the remaining thread over the ends of the other colors and trim excess. Repeat the process on the other side of the hoop. Repeat for the other earring.

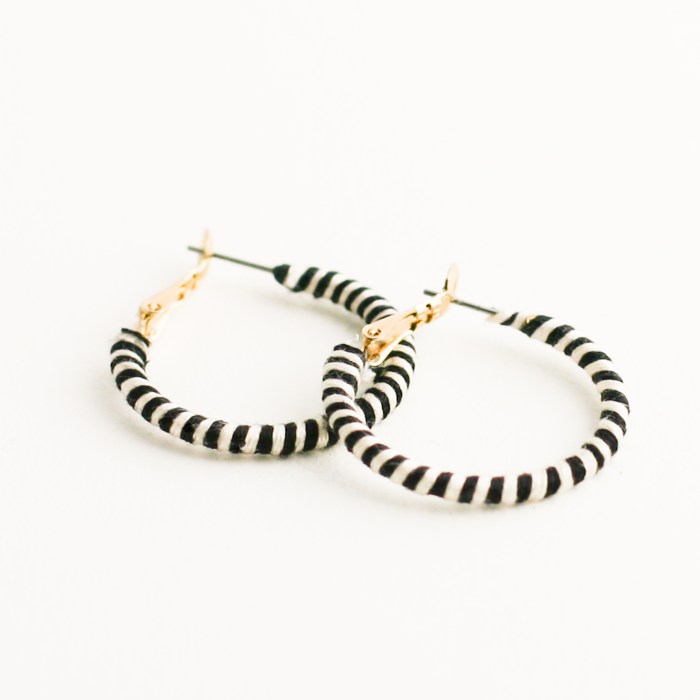
Voila! To do the stripe earring simply wrap the embroidery threads together at the same time, as if they were one. Keep them in the same alignment as you wrap.

So fast, easy and fun! Happy Hooping!


Leave a comment
This site is protected by hCaptcha and the hCaptcha Privacy Policy and Terms of Service apply.