


Weaving Within Reach Blog Tour and Publication Day

This is it! The day is finally here, and Weaving Within Reach is out in this world! And, to celebrate, we’re kicking off the Weaving Within Reach Blog tour! All the fabulous stop details are below. You can find Weaving Within Reach anywhere books are sold: Amazon, Barnes and Noble, Indibound.org, and, if you want an autographed copy, my shop.
First, let me give you an overview of the book and what inspired the projects. I wanted a book full of beautiful projects that anyone can learn to make. Regardless of where you start, I walk you through exactly how-to for each project in detailed step-by-step photos.

My approach to this book was to investigate weaving from a crafter’s point of view. I tried to think of projects that could be an easy entree into weaving, that would offer the opportunity to practice different techniques and get comfortable with the art. One chapter is dedicated to simple free-weaving with no-looms, and one chapter to weaving with made looms (think cardboard, matboard, embroidery hoops, ropes, and natural materials). In the last chapter, I explore frame loom projects with an emphasis on fabric-making and the creation of useable projects.

Throughout the book, I employ traditional methods and investigate what happens using surprising materials, like rope, embroidery thread, or twill tape (above).

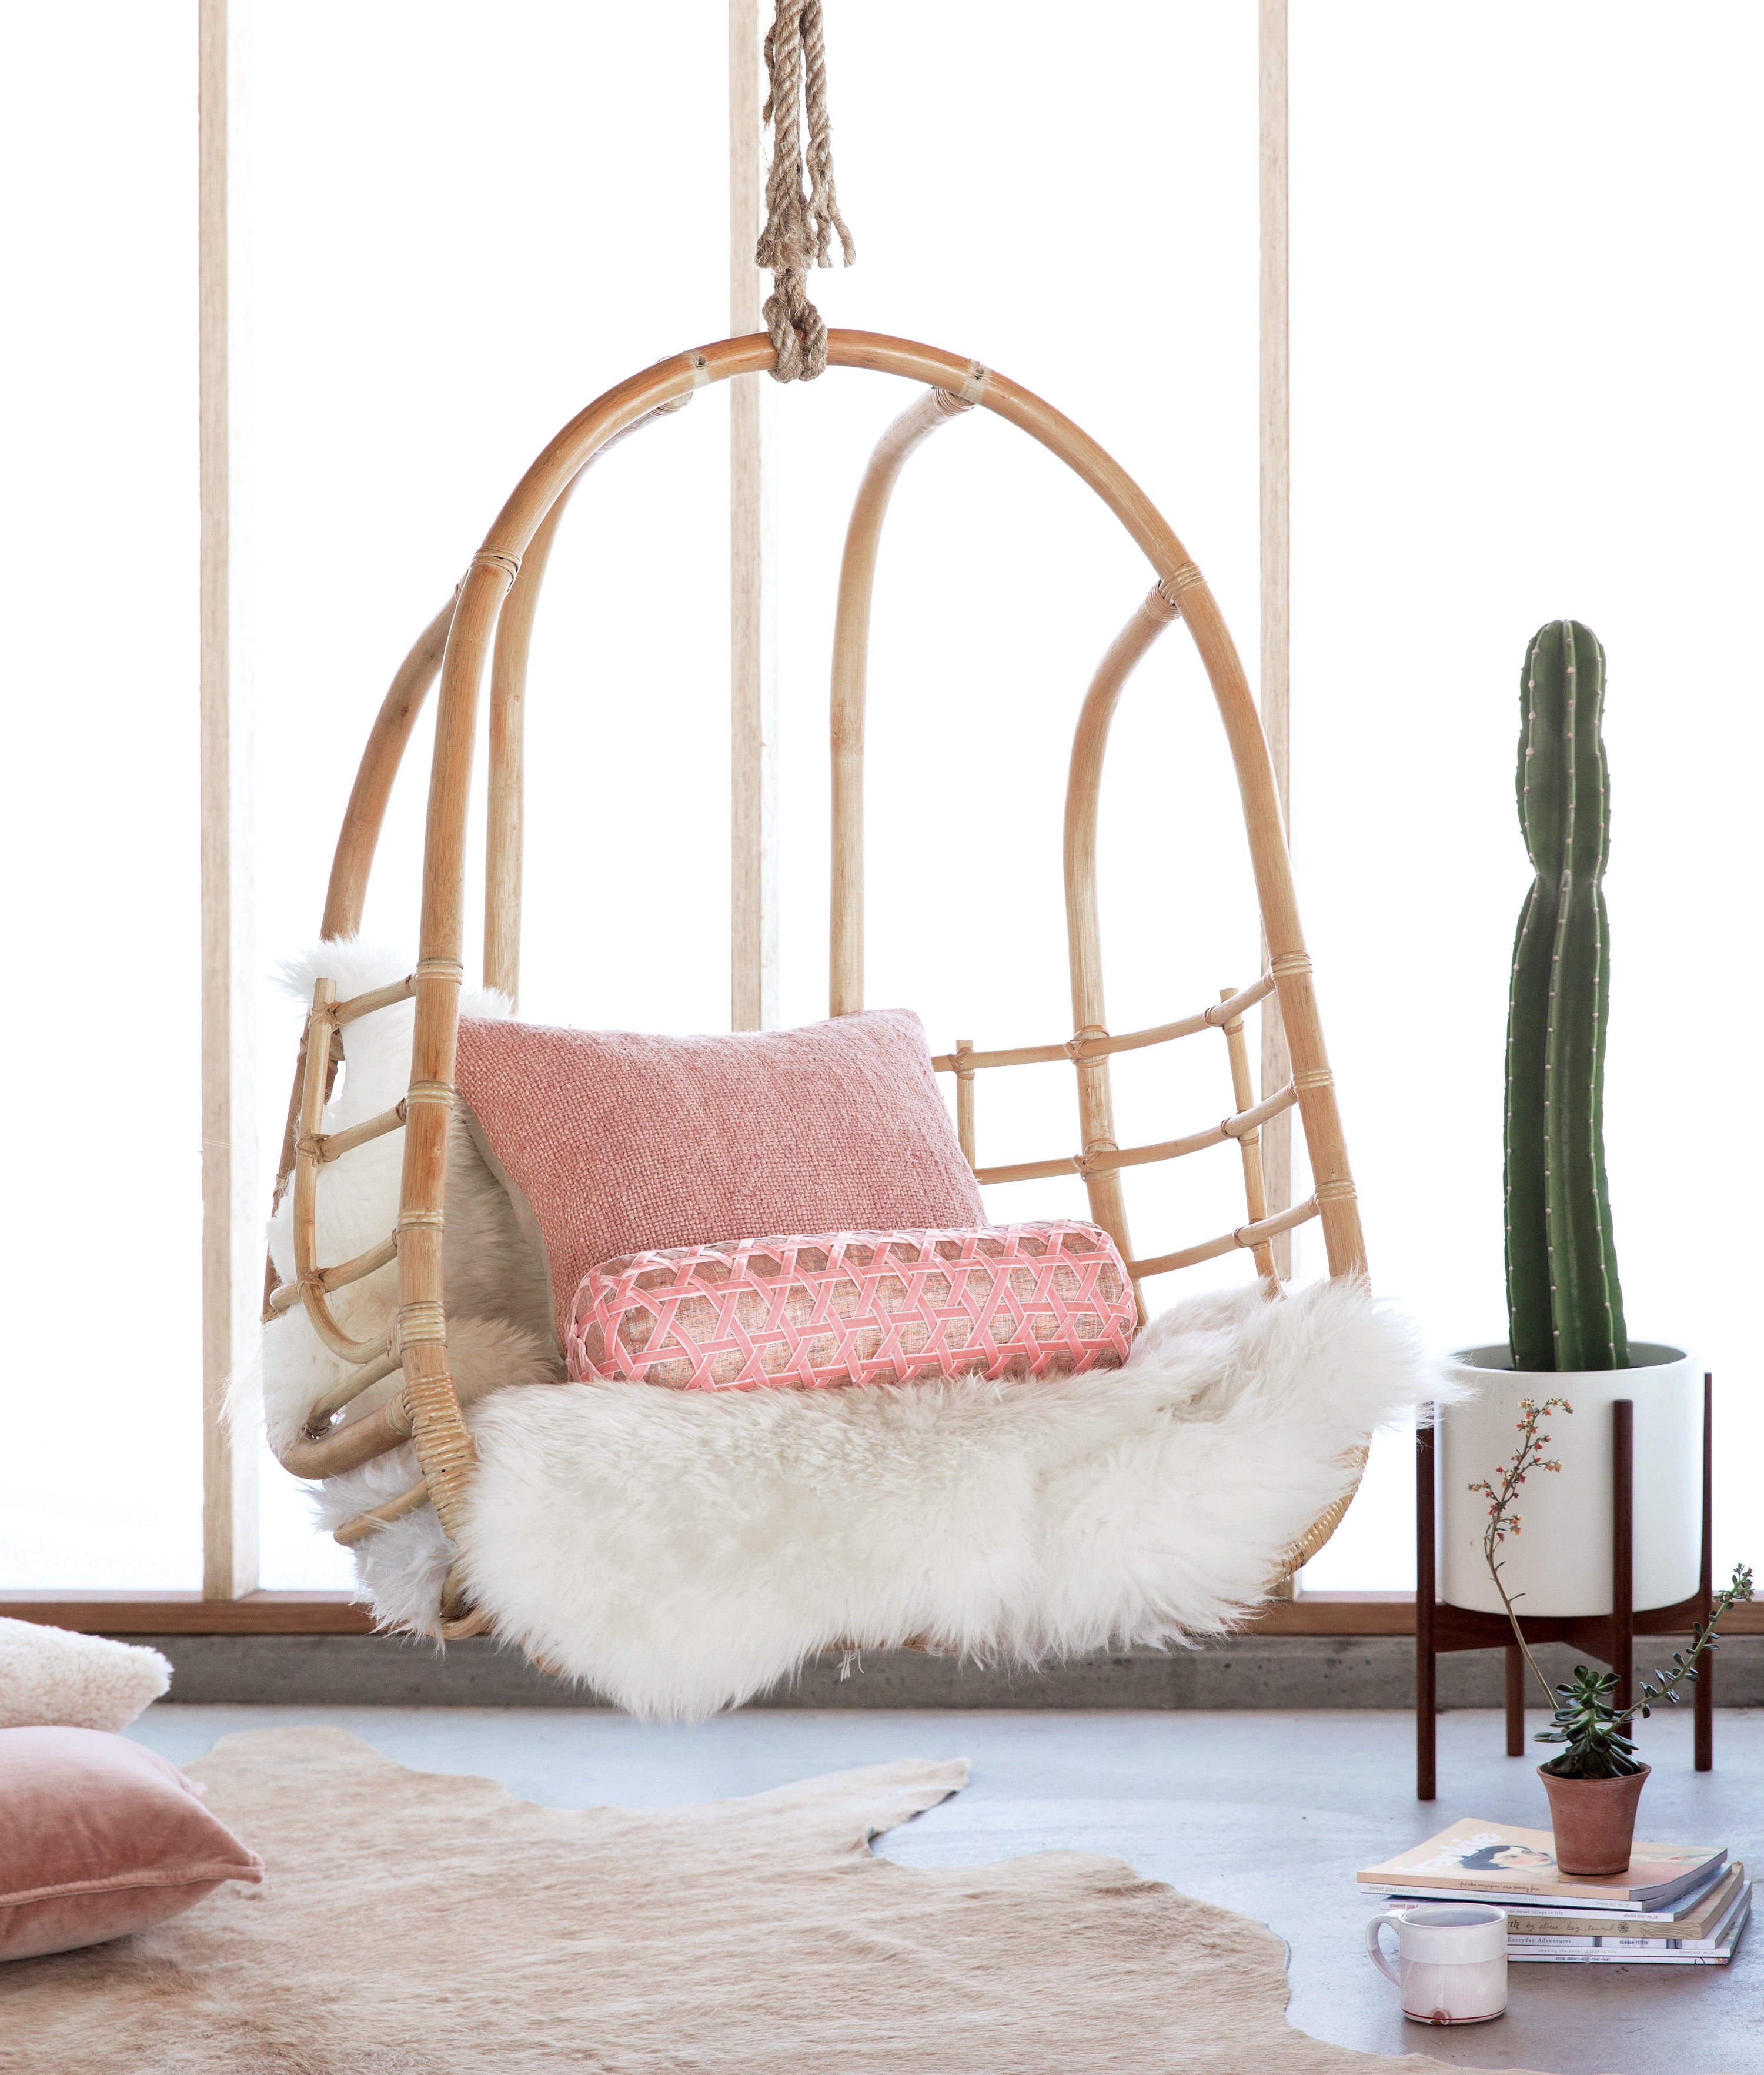
The book includes projects that utilize different woven fabrics, like twill and herringbone. I wanted to provide projects that explore various techniques, like trellis hemstitch (below) and gradient weaving (as in the tote up above).

Mostly, I wanted the projects to be approachable and lovely. I hope you love it as much as I do!
Weaving Within Reach Blog Tour
I am so thrilled to announce a fabulous Weaving Within Reach blog tour filled with some of my favorite artists, makers, and talents. These lovely ladies create some of the most amazing things! Please follow along as they share some of their favorite projects, things they’re enjoying from the book, or things from the book that they’ve made themselves.
8/21 – Camille Styles
8/22 – Design Mom
8/23 – Hello Hydrangea
8/28 – The Merry Thought
8/31 – The House That Lars Built
9/12 – The Fringe Association
9/13 – Delia Creates
9/18 – All About Ami
9/20 – Noodlehead
9/24 – Very Shannon
10/10 – Poppytalk
10/10 – Shrimp Salad Circus

Of course, if you DO buy the book, I would love for you to rate it on Amazon as that has such a huge effect on who sees it and how they order it etc.
Lastly, here’s a huge thank you to all of YOU! As this book wouldn’t be possible without your love and support. Thank you, thank you for your orders, interest, love from far and wide! I absolutely was beside myself shipping books to Australia, Ireland, Canada, and even the United Arab Emirates! The pre-orders thrilled me!
Weaving Within Reach was published by Clarkson Potter, shot by Rebecca Stumpf, assisted by Jimena Peck, and styled by Natalie Warady. Photo locations include Amigo Motor Lodge (Salida, CO), Bread Bar in Silver Plume, CO, and Tents in Westcliffe, CO.

Leave a comment
This site is protected by hCaptcha and the hCaptcha Privacy Policy and Terms of Service apply.