
DIY Finger Knit Hanging Plant Holder

This finger knit hanging plant holder is just the thing to brighten a sunny window. My friends over at Koel Magazine are sharing my project today on the Koel Stories Blog. Trust me, there is nothing as relaxing as finger knitting. It’s just the thing for lazy summer days, even though they’re coming to a close. I love the idea of transforming lightweight yarn into a knit strand bulky enough to enhance simple macrame techniques. There’s something inherently satisfying about how these strands knot together to support a container. In this case, a gorgeous succulent. Plus, finger knitting is something that kids as young as four can do, so make it a family affair! How fun to have something beautiful hanging that you’ve made together with your children.
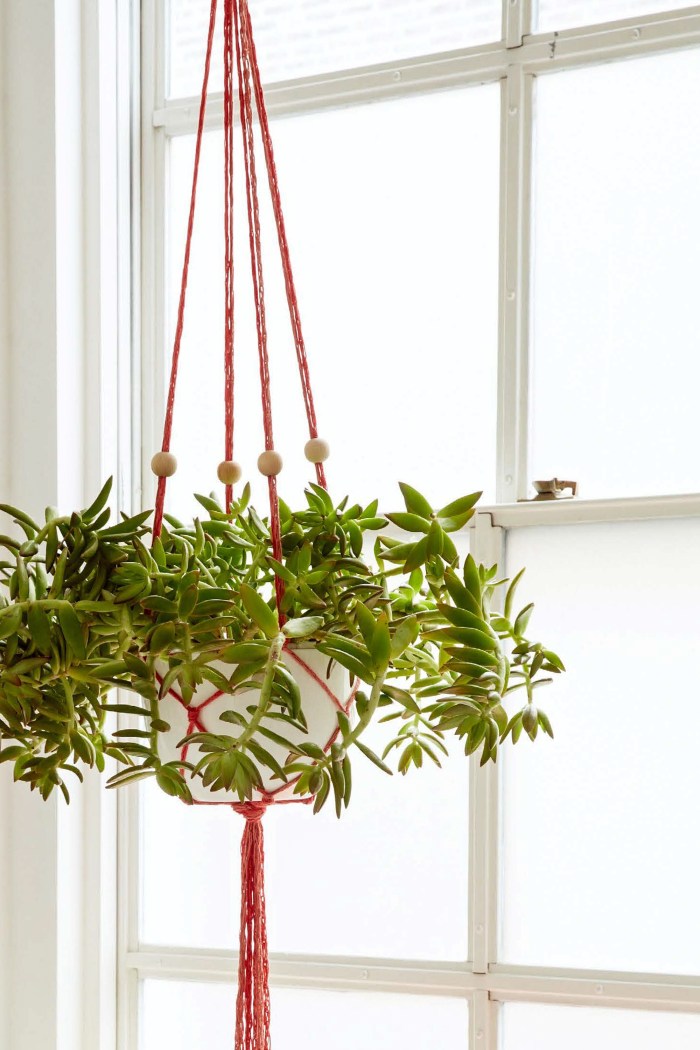
I love the natural wooden beads with the corals of the yarn and the texture of the finger knit strands. Plants bring so much life to your space, too. A nice succulent like this needs so little water and care, even the blackest thumb will find success with this!

DIY Finger Knit Hanging Plant Holder

Materials
175 yd (160m) of sportweight linen yarn
2" (5cm) unfinished wooden ring
Four 25mm unfinished wooden beads with 10mm hole
Eight 25mm unfinished wooden beads with 4mm hole (plus more, if desired)
Wire, for threading beads (optional)
Succulent Plant
Yarn Used
1 skein Louet Euroflax in Terra Cotta, 270 yd (246m), 31/2 oz (100g), 100% wet spun linen (color A)
1 skein Louet Euroflax in Sunrise, 270 yd (246m), 31/2 oz (100g), 100% wet spun linen (color B)
Sizes & Measurements
4 3/4" (1.4m) from top to bottom, adjustable to fit pot
Note
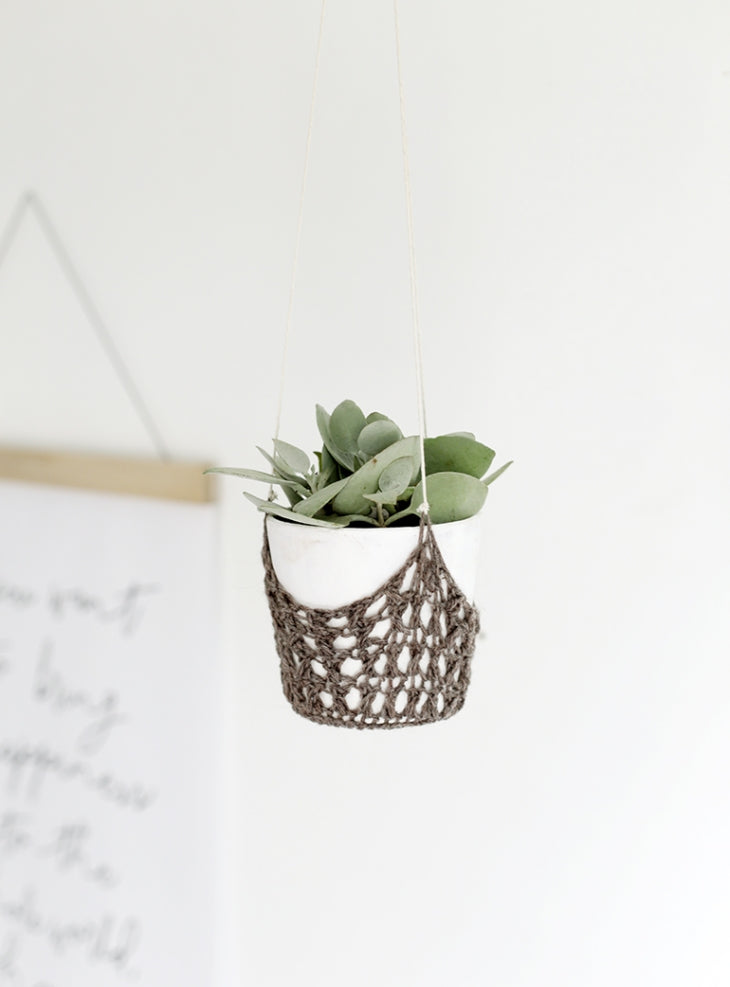
This pattern accommodates a pot that is approximately 8" (20.5cm) wide and 6" (15cm) tall. The first set of small knots should sit at the top of the pot, and the large lower knot at the bottom of the pot. For a good fit, aim for the distance between the first set of knots and the lower knot to be 1"–2" (2.5cm–5cm) greater than the pot’s height. Finally, adjust the knot heights as you work to accommodate the pot and the plant.
How To
1. Finger knit 2 four-finger strands in color A and 2 strands in color B, until each strand measures 31/3 yd (3.1m). Bind off each strand.
2. Fold the strands in half.

3. Thread the fold through the wooden ring, and bring the tails through the loop. Alternatively, skip the ring and tie a knot at the fold, leaving a 4" (10cm) loop at the top. Either way, 8 strands should be coming from the loop.

4. Arrange the strands so they come out of the ring without too much twisting. Divide the strands into 4 groups of 2, including 1 strand in color A and 1 strand in color B.
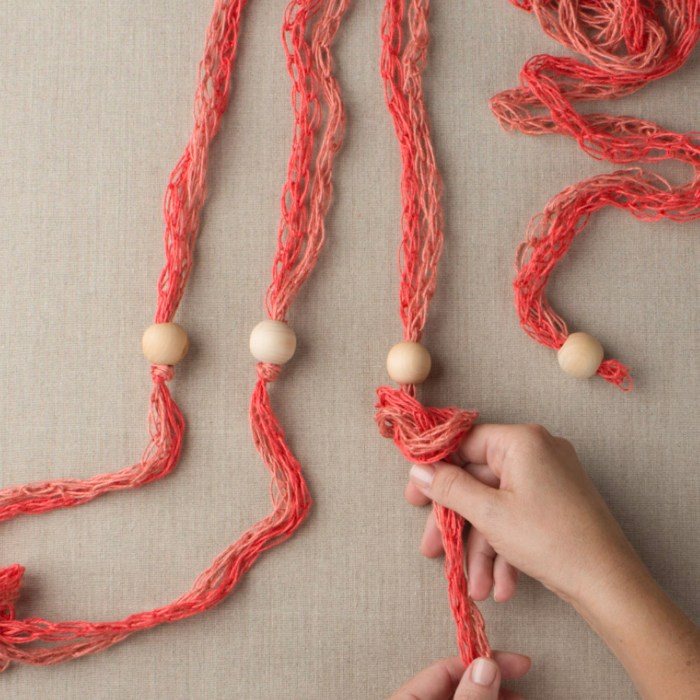
5. String a large-holed wooden bead on each set of strands. Next, to begin the crossing pattern, tie a knot on each strand 18"–24" (45.5cm–61cm) down from the wooden ring, keeping each bead above the knot.

6. Next, 31/2" (9cm) down from the last set of knots, take one strand from one set and one strand from the adjacent set of strands and knot those together. Continue around to make 4 new sets of strands.

7. The sets should now be either color A or color B. Again, the knots should fall to the same height.

8. Repeat the knotting process 3 1/2" (9cm) lower than last set, bringing the strands back to where they started, and keeping the knot height the same across all strands.

9. Make a large knot 3" (7.5cm) down from this last set of knots, incorporating all 8 strands again. Test the hanger with the empty pot and adjust the knots’ height as necessary.

10. Cut the 8 bottom strands at varying lengths. Weave in all ends. Thread and knot the wooden beads with the smaller openings on the end of each finger-knitted strand. A small piece of wire can help thread the beads, if necessary. Next, add the plant adjusting the knots where necessary (see Note above).
Finally, your finger knit hanging plant holder is complete. Hang and enjoy!


Leave a comment
This site is protected by hCaptcha and the hCaptcha Privacy Policy and Terms of Service apply.