


Blog
Read more
boho
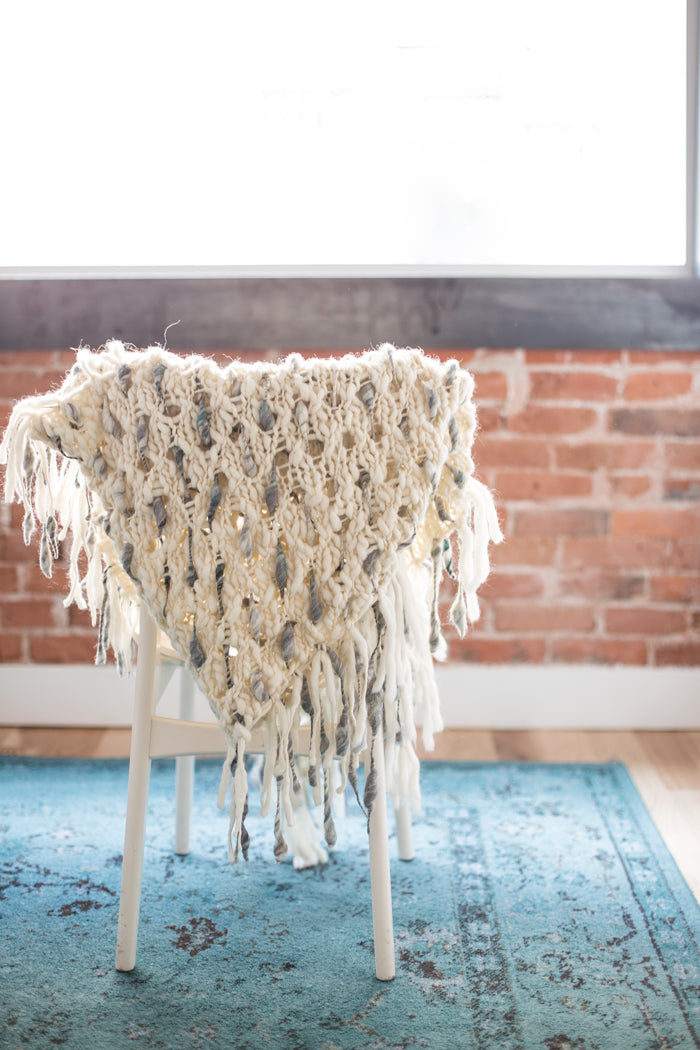
Take a Look! My Dash Shawl by Knit Collage
I completed my first knitalong! Look at my gorgeous Dash Shawl by Knit Collage. What a fun project! And, fast! Usually, I don’t participate in knitalongs because I hate feeling behind. Fun knittin...
Read more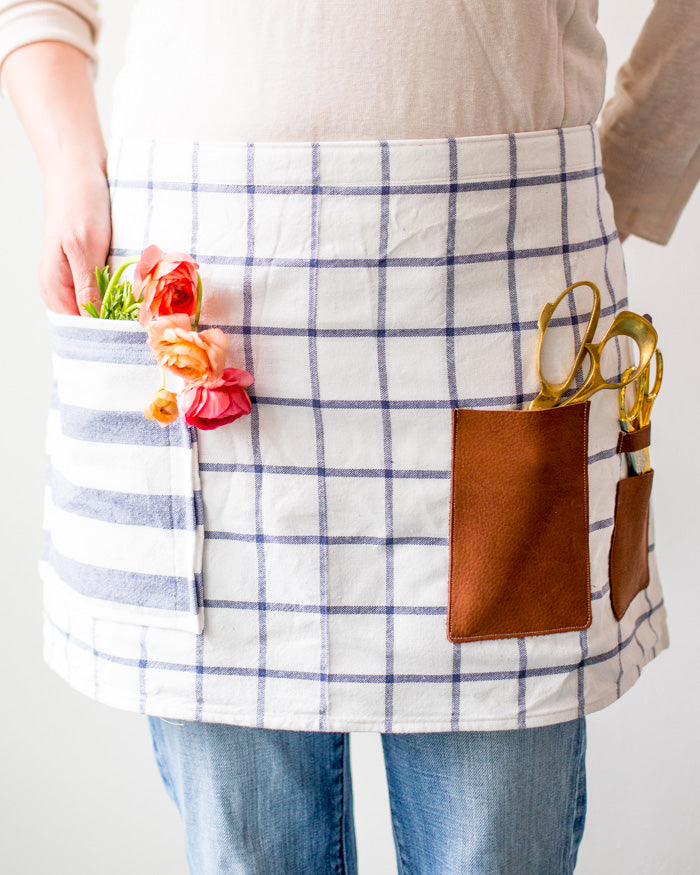
arm knitting
Give Handmade for Mother's Day - New Maker Kits
When I was young, I would always give handmade for Mother’s Day. I knew that my mom would understand and respect how much work I put in to my latest project for her. In her honor, I created two fu...
Read more
Leave a comment
This site is protected by hCaptcha and the hCaptcha Privacy Policy and Terms of Service apply.