


Fat Quarter Gift Bag Tutorial, 4 Bags, 15 min

I love making cute little favor bags for special occasions instead of using cheap-o plastic ones. It used to always seemed like way too much work. Not anymore! This is my special method to take you from an adorable fat quarter to four even cuter gift bags in only fifteen minutes! I’m not kidding – just don’t worry about being accurate–don’t iron, don’t clip, don’t measure – I promise, they’ll still look beautiful.

I made this little gift bag set for some of Allie’s friends. Allie and I stuffed them each with an embroidery kit for my hand-embroidered note cards. You can find the tutorial for these over here on Design*Sponge. I love them! They make a wonderful beginning needlework project.

The kits seemed the perfect treasure for such an adorable little mini-bag.

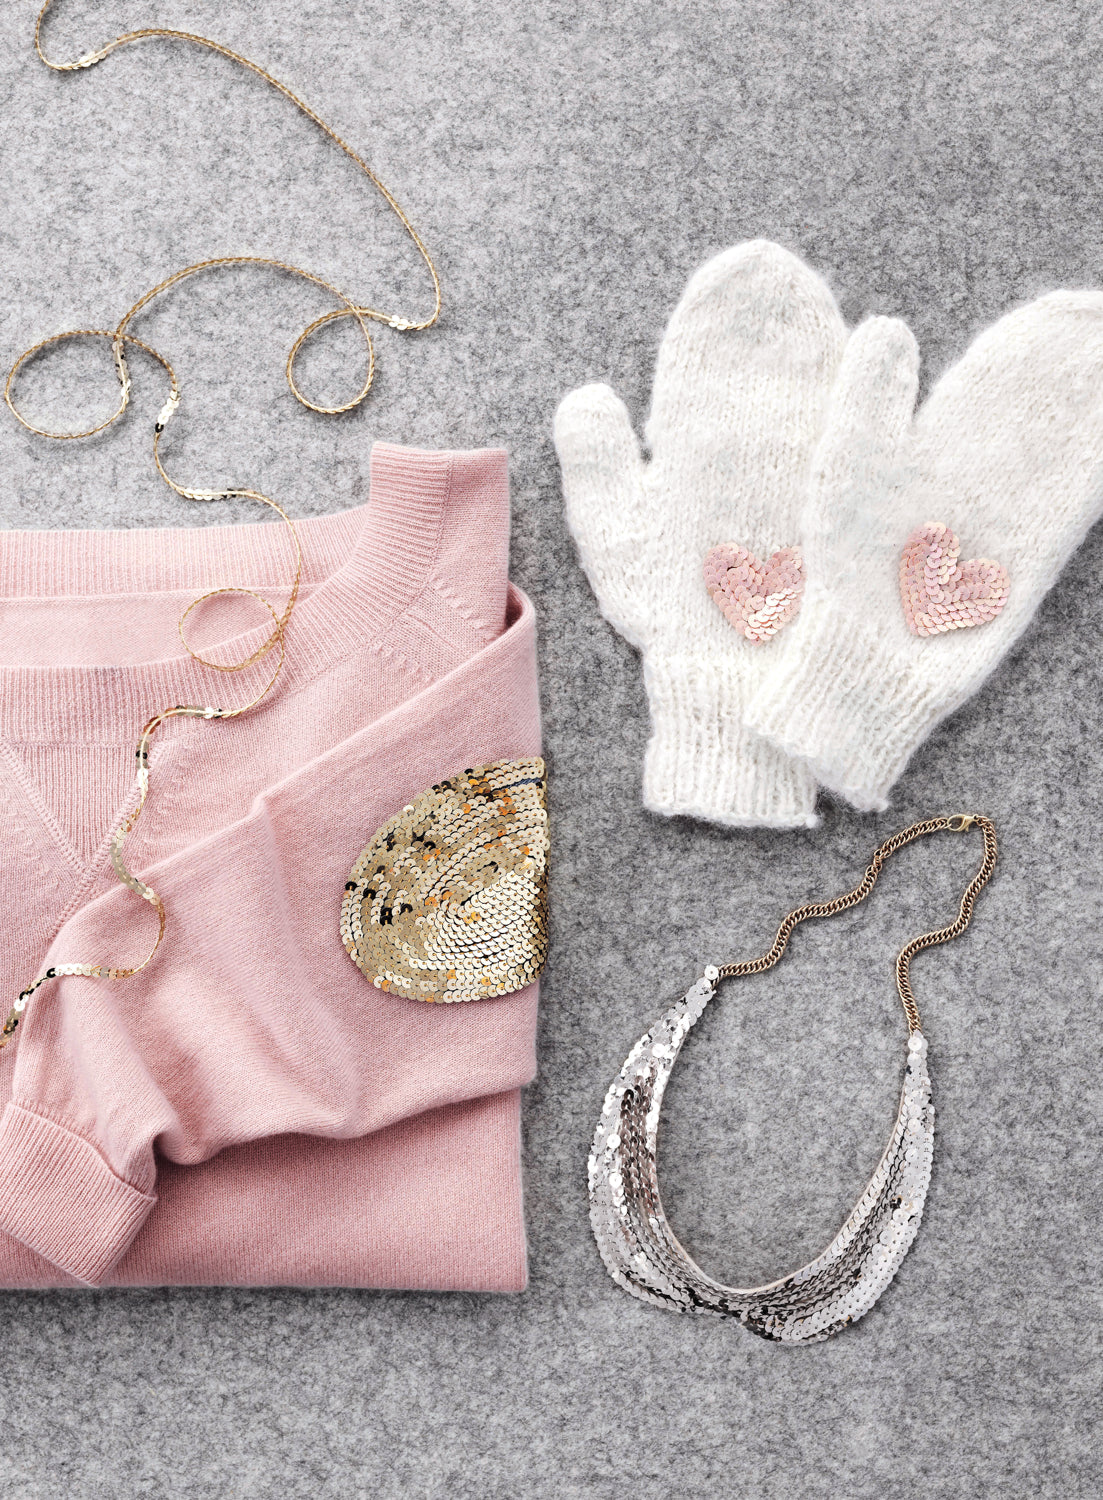
Alternatively, make a set of gift bags for you! Use them to organize that crazy purse of yours – you know what I’m talking about. What will you fill them with?

This tutorial was originally published on Petite Purls in 2012. Sadly, that magazine closed its front doors and all of its content is gone. I have republished the tutorial here, because its just too awesome of a tute not too!
Fat Quarter Gift Bag Tutorial, 4 Bags, 15 Minutes
Size
Sewn on the long side they will be approximately 7.5" x 5.5"
Sewn on the short side, approximately 9.5" x 4".
Materials
One Fat Quarter
Ribbon
Pinking scissors
Darning Needle
Sewing Machine
Complimentary thread
Find a fat quarter in an adorable pattern. With right side of fabric facing down, fold one end of fat quarter over by about 1”, pin in a couple of spots.

Repeat on the other side.

Sew a 5/8” hem on each end, using your foot as a guide against the cut edge of the fabric. These will be the sleeves for the drawstrings.

Fold the fat quarter the other way such that the ends without drawstring sleeves, the raw edges, meet in the middle. The drawstring sleeves will be at the top and the bottom.
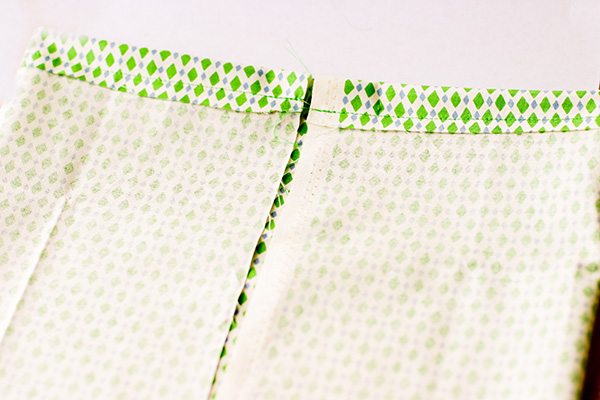
Beginning at the stitched line of the drawstring sleeve (sleeve needs to stay open for the drawstring), sew a seam the length of the fat quarter about 5/8” in from the raw edge, stopping at the stitched line of the drawstring sleeve at the bottom. Backstitch at the beginning and the end of the seam.


Repeat on the other side.

Cut down the middle of the fat quarter with pinking shears, trimming each seam allowance to about ¼”

You will have two identical pieces with a hem on each end and a ¼” pinked seam allowance along the length of the piece. Repeat the next steps for each piece.
Fold the piece in half such that the hems from both ends are lined up. Place a pin at each end of the fold, in the halfway spot, then unfold.

Using the pins and your presser foot as a guide, stitch a line from just to the right of the pin to just to the right of the pin at the bottom. This doesn’t have to be exact, and it’s a short distance, just go for it!

Repeat just to the left of the pins.

It should look like this. Do it with the other piece now.

Cut in between two sewn lines with pinking shears on both pieces.

You should have four little bags now! You’re almost done!

Turn your bags right side out. Thread a 1/4” ribbon through the drawstring sleeve with a darning needle for each of the bags.

Knot the ends of the ribbon together.

You’re done!


Leave a comment
This site is protected by hCaptcha and the hCaptcha Privacy Policy and Terms of Service apply.