
DIY Butterfly Photo Backdrop


DIY Butterfly Photo Backdrop


Materials
Martha Stewart Butterfly punch
Various paper in desired color palette
Scissors
Martha Stewart Gold Twine
Gold Metallic Sharpie Paint Pen
Needle

:: Make some easy gold polka dot paper by dot, dot, dotting away with the tip of your paint pen.

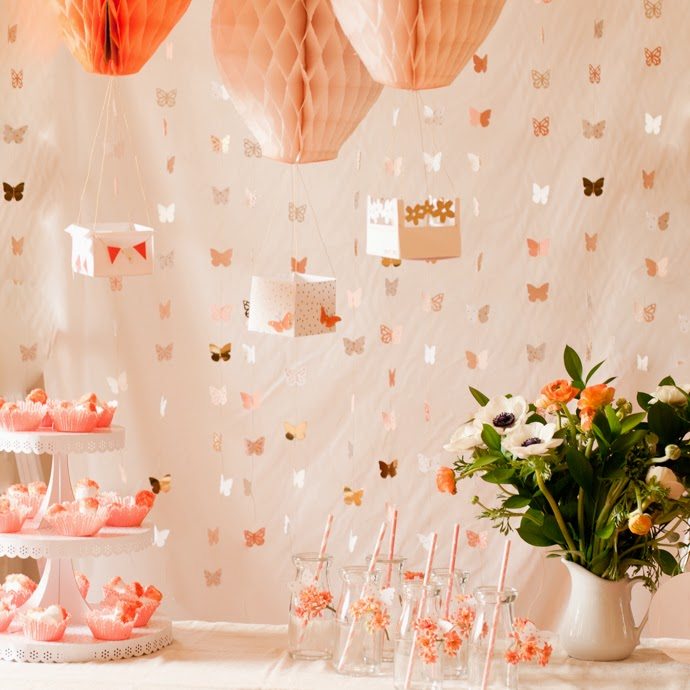
:: Punch up a good combination of colors and varieties of butterflies in the same tonal family.

:: Use a needle and gold twine to thread the butterflies on multiple strands long enough to cover your desired back drop. I alternately threaded them with the gold thread going over the center of the butterfly and under the center of the butterfly so the strand was more likely to hang straight. My twine pieces were six feet each. You can slide the butterflies up and down to allow flexibility in different hanging circumstances.

:: The process of hand sewing the butterflies pleased me immensely in the way that hand work always does. I bent some of the butterflies at the middle so that some had their wings wide open and some were more closed. Hang each strand from another piece of twine! You’re all done.

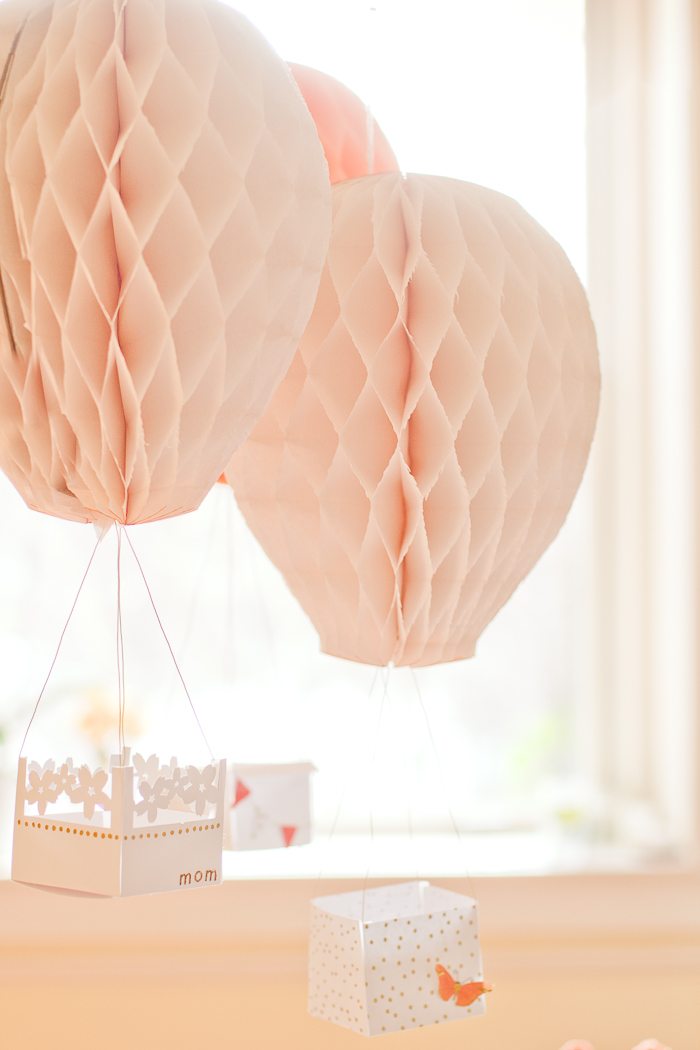
I adore a photo backdrop at a party because it allows for such pretty photos to share with your guests after the big day. If you’re really organized you could print them out right then and there. Add a frame like this and you’ve got perfect party favors. Oh, if only I had had more time! Maybe I can do get a frame or two together in time for my neighbor, Kim’s, birthday.

On a small side note, I love catching Allie in side braids like this. I always used to wear my hair like this. I remember two little hello kitty hair binders that were my favorite. I’m always so tender and enamored of these small things, like braids, with Allie because they take me back to my own childhood. Eight was great, wasn’t it? Do you have any favorite ages? hairstyles that bring you back?

Almost as sweet, look at my pretty ranunculas and anemones. I love that I have an excuse to buy gorgeous flowers when I’m having a party. These flowers are just three separate grocery store bouquets put together in an arrangement. Definitely less expensive doing it that way. Here is a how to post on that from the other day.
If you want to see the overall Mother’s Day party all put together, here is the original post.
Leave a comment
This site is protected by hCaptcha and the hCaptcha Privacy Policy and Terms of Service apply.