


Valentine's Day Photo Party Poppers


Materials for Heart Confetti
Martha Stewart Heart Confetti Punch
Glitter Paper
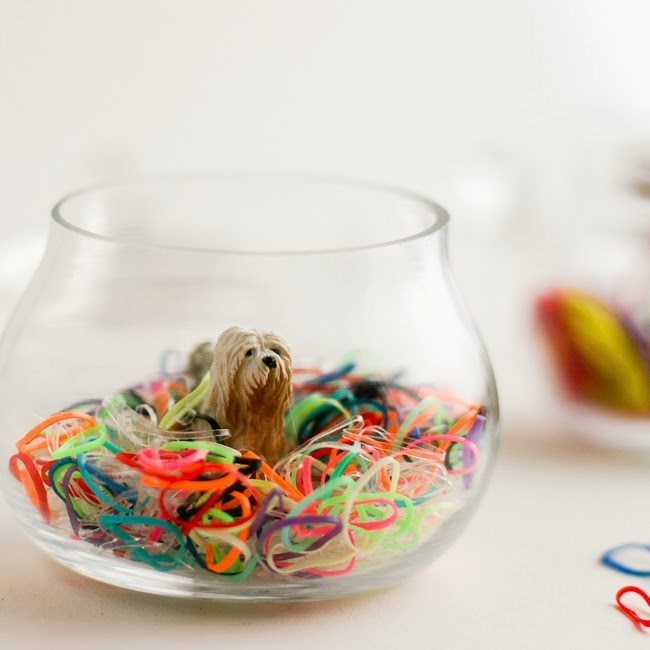
Irridescent Hearts and Stars Glitter

Materials for Photo Banner
Computer, Printer, and photos you love
White cardstock
Decorative paper (this one came from Martha Stewart Love Notes 12×12 Paper Pad)
Martha Stewart All Over The Page Circle Punch 1 1/2 inches
Martha Stewart Craft Glue
Sharpie Paint Pen
30" of colored twine or yarn
+ Print a bunch of your favorite photos at 2×3 inches in a grid. You can do this in Lightroom easily. There is a place on the right, in the print dialog box, under “layout,” where you can ask for a 3 x 5 grid – a snap. I assume photoshop has a similar tool.
+ Use the circle punch to punch out your favorite faces. I used the punch upside down so I could see what I was punching.

+ Once you have your stack of photo circles, use the same punch to cut out circles of decorative paper for your letters.
+ I used a pink paint pen by Sharpie and wrote a simple “i” “heart” “u”.
+ Organize the photos and letters how you want them on the banner. You want one for each side, like a coin. I wanted to do mine so that if the circles rotated, the photo would still be oriented up. To do this, from that middle picture, above, I simply flipped the bottom row down (so that if you were to lift up the face down circles, you would see the head or letters pointing down).
+ Apply glue to back of circles
+ Center 30" piece of twine across glued circles, making the space even between each circle. Don’ t forget to leave enough tail (6" on either end) for the popper.
+ Sandwich the twine between the bottom circle and the top circle. Press down on each circle to fix in place with two circles matching up.

To Make the Popper
Martha Stewart Double Edge Punch Scallop Heart Trim
Tissue Paper (two 8.5 x 12" pieces in contrasting colors)
Scissors
Ribbon
Double sided tape
Toilet paper roll or popper tube
Cracker Snaps (I got mine here)
+ Cut two colors of tissue paper to 8.5 x 12" pieces
+ Use scallop heart punch to make decorative trim at the end of the outside color (with a punch and tissue paper, it helps to punch more than one piece at a time).
+ Cut toilet paper roll or popper tube in half.
+ Tape ends of photo banner to inside of tube, leaving enough twine to stick out the sides to be tied in the ends of the popper.

+ Stuff the photo banner inside the tube, leaving the twine ends sticking out (in later versions I left more of the twine sticking out so you can grab on to the twine more easily when you pull the popper).
+ Place the tube on the tissue length-wise. Tape the cracker snap to the tube.
+ Place double sided tape on the end of the tissue paper so that the roll will stay closed after it is rolled.
+ Gather one end of the popper, making sure the twine and the cracker snap come out the end, past where you’re tying. Secure with ribbon.
+ Turn the popper so the open side is up. Fill with confetti! YAY!
+ Tie the other end of the popper, again making sure the twine and cracker snap stick out past where you’re tying. Voila!

Now, make sure you tag them so you know whose popper is whose!
To see other 12 Months of Martha Team projects for this month, from lovely, lovely bloggers such as Studio DIY, Sugar + Cloth, You are My Fave, (such amazing company!) and many more, go check out the hashtag #12MonthsofMartha on Instagram and Twitter.
More news is a-coming, just you wait!
Leave a comment
This site is protected by reCAPTCHA and the Google Privacy Policy and Terms of Service apply.