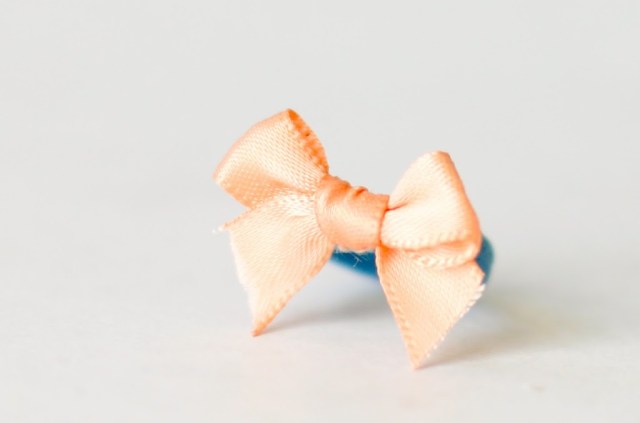
Day 18: A Bow Ring - a diy jewelry tutorial
A has been begging me for another ring, and I’m glad I had one planned! Every day when she comes downstairs, she starts jumping up and down – where’s my advent? where’s my advent? What did you make this time, mommy? Then, when I give it to her, she ooos and aaahhs very appropriately. Its like Christmas morning every day. This entire event has been so much fun and rewarding in so many ways!
First, make the ring. Like the flower ring, the ring is made out of an old elastic headband. The kind you wear to hold back your bangs, or go to the gym, or wash your face, etc. Measure your child’s finger with a piece of string. Cut the elastic that size, plus about a 1/8". You don’t want the elastic to have to stretch too much to get on the finger, but you want it snug enough to stay on.
Cross the loops.
Bring the right hand loop through the hole.
Here’s the trick: hang on to that loop that you’ve pulled through and let the tails flip over the bow and down and let left hand loop rotate. It should look like this:
Now tighten and loosen it and play with it a bit. It takes some time to get the loops even and looking just right.
Attach your thread to the ring first.
Go through the bottom of half of the bow to attach it to the ring. I had already cut the tails when I did this, but I wish I had waited until the end.
Finish it off underneath. Trim your ribbon at an angle.
Now, I’ve ironed out the order for the rest of the jewelry pieces. Keep coming back to check them out. Don’t get jewelry fatigue now (is there such a thing?), there are some fantastic pieces coming up!
I went cross-country skiing today – so lovely and such a great heart-pumper. I love the sun twinkling on the snow, breathing hard, and smelling crisp air. Feeling quite re-energized.


Leave a comment
This site is protected by reCAPTCHA and the Google Privacy Policy and Terms of Service apply.