A little bit of lace. . . . makes you happy doesn’t it? It does me. There is something about the white against this robin’s egg blue that makes me a happy camper, for sure. It’s sweet, without being too sicky sweet, which I think lace can be sometimes. What an easy, beautiful gift to make for many of the girls in your life. This is also simple for girls (or boys!) to make as well. The lace gives you automatic stitch placement, which helps guide the needle. In fact, I may just have Charlie make this for one of his cousins and see how it goes.
The headband is still soft and flexible which will make it comfortable to wear. Full diy instructions are below.
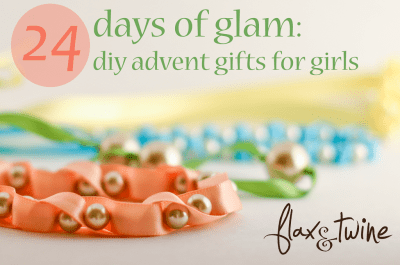
If you want more easy-to-make, beautiful jewelry/hair accessory gift ideas, please check out the
full gallery of 24 Days of Glam here or by clicking the photo below.


Materials:
Lace trim (18")
100% wool felt
Embroidery thread (complimentary)
Thread (color of lace)
3/8" elastic
Needle
Scissors
Time: 45 minutes
Cut a strip of felt wide enough to cover the underside of your lace trim. In my case, it was 1 1/4".
Center the lace over the felt. Cut enough lace to come down to the base of your child’s (or your!) skull. I cut 16" for my daughter. The felt I had was in 12" long.
Using the complimentary embroidery floss, attach the lace to the felt. You could use white if you’d like the thread to blend in more, but I liked the contrast.
Continue along the length of the lace, making your stitches as consistent as possible with whatever lace pattern you have. (e.g. it doesn’t matter how you do it, as long as you do it the same way.)
Tack down the felt on each side as well.
Your piece should look something like this.
Take the ends, and pucker them with a tuck in the middle (like a folded fan).
Stitch that gather together. I went back and forth many times.
Match your ends up to make the headband symmetrical, and repeat on the other side.
Attach the elastic to the under-side of the headband at the gather point. I used approximately 6" of elastic for my daughter, making the entire headband about 21" or so.
You could either hem the lace under or trim it. Trimming might lead to some fraying, but I am okay with that.
Finis!

Well, I went a little bit out of my scheduled order, so the big jewel will be coming your way tomorrow. Hope everyone had a nice Christmas-y weekend. We did, including a big holiday party and a wonderful celebration of B’s 8th birthday which was a sports extravaganza. Except for a few stragglers, the Christmas Cards are done – whew! Next to tackle is the hostess, teacher, friends’ gifts . . . hmmm, do you think they’d like girls’ jewelry?
We head out of town on Friday, so I’ve got to crank through all these tutorials so I can post them while I’m gone!


Leave a comment
This site is protected by hCaptcha and the hCaptcha Privacy Policy and Terms of Service apply.